Looking for a sweet treat to share with your loved ones this Valentine’s Day? Why not try making some decadent red velvet cookies?! These deliciously soft and chewy cookies are the perfect way to spread some cookie love.


The rich red color and lightly sweet (perfect for those who don’t like overly sweet things) flavor of these red velvet cookies will surely be a hit with everyone who tries them. So grab your ingredients and get ready to bake up a batch of these delightful cookies to enjoy with your valentine!
Red Velvet Cookies
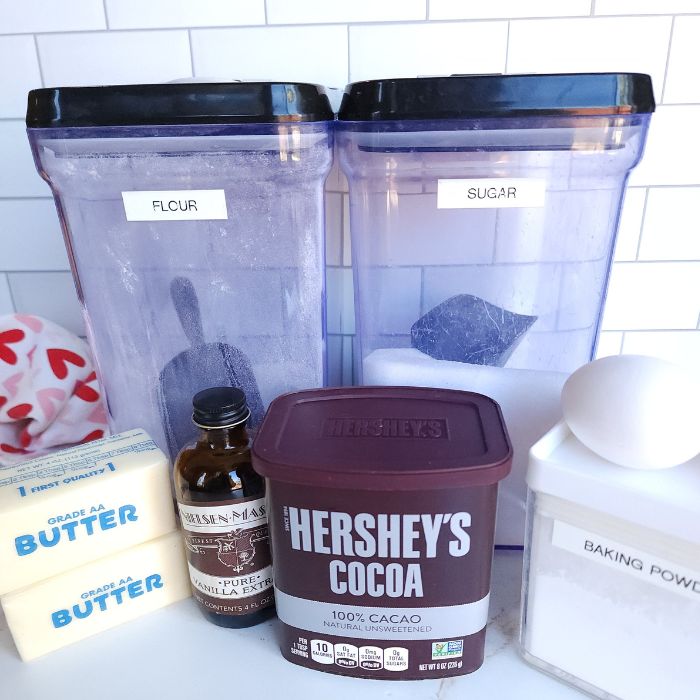
Red Velvet Cookie Ingredients
- 1 cup unsalted butter, softened
- 1 1/4 cups sugar
- 2 T. cocoa powder, unsweetened
- 1 1/2 tsp. baking powder
- 2 large eggs
- 1 tsp. red gel food color (not liquid food coloring)
- 1 tsp. vanilla extract
- 2 3/4 cups flour + extra for rolling out dough
- 1/2 tsp. salt
Cookie Icing & Decoration Ingredients
- 1 T. corn syrup or honey (note: honey will give it a slight honey flavor)
- 1-2 T. milk (use 1T. for a slightly thicker glaze or 2T. if you plan on dipping the cookies)
- 1 tsp. vanilla extract
- food coloring (optional)
- Various cookie sprinkles and sugars
Cooking Utensils
- Large cookie baking sheet
- Stand Mixer or Large Bowl with Handmixer
- Spatula
- Parchment paper
- Mixing bowls (for icing or cookie dough mix)
- Measuring cups and spoons
- Cookie cooling rack
- Whisk
- Rolling pin
- Large silpat (to roll out dough on)
- Chopstick (used to paint heart shapes with icing)
- 2 1/2″ to 3″-3 1/2″ heart cookie cutters
How to Make Red Velvet Cookies
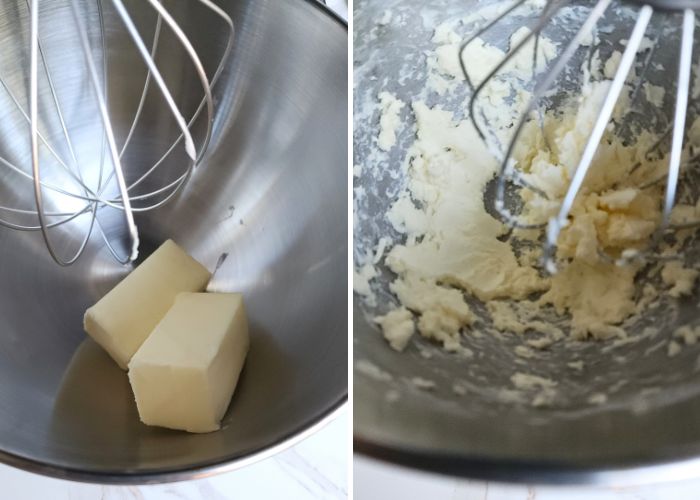
Step 1. In a large mixing bowl, add softened unsalted butter. Beat on medium-high until it is creamy, about 1 minute.
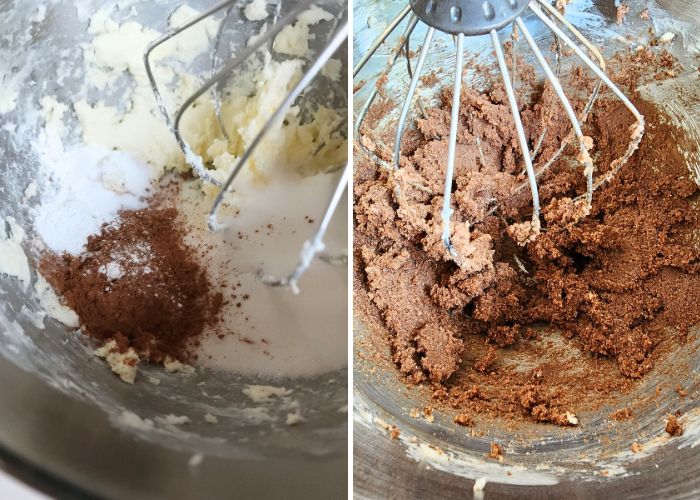
Step 2. Add sugar, cocoa, baking powder, and salt to the butter. Beat until combined, occasionally scraping the sides of the bowl.
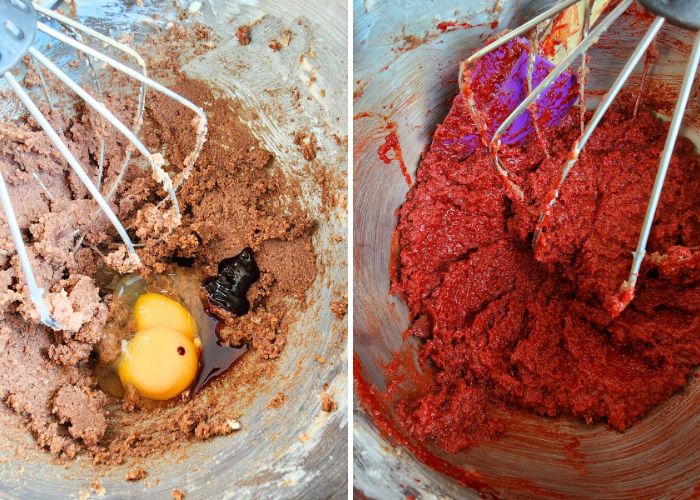
Step 3. Beat in eggs, food coloring, and vanilla until combined well.
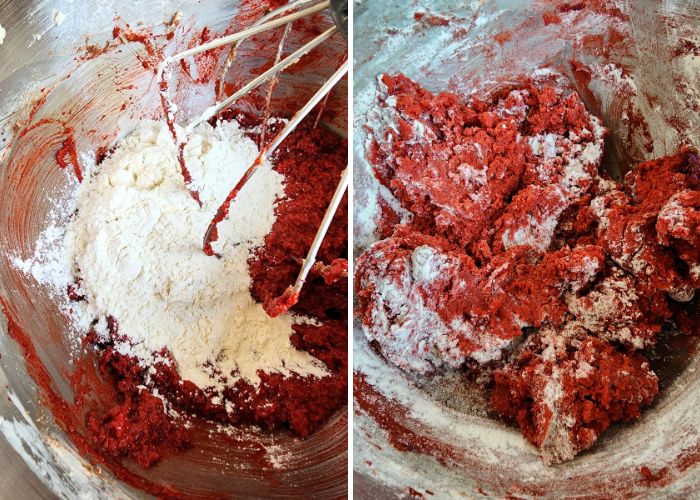
Step 4. Add in the flour and mix in as much as possible with the mixer. Then, mix in any remaining dough by hand. Note: The dough will be a bit ‘wet’.
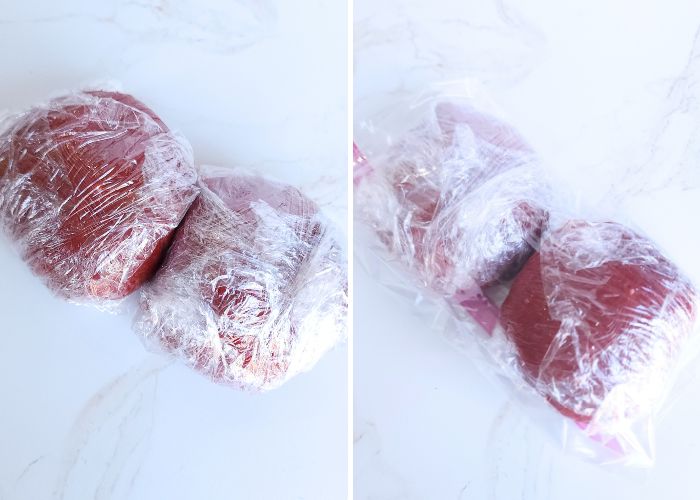
Step 5. Divide dough in half. Cover the dough with plastic wrap and then place into a resealable bag. Chill in the fridge for at least an hour or when it becomes easy to handle. Note: I let mine sit overnight.
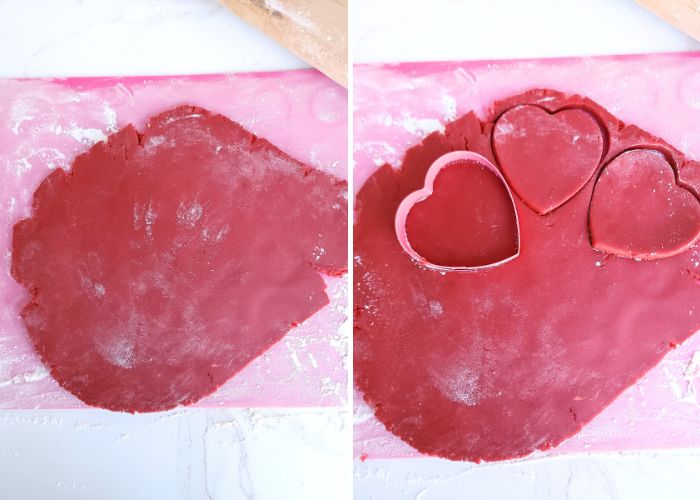
Step 6. Preheat oven to 375°F. Remove dough from the fridge and let rest for 15-20 minutes or just until it can be rolled out, but is still cold. Then, place a dough ball on a floured surface. Sprinkle flour on the dough and rolling pin before rolling the dough to about 1/4″ thick. Next, use a floured cookie cutter to cut out hearts (or use your chosen cookie cutter shape). Repeat rolling out the dough until all cookies have been cut out.
How Many Cookies?
Depending on the size of the cookie cutter used, this recipe will make about 32 smaller hearts or 18-20 large hearts.
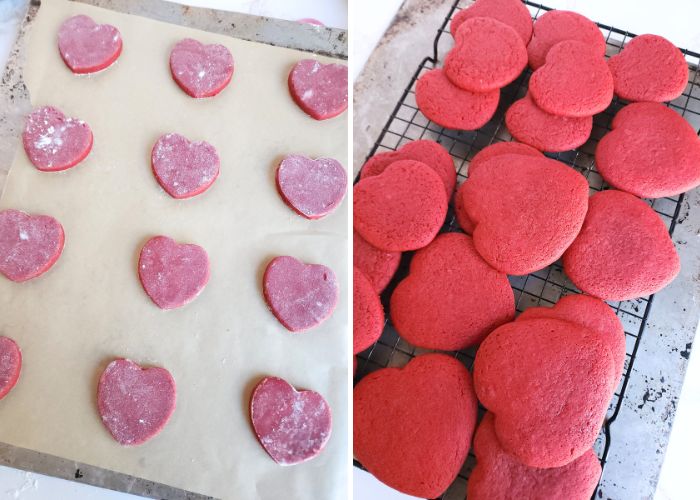
Step 7. Place cut-out cookies onto a parchment paper-lined cookie sheet. Bake for 7-8 minutes (edges and bottoms should be barely browned). Transfer the cookies to a cooling rack and let cool before icing.
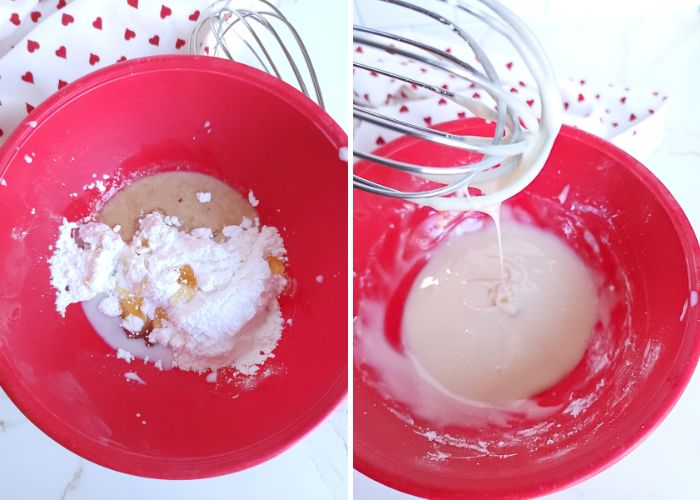
Step 8. While the cookies are cooling, prepare the icing. Place all the icing ingredients into a bowl and mix until smooth. Note: Use less milk for a thicker icing and more milk for a thinner icing. Optional – use food color to tint the icing in your chosen color.

Step 9. When decorating, keep in mind that most of the sweetness comes from the icing. Use more for a sweeter cookie. Stripes: Use a fork or whisk to drip icing across cooled red velvet cookies. Before the icing is dry, shake on sprinkles. Hearts: Use a thicker icing (made with 1 T. milk) to make heart shapes. I used the back of a chopstick to paint heart shapes with icing. Again, before the icing dried, shake on the sprinkles. Let the icing dry before dusting off excess sprinkles. Note: Depending on humidity and temperature, it may take an hour or more for the icing to harden.
Decorating Tip
After letting the cookies cool on the rack, transfer them to a rimmed cookie sheet before decorating. This way, any icing drips and extra sprinkles will be caught and contained, making for an easier cleanup process.
How to Store Red Velvet Cookies?
Once the icing is dried, the cookies can be stacked and stored in an airtight container for up to a week.

And there you have it – a simple yet delightful red velvet cookie recipe to sweeten up your Valentine’s Day celebrations! Whether you’re enjoying these cookies with your significant other, friends, or even by yourself, these festive treats are sure to spread joy and love.

Red Velvet Cookies
Spread some love this Valentine's Day with these red velvet cookies! Soft and chewy, these festive treats are the perfect way to sweeten up your holiday celebration.
Ingredients
Red Velvet Cookies
- 1 cup unsalted butter, softened
- 1 1/4 cups sugar
- 2 T. cocoa powder, unsweetened
- 1 1/2 tsp. baking powder
- 1/2 tsp. salt
- 2 large eggs
- 1 tsp. red gel food color (I used Wilton's no taste red gel food coloring)
- 1 tsp. vanilla extract
- 2 3/4 cups flour + extra for rolling out dough
Icing and Decorations
- 1 T. corn syrup or honey (note: honey will give a slight honey flavor)
- 1-2 T. milk (use 1 T. for a slightly thicker glaze or 2 T. for a dipped cookie)
- 1 tsp. vanilla extract
- food coloring (optional to tint icing)
- sprinkles or colored sugar
Instructions
Red Velvet Cookies
- In a large mixing bowl, add softened unsalted butter. Beat on medium-high until it is creamy, about 1 minute.
- Add sugar, cocoa, baking powder, and salt to the butter. Beat until combined, occasionally scraping the sides of the bowl.
- Beat in eggs, food coloring, and vanilla until combined well.
- Add in the flour and mix in as much as possible with the mixer. Then, mix in any remaining dough by hand. Note: The dough will be a bit ‘wet’.
- Divide dough in half. Cover the dough with plastic wrap and then place into a resealable bag. Chill in the fridge for at least an hour or when it becomes easy to handle. Note: I let mine sit overnight.
- Preheat oven to 375°F. Remove dough from the fridge and let rest for 15-20 minutes or just until it can be rolled out, but is still cold. Then, place a dough ball on a floured surface. Sprinkle more flour on the dough and rolling pin before rolling to about 1/4" thick. Next, use a floured cookie cutter to cut out hearts (or use your chosen cookie cutter shape). Repeat rolling out the dough until all cookies have been cut out.
- Place cut-out cookies onto a parchment paper-lined cookie sheet. Bake for 7-8 minutes (edges and bottoms should be barely browned). Transfer the cookies to a cooling rack and let cool before icing.
Icing and Decoration
- While the cookies are cooling, prepare the icing. Place all the icing ingredients into a bowl and mix until smooth. Note: Use less milk for thicker icing and more milk for thinner icing. Optional – use food color to tint the icing in your chosen color.
- When decorating, keep in mind that most of the sweetness comes from the icing. Use more for a sweeter cookie. Stripes: Use a fork or whisk to drip icing across cooled red velvet cookies. Before the icing is dry, shake on sprinkles. Hearts: Use a thicker icing (made with 1 T. milk) to make heart shapes. I used the back of a chopstick to paint heart shapes with icing. Again, before the icing dried, shake on the sprinkles. Let the icing dry before dusting off excess sprinkles. Note: Depending on humidity and temperature, it may take an hour or more for the icing to harden.
Notes
Storage: Once the icing has hardened, place the cookies in an airtight container for up to one week or 7 days.
Recommended Products
As an Amazon Associate and member of other affiliate programs, I earn from qualifying purchases at no additional cost to you. Thank you for your support.
-
 AmeriColor Super Red Soft Gel Paste, .75oz
 -
 Sweets Indeed Heart Sprinkles, Valentines Day, Edible Sprinkle Mix, Heart Shapes, Jimmies
 -
 Heart Cookie Cutter Set - 5 Pcs - Stainless Steel (4.21" 3.43" 2.64" 1.97" 1.18")
 -
 Nordic Ware Baker's Big Baking Sheet, 1-Pack, Silver
 -
 Reynolds Kitchens Parchment Paper Roll with SmartGrid, 45 Square Feet
 -
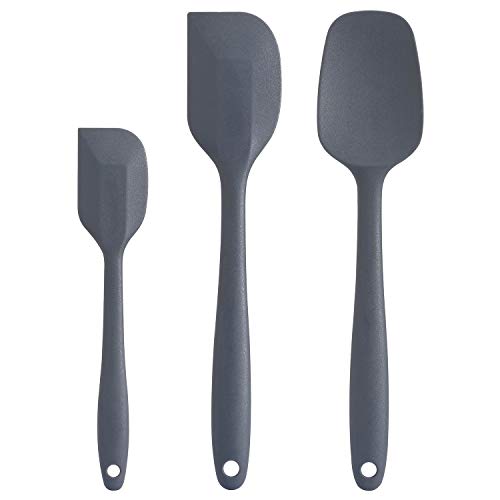 Silicone Spatula Set - Rubber Spatula - 600°F Heat Resistant Baking Spoon & Spatulas
 -
 12 Piece Plastic Nesting Bowls Set includes 6 Prep Bowls and 6 Lids, Microwave Safe Mixing Bowl Set
 -
 Cuisinart HM-90S Power Advantage Plus 9-Speed Handheld Mixer with Storage Case
 -
 KitchenAid® 7 Quart Bowl-Lift Stand Mixer, Cast Iron Black