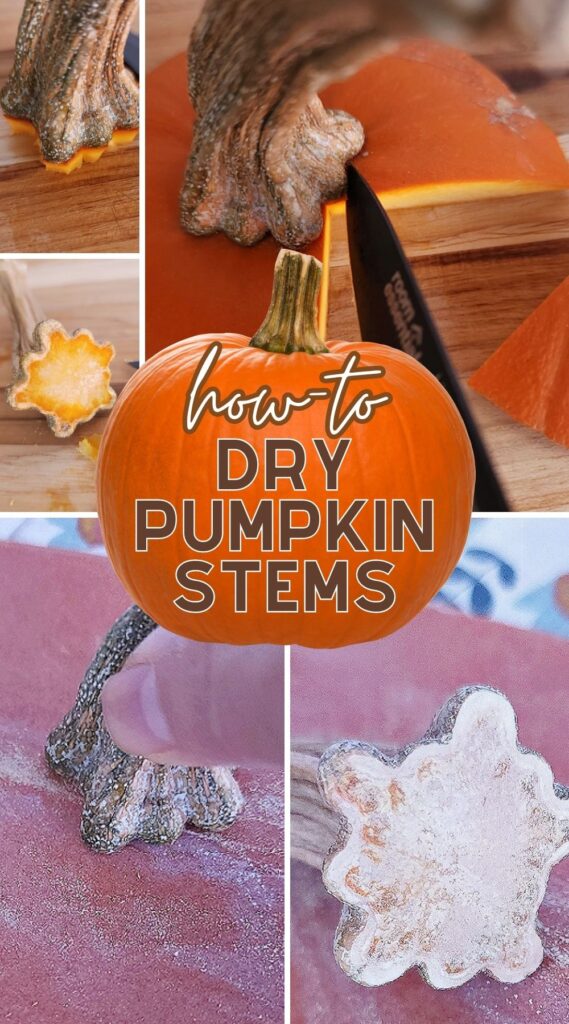
Dried pumpkin stems? Yes! Today I’m going to share the steps of how to dry pumpkin stems for various craft projects.
What to Make with Dried Pumpkin Stems
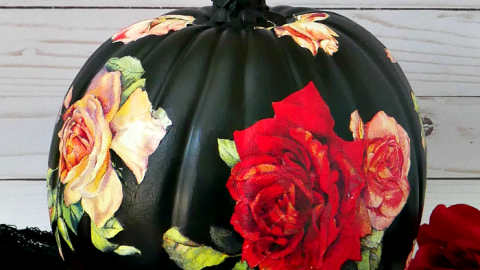
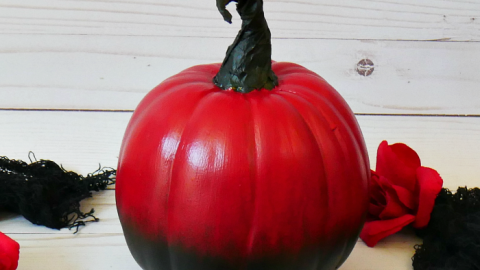
You might be wondering why anyone would want to dry pumpkin stems. Well, dried pumpkin stems can elevate DIY craft projects. It adds an authentic natural element that a plastic stem just can’t do. For example, when using a faux pumpkin, replacing the fake stem with a dried pumpkin stem will turn an inexpensive faux pumpkin into something that looks more upscale.
Dried pumpkin stems can be used to make velvet pumpkins, to replace stems on faux pumpkins (as seen above), or any other fall craft you want to upgrade.
Dry Pumpkin Stems Supplies
- Fresh pumpkin stems – I use the stems from sugar pumpkins (I use the pumpkins for pies), but stems from other pumpkins can be used too.
- Carving knife and paring knife – Large knife to remove the top of the pumpkin and a smaller knife to carve around the bottom of the pumpkin stem.
- Sandpaper – Fine-grit sandpaper to remove any bits of dried pumpkin flesh.
- Baking sheet – Pumpkin stems can be aired dried, so this is only needed if the pumpkin stems will be baked.
How to Dry Pumpkin Stems
Step 1. Cut the top of the pumpkin off, making sure to keep the stem in tact.
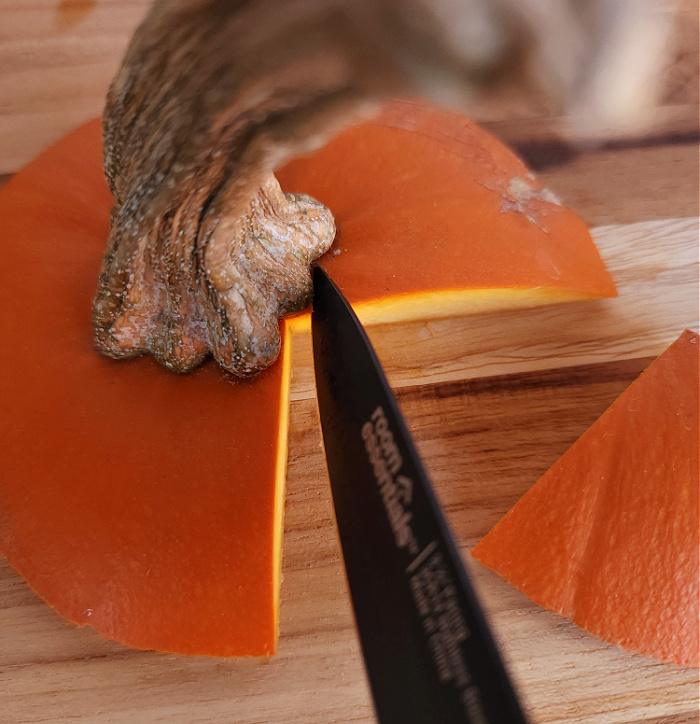
Step 2. Use the tip of a small sharp knife to carve along the bottom of the stem to remove any pumpkin flesh.
Step 3. Without cutting into the stem, carefully cut away as much of the pumpkin flesh remaining on the bottom of the stem. It’s okay to have a tiny bit of the orange flesh at the bottom of the stem, but it should feel flush with the pumpkin stem edge.
Note: If you don’t want to bother with cutting around the bottom of the pumpkin stem, you can also cut off the entire bottom of the stem, leaving a straight-cut bottom. If you do this, skip step 5.
Step 4a. Air dry version – Leave the stem(s) to air dry for up to 4 to 8 weeks in a dry place, uncovered, and in a single layer. Note: The length of dry time will depend on the size of the stem and the moisture in the air.
Step 4b. Baked version – Heat oven to 200 °F. Place the pumpkin stem(s) on a baking sheet in a single layer. Bake stems for 3 hours. Note: Periodically check the stems at 1 and 2 hours to make sure the stems aren’t burning. If the stems look dry before the 3 hour mark, remove the stems.
Tip: When the pumpkin stems are dry, they will lose a lot of ‘water weight’ and feel lighter. There is also a slight loss of overall color and the bottom will look dull and have a chalky white hue.
Step 5. Use a fine-grit sandpaper (150 or higher) to remove any bits of dried pumpkin flesh.
How to Store Dried Pumpkin Stems
Once the pumpkin stems are completely dehydrated, place in any container, box, or bag that is kept in a dry place.
More Pumpkin Ideas…
More DIY Pumpkins Ideas
DIY Eyelash Yarn Halloween Pumpkin
How to make an easy DIY eyelash yarn pumpkin using inexpensive foam pumpkins, paint, and eyelash yarn.
