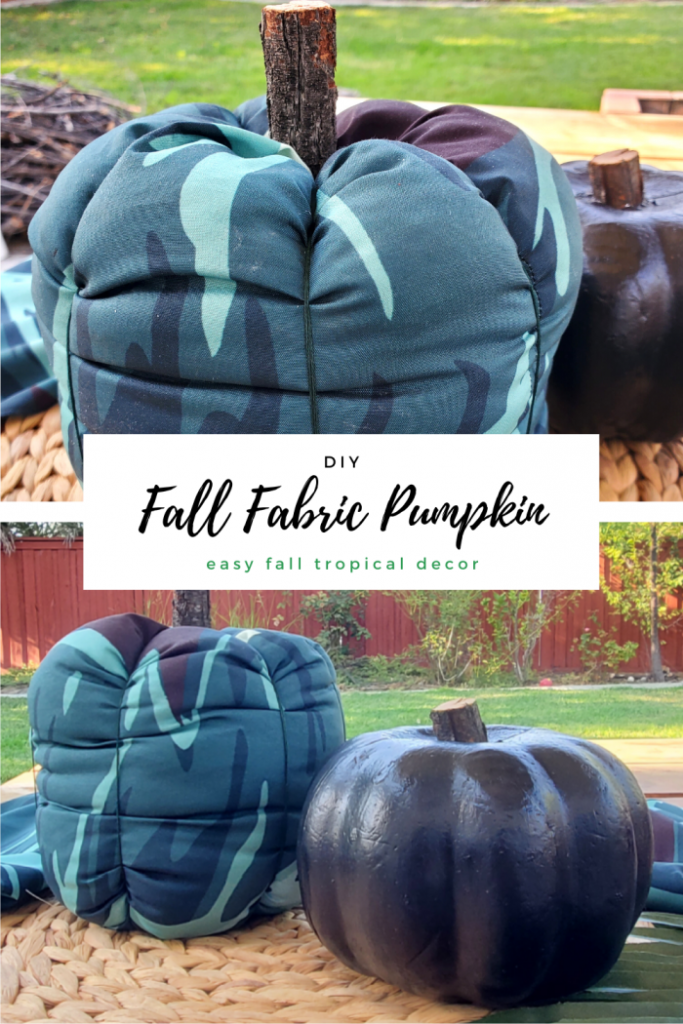
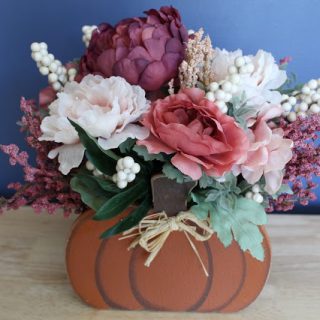
Transition to fall and match any decor by making your own DIY Fall Fabric Pumpkin.
It’s time for the August Pin Challenge! The purpose of the Pinterest Challenge is to motivate us to not just pin, but to make it happen (see the other host projects at the end)! This month’s challenge is all about fall projects, so I chose to follow this pin —>> DIY Fabric Pumpkin Tutorial found on my Holidays – Thanksgiving Pinterest Board.
What I like about making my own DIY Fall Fabric Pumpkin is that it’s easy to customize. Since my decor is sort of tropical, I decided to use some leftover tropical fabric from another project, so it blends in with my home. Also, since I already had everything on hand, I made use of craft supplies that were collecting dust and didn’t spend a dime – woot, woot!
Materials for Fall Fabric Pumpkin
- Fabric
- Cut tree branch (pumpkin stem)
- Embroidery thread
- Thread
- Stuffing (Fiberfill)
Tools Needed
- Scissors
- Glue Gun/glue sticks
- Needles – sewing needle & long doll/upholstry needle
- Ruler
- Cutting mat
- Sewing machine
Once you have all the supplies needed to create this fun fall pumpkin craft, just follow the instruction below.

DIY Fall Fabric Pumpkin
An easy fall decor craft - How to make DIY Fall Fabric Pumpkin. Rather than a short wide pumpkin, this tutorial makes a tall 6" fall fabric tropical pumpkin.
Materials
- Fabric
- Cut tree branch (pumpkin stem)
- Embroidery thread
- Thread
- Stuffing (Fiberfill)
Tools
- Scissors
- Glue Gun/glue sticks
- Needles - sewing needle & long doll/upholstry needle
- Ruler
- Cutting mat
- Sewing machine
Instructions

 Fold fabric and cut folded fabric to measure 9" x 18". This will create a tube for a 6" - 7" tall finished pumpkin.
 With right sides of fabric facing each other, sew the long 18" side with a 1/4" seam.
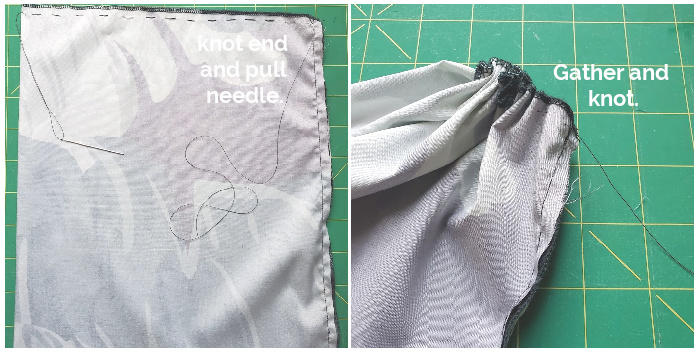 On one of the short sides, add a running stitch about 1/4" from the edge. Pull to gather and tie off the thread.
 Turn pumpkin inside out. Densely fill with stuffing/fiberfill. If not enough stuffing is used, it will create a lot of wrinkles on the pumpkin sides.
 Add running stitch along top of the pumpkin opening. Gather and tie a knot to close.
 Thread the doll/upholstry needle with embroidery thread. Pull it through the bottom of the pumpkin to the top. Knot the bottom end of the embroidery thread. Bring the needle and thread back to the bottom and continue doing this to make the sections of the pumpkin. Tip: If you want defined sections, pull tight. If you don't want wrinkles on the pumpkin, don't pull the embroidery thread tight.
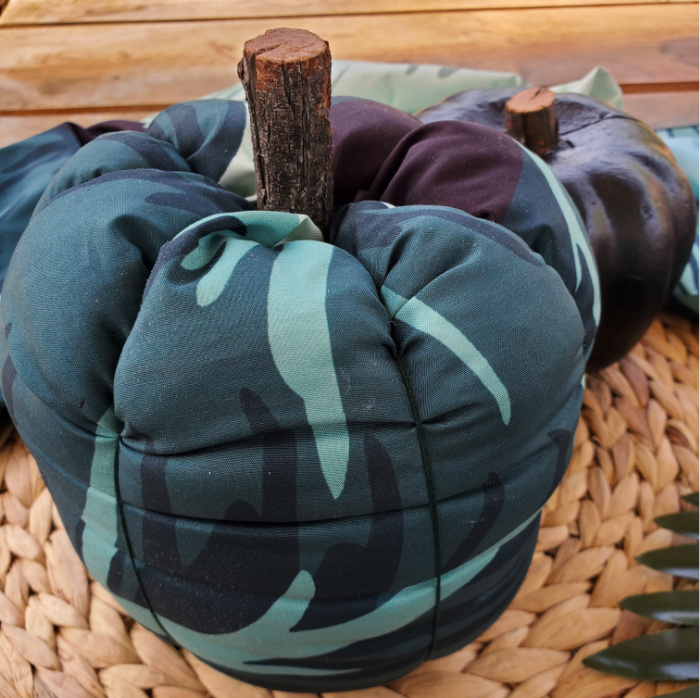 Cut an appropriate sized tree branch for the stem (mine is about 4"). Glue into place.
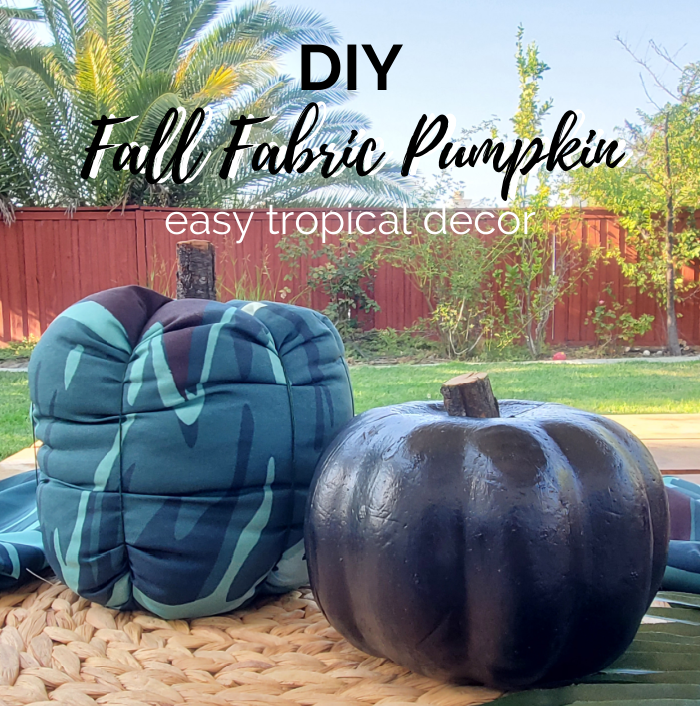
Notes
- I made this with a regular 4" needle, but I would highly recommend a 6" or longer doll/upholstry needle. It would make assembly safer and easier.
- I probably could have stuffed this pumpkin a bit more, which would have made a taller 8" to 10" pumpkin.
Recommended Products
As an Amazon Associate and member of other affiliate programs, I earn from qualifying purchases at no additional cost to you. Thank you for your support.
-
 FLBER Banana Leaf Wall Tapestry Home Decor,60"x 80",Twin Size
 -
 AdTech 0453 2-Temp Dual Temperature Hot Glue Gun Full Size, White
 -
 2 Pack Premium Sewing Scissors Set (9.5 INCH), Tailor Scissors Heavy Duty Multi-Purpose
 -
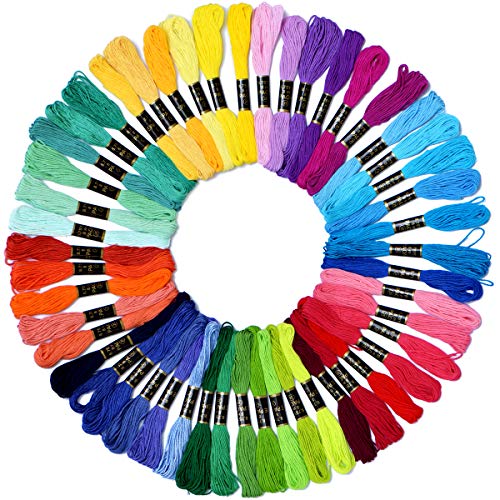 Embroidery Floss Rainbow Color 50 Skeins Per Pack Cross Stitch Threads Friendship Bracelets Floss Crafts Floss
 -
 20 Pack 6.8Inch/17.5cm Long Sewing Needles, Embroidery Needles Large Eye Stitching Needles for Quilting Darning Bead Loom Beading Doll Making Sewing Art Crafts
For more Pinterest inspired projects from this month’s Pinterest Challenge hosts, check out the links below ↓

Now, let’s see what the other hosts have created ⇓⇓
More August 2020 Fall Pinterest Challenge Posts...


Love the choice of camo fabric to make your pumpkin. Your tutorial makes it look easy!
I’ve got loads of spare fabric and I know the kids will love making these with me! What a fantastic and cool idea!
I love your pumpkin! I have made a lot of fabric pumpkins, but I haven’t done it quite like that, so I will have to make a few!
So adorable! Love this so much!!
I love your fabric choice for your pumpkin, Erlene!.Blue is a perfect alternative for orange and yellow for sure.
Brilliant idea to match any decor! I’d love for you to share over at our creative crafts linky party
have a great week!
creatively, beth
Very cute! I love how you made a tropical pumpkin to fit your style!
What fun fabric you picked! Pinned.
How cute is this, Erlene! The fun part is that you can use any type of fabric to match your decor which is really cool! Thanks for sharing how!
What a cute project. Love the tutorial. So fun participating in the challenge with you. Thanks for hosting.
Erlene, I just love the fabric pumpkins. So easy and less expensive than going out and buying them. Love the pattern you picked out for your pumpkin.
I agree that making customized pumpkins is the best to match your home. The fabric is very pretty and I love the tree branches as the stems. It gives it a nice natural touch.