Welcome to the third annual 12 Days of Christmas Blog Hop!
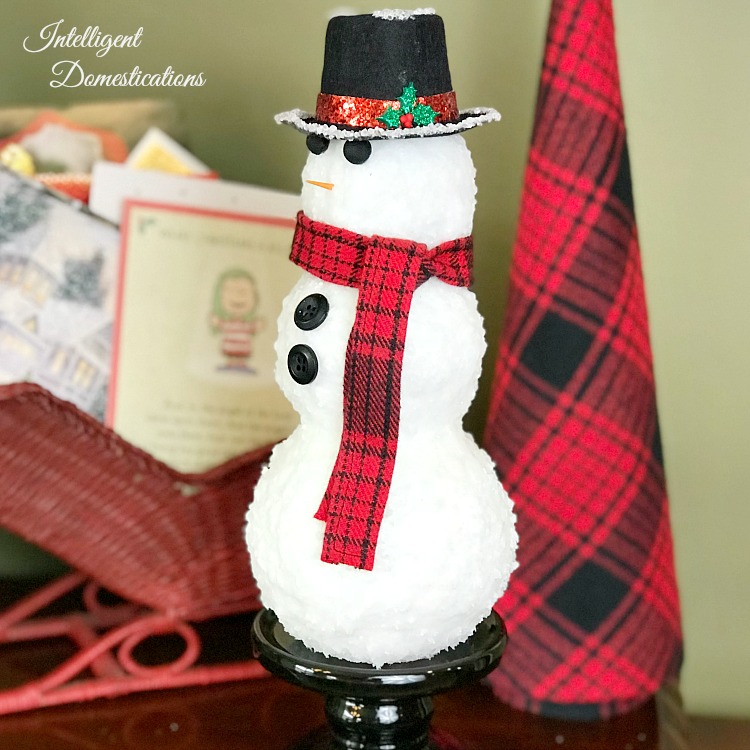
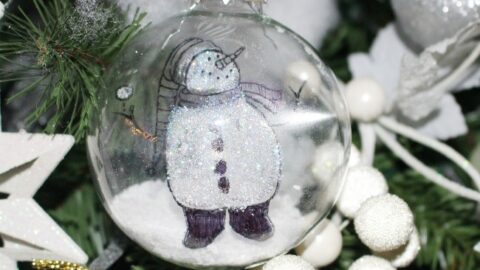
Welcome back to day 3 of the 12 Days of Christmas Blog Hop! Today, is all about snowmen crafts and I’m sharing a Snow Belly Snowman that was inspired by a vintage snowman ornament.

Stop by every day from December first through the twelfth for new ideas you can use to make your season brighter! Check out the list of host projects and the 12 Days of Christmas Blog Hop links below.
Snow Belly Snowman
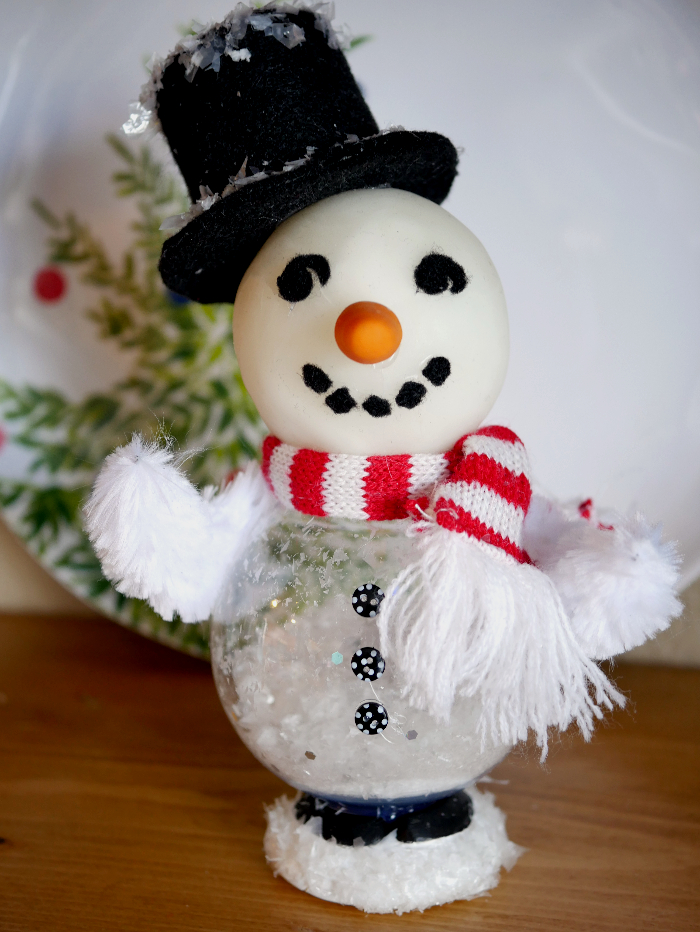
Can you believe this snow belly snowman was made with craft supplies I already had on hand?! Thank goodness for today’s 12 Days of Christmas Blog Hop snowman craft theme, I was able to use some of my crafts stash to create a fun snow belly snowman to put on display.
Supplies:
- porcelain clay
- faux snow
- paint -black, orange, and optional – white
- paint brush
- toothpick
- mini buttons
- clear ornament
- fur pipe cleaner
- mini scarf
- hot glue gun/glue sticks and regular craft glue
- styrofoam ball
- rolling pin
- black felt
- cardboard – I used a paper towel tube
- scissors
- mini snowman scarf or ribbon
- optional- chunky silver glitter
How to:
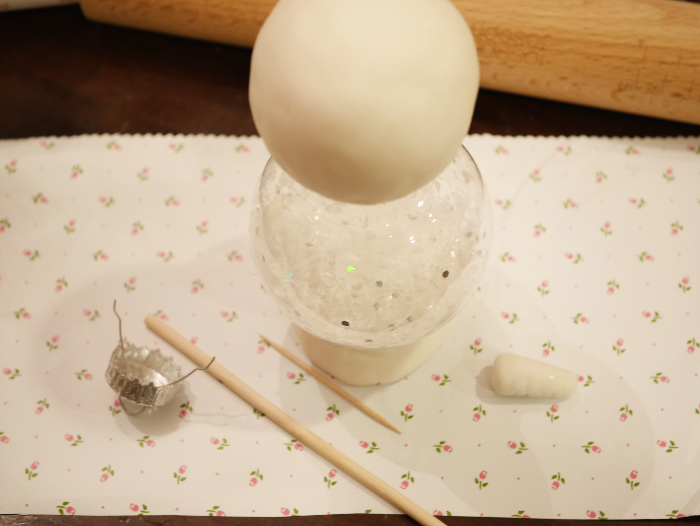
Snowman Belly
- Remove the top of the clear ornament and add faux snow and a bit of chunky glitter. Set aside.
Porcelain Clay Pieces
- Head – Roll out the porcelain clay to 1/4″ thickness and large enough to cover the styrofoam ball. Wrap the styrofoam ball with the rolled porcelain clay and use a scissors to cut off the excess. Smooth out edges with your finger and a bit of water. Push the styrofoam ball onto the top of the snowman belly ornament top. Set aside.
- Base – Roll porcelain clay in to a large ball. Use the snowman belly ornament to flatten it down and create a base. Let it sit on the base to dry. Take the toothpick and use it to create the look of shoes in the base.
- Nose – shape a piece or porcelain clay into a carrot shaped nose. Use the toothpick to add carrot stripes into the clay. Let dry.
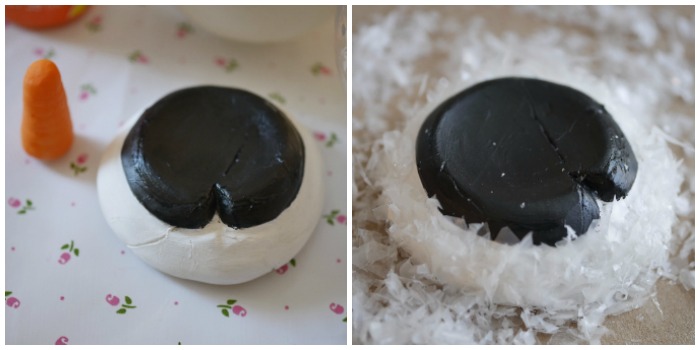
- Remove snow belly ornament from the base and set aside. Paint the nose orange and the ‘shoes’ on the base black. Let dry.
- Optional – paint the base white. Let dry. The clay dries semi-white, so this step can be skipped.
- Add glue around the base and press faux snow into it. Let dry.

- Hot glue the nose onto the snowman face.
- Hot glue the snowman onto the base.
Snowman Details

- Cut fur pipe cleaners to about 2″ – 2 1/2″ long. Trim the ends to taper to a ‘v’ shape.
- Glue the arms onto the sides of the snowman.
- Tie a scarf or ribbon around the neck.

- Use card or a paper towel tube to form the three pieces of the hat – top, brim, and crown.
- Cover both sides of the brim with felt and only one side of the top and crown.
- Cut circle out of the center of the brim to allow the hat to sit on the snowman head. Hot glue onto the snowman head.
- Hot glue the top into the crown. Glue the crown onto the snowman brim.
- Add craft glue to the top of the hat and brim and add faux snow.

- Cut felt into eye shapes and coal for the face. If the felt is too difficult to cut, use regular paper or mini buttons. Glue cut felt face pieces in place.
- Glue mini buttons onto the front of the snowman belly.

Find a place to display the snow belly snowman!
Now, check out the other fun snowman crafts in the blog hop below!
Be sure to visit our fellow 12 Days of Christmas Bloggers below for even more creative ideas this holiday season!













This is adorable, Erlene! I’m going to include him in my Merry Monday Features next week 🙂
such a beautiful snow belly snowman. Love it.
He is really cute, his belly makes him!
He is absolutely adorable!!
Tania