This post contains affiliate links. Items purchased through this links may result in a small commission at no additional cost to you. Thank you for your support!
Who thought that wearing masks on a daily would become a normal thing?! With Christmas coming up, here’s a DIY Face Mask with Center Seam that would make a practical handmade gift idea.

Wearing masks when you’re sick in Asian countries is kind of a norm, but who knew that it would become a mandatory daily thing in the U.S.A?! Hopefully, we won’t have to wear masks on the daily forever, but flu season is here and I don’t see an end to mask wearing anytime soon. So, making DIY Face Mask with Center Seam would make a great handmade gift idea.
Keep in mind, these are made with quilting cotton and cannot compare to an N95 mask, which should be reserved for healthcare workers. That being said, in a recent study by Duke University, the N95 mask with no valve is the best choice, the disposable surgical mask second, and a double/triple layered cotton mask came in third (this is where we’re at), with neck gaiters and bandanas at the bottom.
If you want more protection, I did try this DIY face mask over a disposable center seam surgical mask and was still able to breath without trouble. I also tried adding a metal nose strip, but it created too much of a seal and the mask was pulled to my face when breathing.

Before we get to the DIY Face Mask with Center Seam, it’s day 3 of the Festive Christmas Ideas Event! I’ve teamed up with a group of talented blogging friends to bring you a plethora of creative ways to celebrate your holiday season. You’ll find new ideas every Monday and Wednesday between Oct. 19th through Nov. 18th. Scroll down to find all the handmade ideas linked at the bottom for even more gift ideas!

DIY Fabric Face Mask with Center Seam – Handmade Gift Idea
The pattern for this was taken from an existing store bought surgical seam mask. I prefer this type of mask because it doesn’t tickle my nose like the pleated ones.

DIY Face Mask with Center Seam
How to make adult face masks with a center seam. Practical handmade gift idea.
Materials
- cotton woven quilting fabric - prewashed and ironed
- 1/8" or 1/4" flat elastic - cut into 8" long pieces
- thread
- paper or cardstock for pattern template
Tools
- face mask pattern
- sewing machine
- fabric scissors
- sewing pins
- pen or fabric pen
- iron
Instructions
 Download the DIY Face Mask with Center Seam Pattern. Cut out.
 Place pattern onto folded fabric and trace around it. Flip the pattern, and do another tracing. One will be the inside lining and the other the outside of the mask. Note: I should have ironed my fabric with right sides together here. I could have skipped step 5 if I had done this.
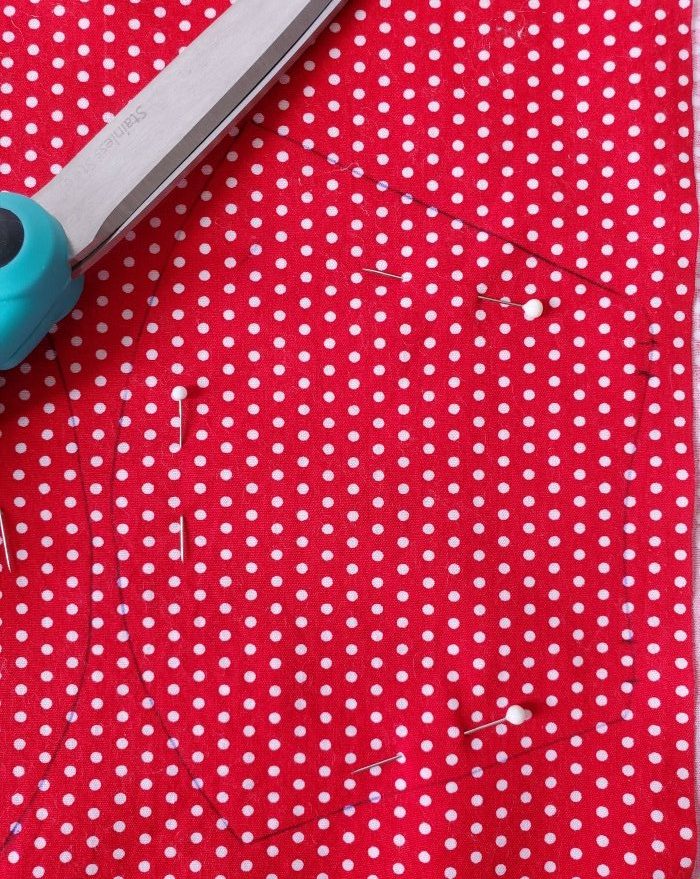 On one set, make sure to mark on the right side of the fabric where the elastic straps should be placed. Keep the markings inside the 1/4" seam allowance. It's also a good idea to mark which side is the top of the mask.
 Within each traced pattern, pin the fabric together and cut out. There should be four cut out pieces.
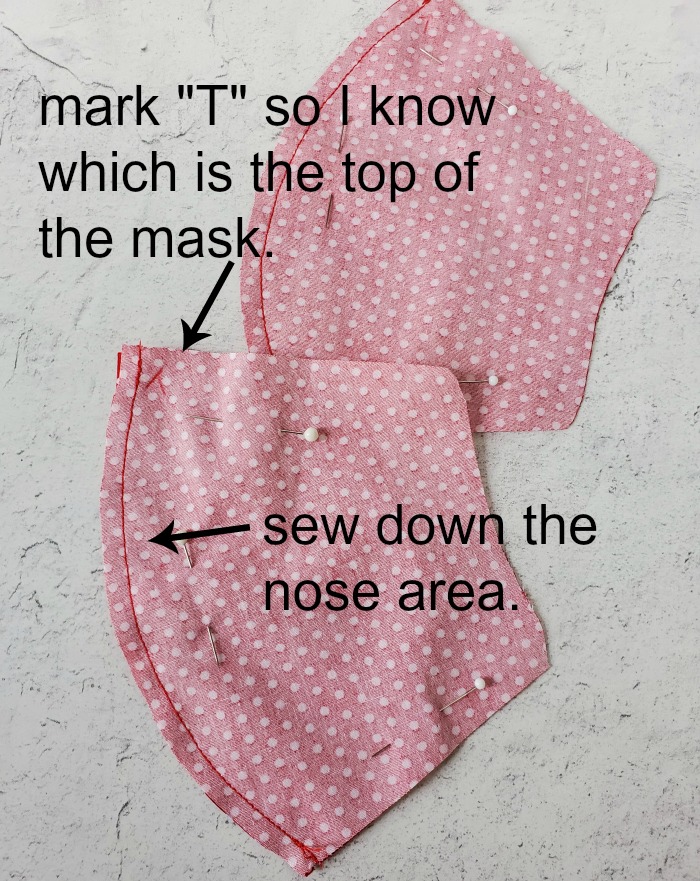
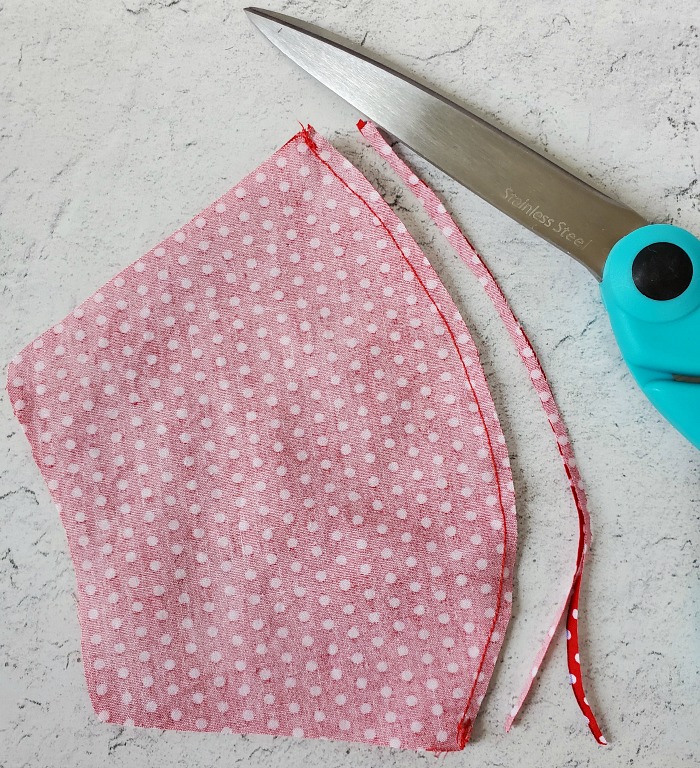 Flip the pieces so right sides are together and pin pieces together. Sew a 1/4" seam down the nose portion of the mask. Repeat with the second set. Trim off excess fabric to reduce bulk.
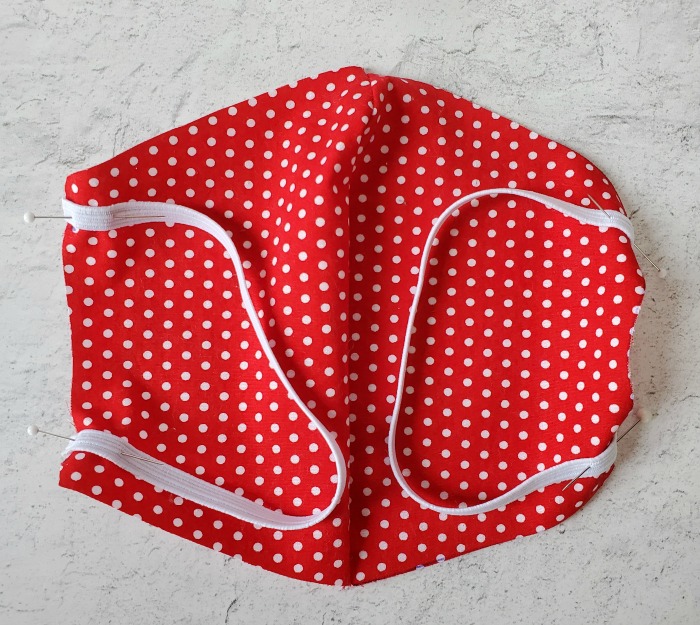 Open both pattern pieces. Pin the elastic in place on the marked pattern piece.
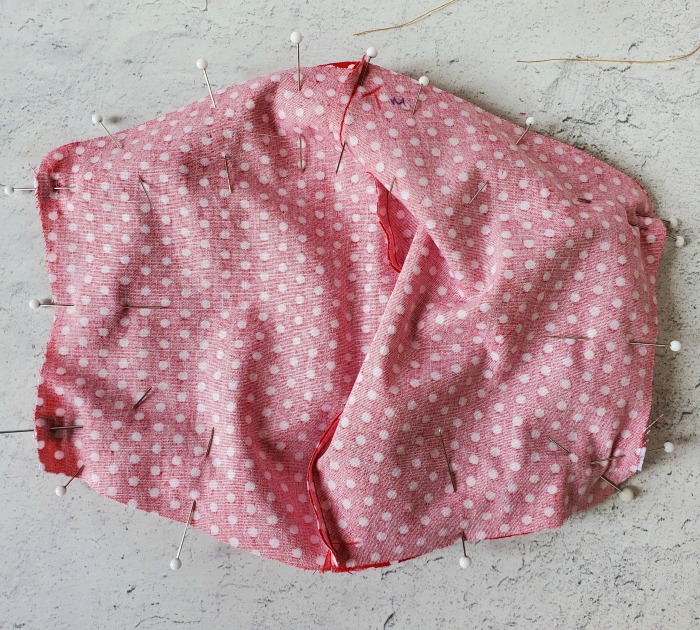 Pin both pattern pieces together, right sides facing together. Make sure to pay attention to match the center seam and corners of the mask when pinning.
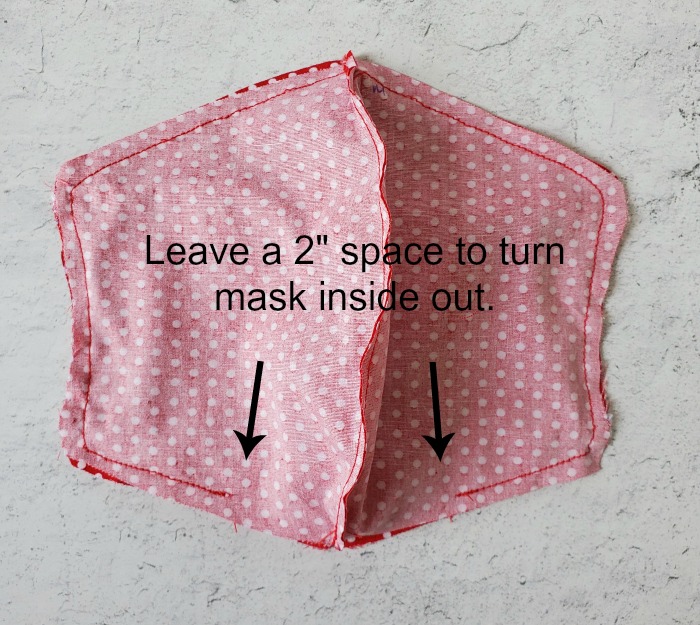
 Sew the pieces together with a 1/4" seam. Make sure to leave a two inch opening/space to turn the piece right side out.
 Iron/press the edge of the mask and the open seam.
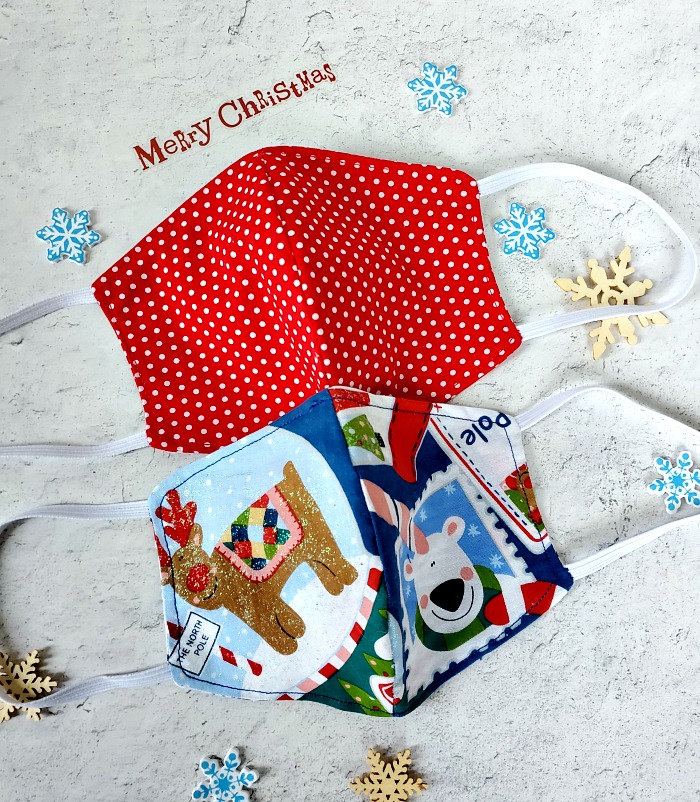 Starting at the open seam area, do a 1/8" top stitch around the entire edge of the mask. This should close the opening and ensure the two pieces won't slip around.
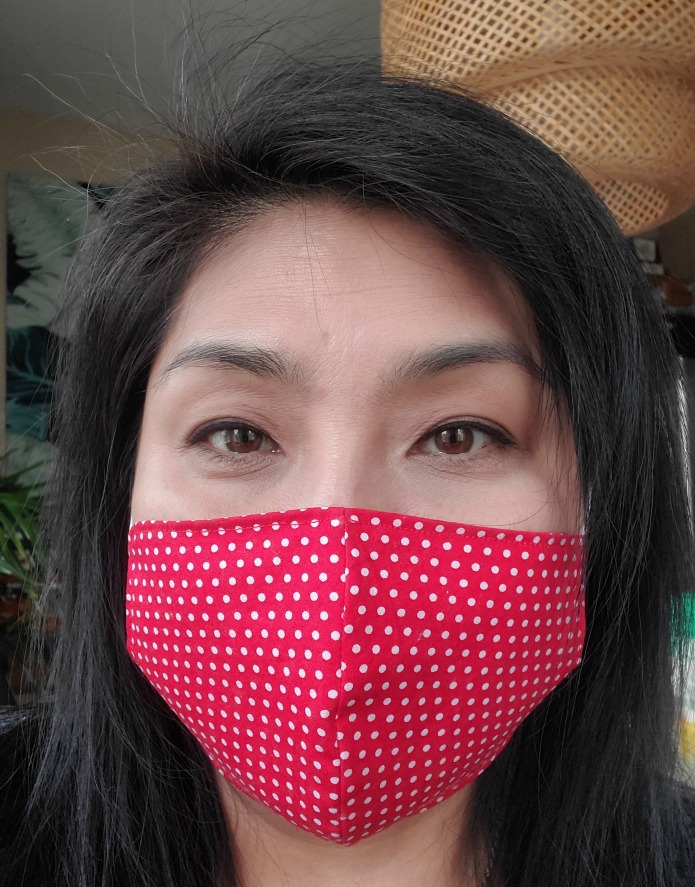 Now, it's ready to be gifted. Make two or three and add to a gift basket with some hand sanitizer or mask sprays.
Notes
- You can cut the elastic pieces 11" in length to allow people to tie knots and adjust the length of elastic for their face size. I tend to find 8" fits most people, so that's the length I cut the elastic.
- Amazon also sells elastic cords with adjustable buckles for masks (linked below).
Recommended Products
As an Amazon Associate and member of other affiliate programs, I earn from qualifying purchases at no additional cost to you. Thank you for your support.
-
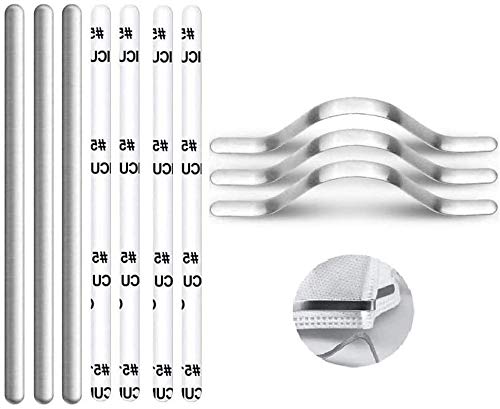 Metal Nose Strip for Masks, Aluminum Nose Strip Nose Bridge Strip for Face Masks, 90MM Adhesive Metal Strip Straps Wire for DIY Face Mask Making Accessories for Sewing Crafts (100Pcs)
 -
 Hollosport Elastic Cord for Masks 1/4 Inch White, 30M Oblate Soft Elastic String Rope Band for Craft Sewing, Prime Delivery
 -
 10 Yards 1/4 inch Flat Quality Soft and Durable Elastic Bands, Cords for Face Masks and Sewing. (White)
 -
 Elastic String Bands for M-a-s-ks Sewing - 1/4 inch Adjustable Elastic 50pcs White and 50pcs Black
 -
 SOWL Mask Shield + Sanitizer and Advanced Moisturizer Spray - 3-in-1 Action, Alcohol-Free Formula - 15mL, Unscented
 -
 Suave Hand Sanitizer Alcohol Based Kills 99.9% of Germs 10 oz,Pack of 6
 -
 Everyone Hand Sanitizer Spray: Coconut and Lemon, Travel Size, 2 Ounce, 6 Count
Festive Christmas Ideas Day 3 - Handmade Gift Ideas
DIY handmade gifts to make for gift giving this Christmas season.
Make This Dollar Store Gift Elf Cam Mug Using Cricut
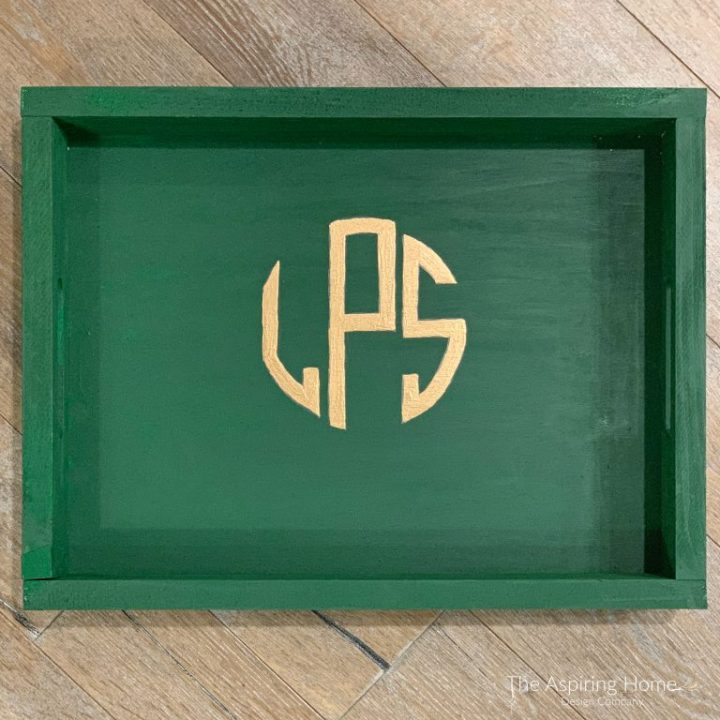
DIY Monogram Tray – The Handmade Gift
Festive Christmas Gifts- Handmade Earrings
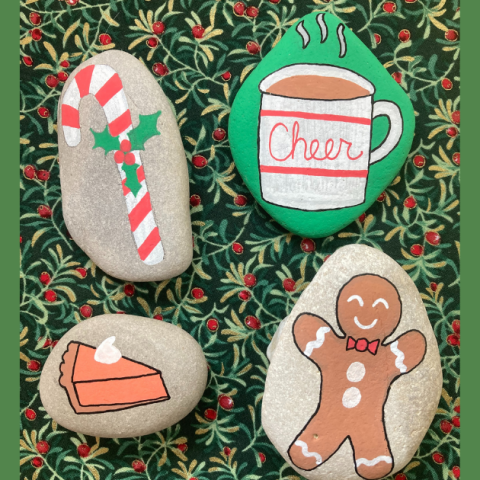
Christmas Treats Rock Art Tutorial #FestiveChristmas
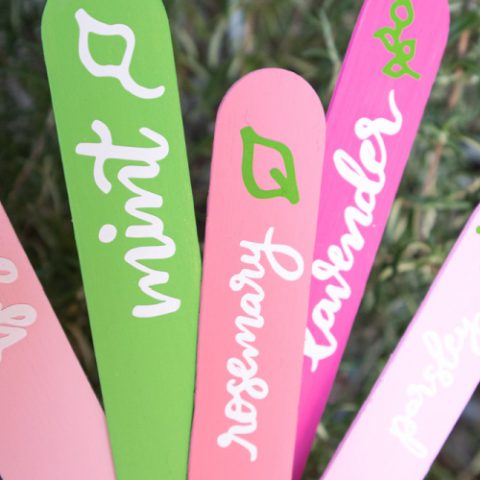
DIY Herb Markers with Cricut
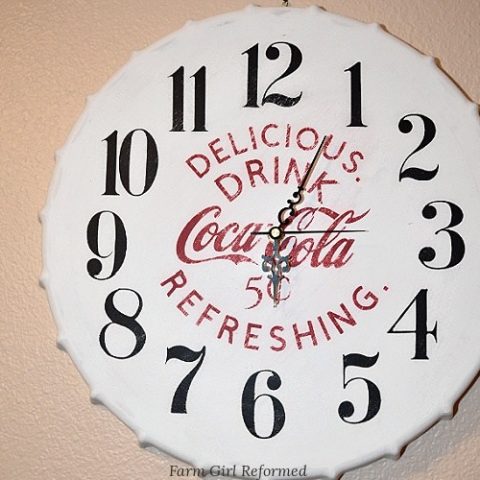
How to Make a Coca Cola Clock
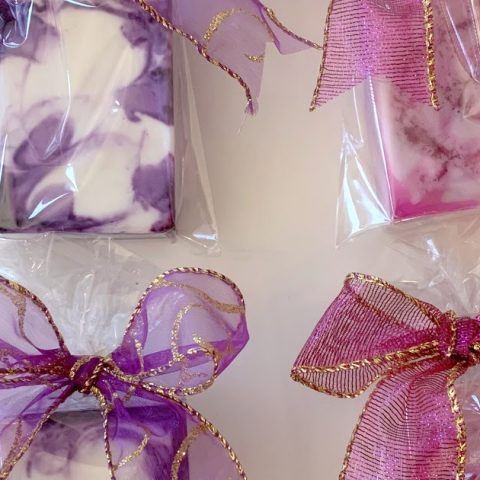
Handmade Soap Gift
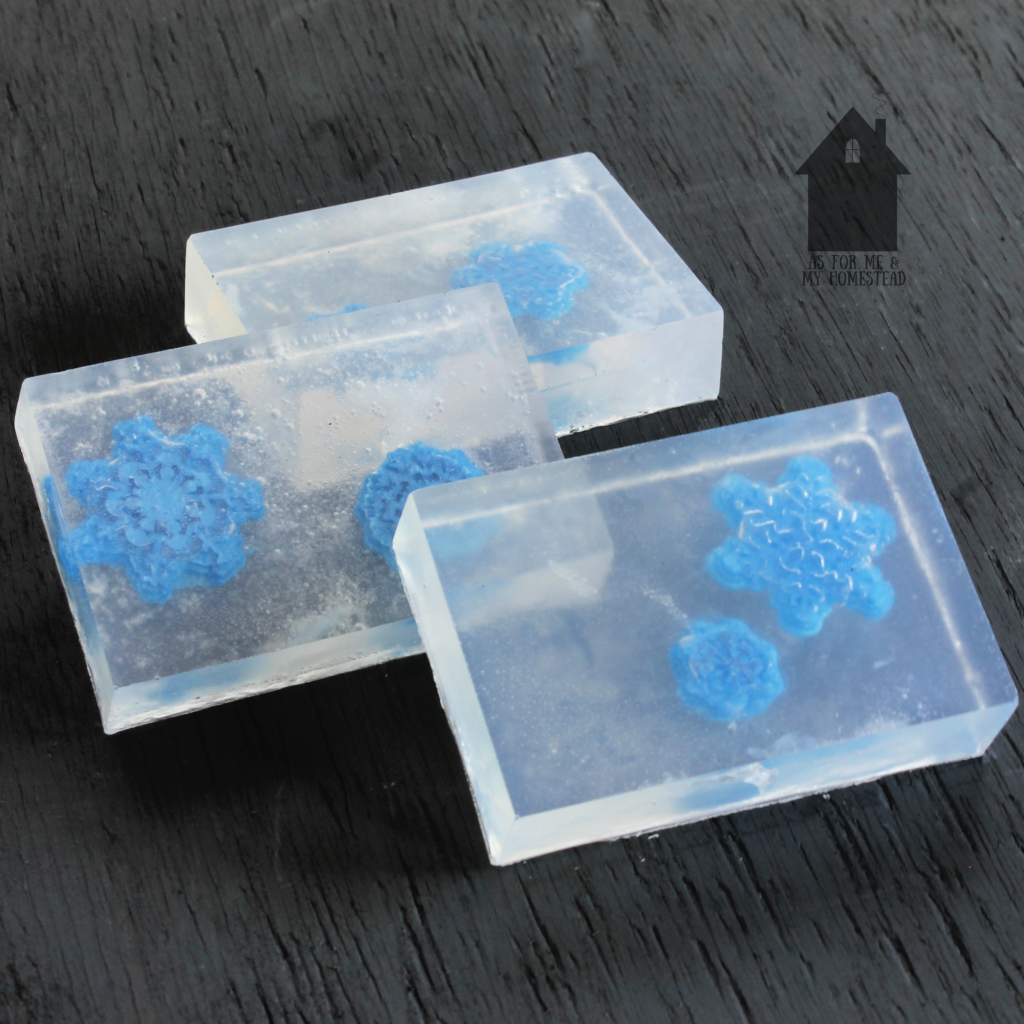
DIY Snowflake Soap
DIY Car Care Gift Bag For Her - Festive Holiday Ideas - Homemade Gifts!
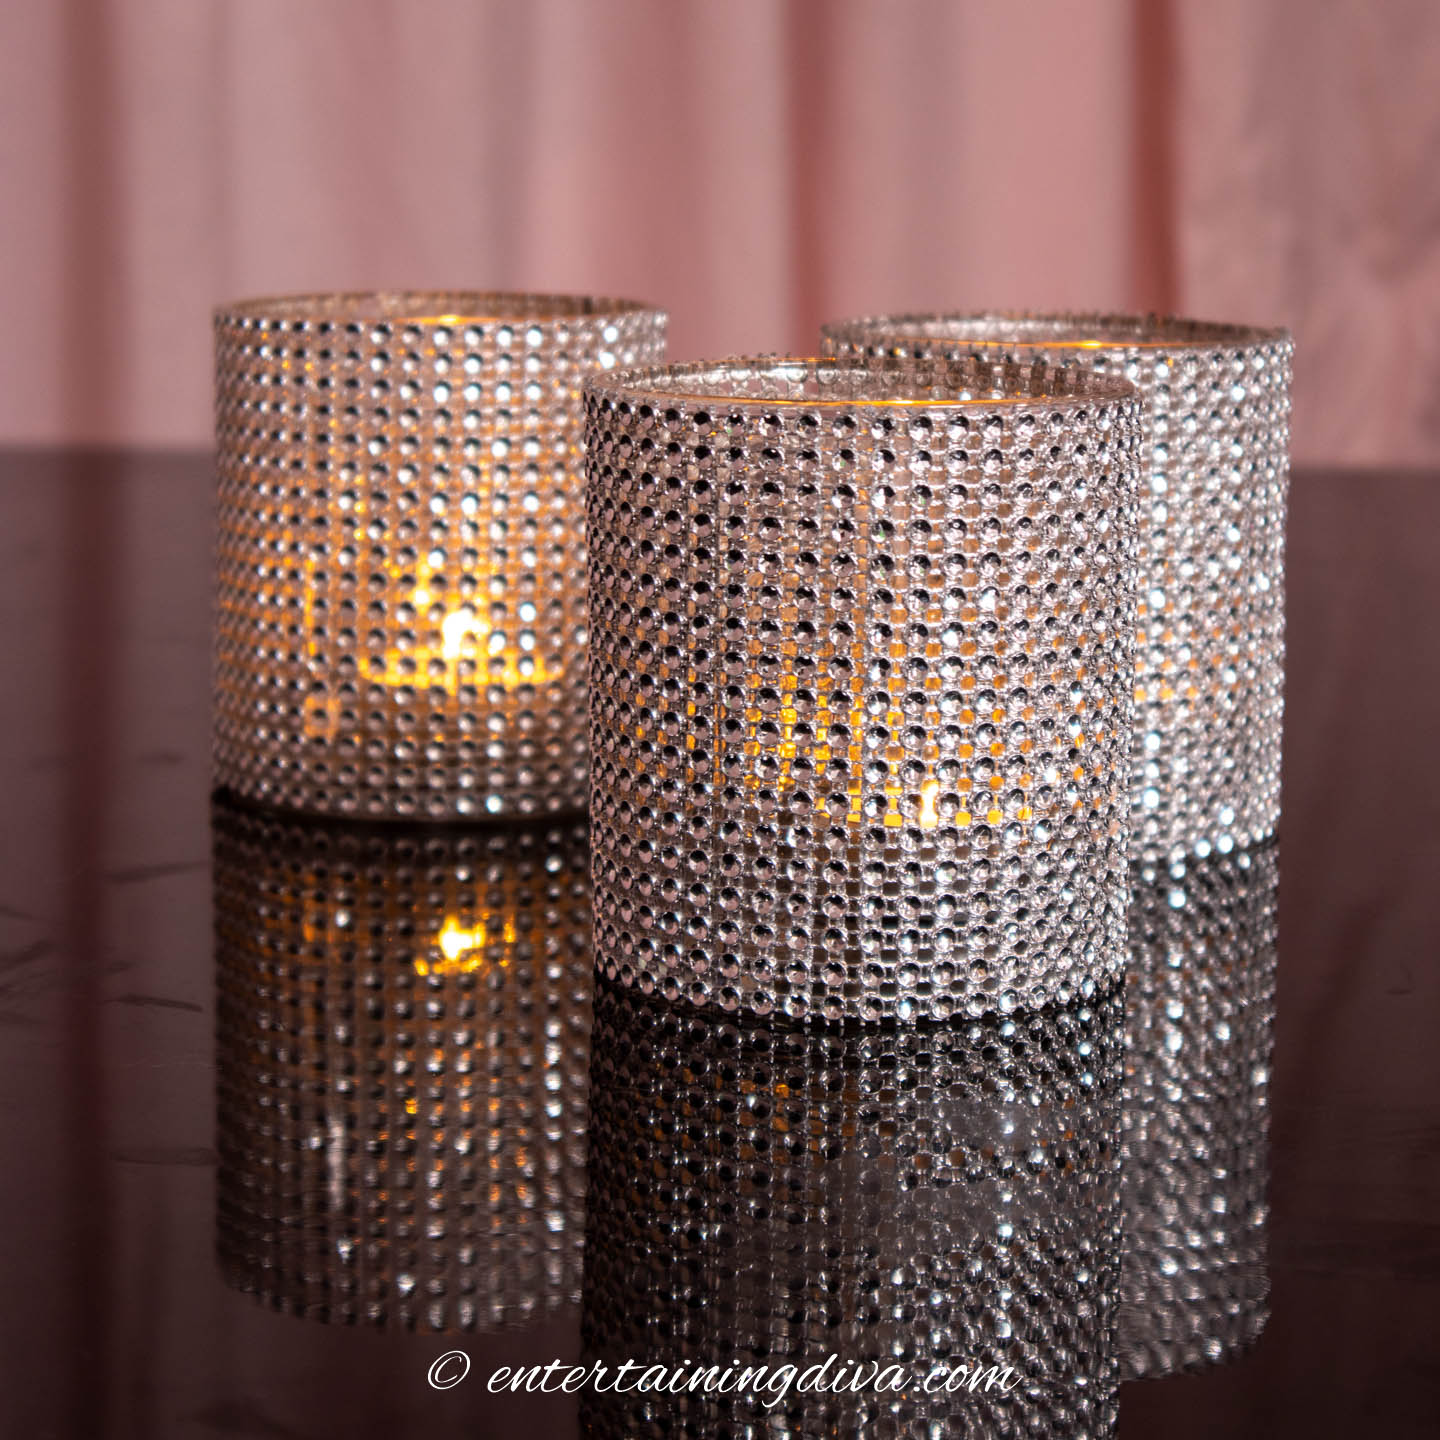
ZGallerie-inspired DIY Glam Candle Holders (Two Ways)
Farmhouse Bead String DIY Christmas Gift Idea
Homemade Hot Chocolate Mix
How To Package A Cookie For Christmas Gift-Giving
Easy DIY Angel Mason Jar Gift
Memory Garment Hand Warmers Homemade Gift Idea
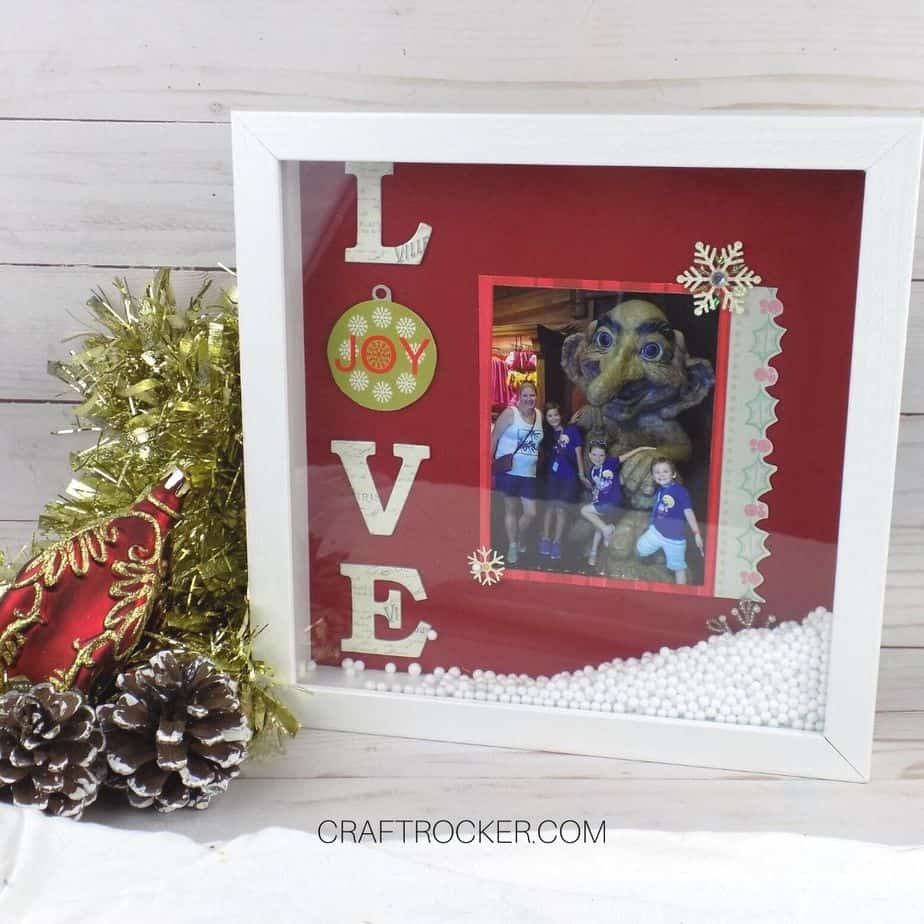
Snow Globe Shadow Box
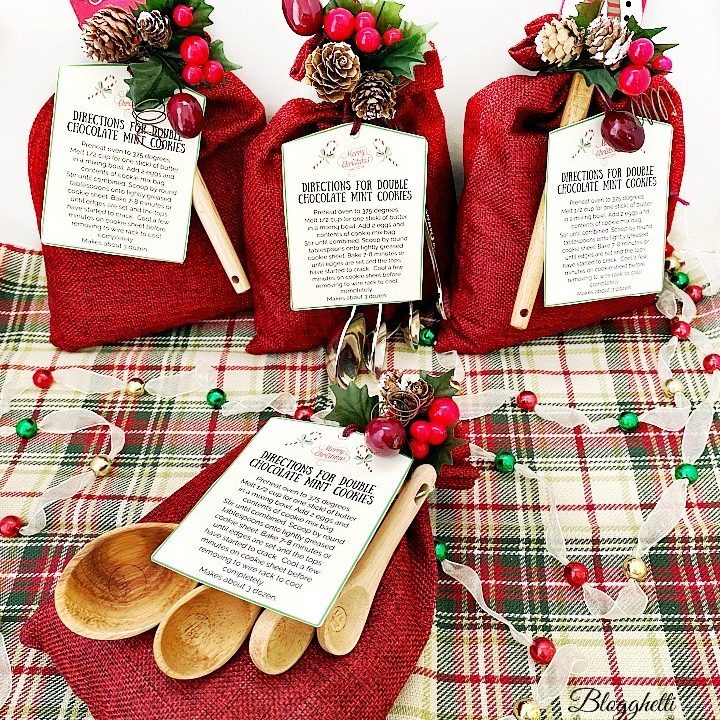
Holiday Cookie Mix Gift Sack with Printable Gift Tags
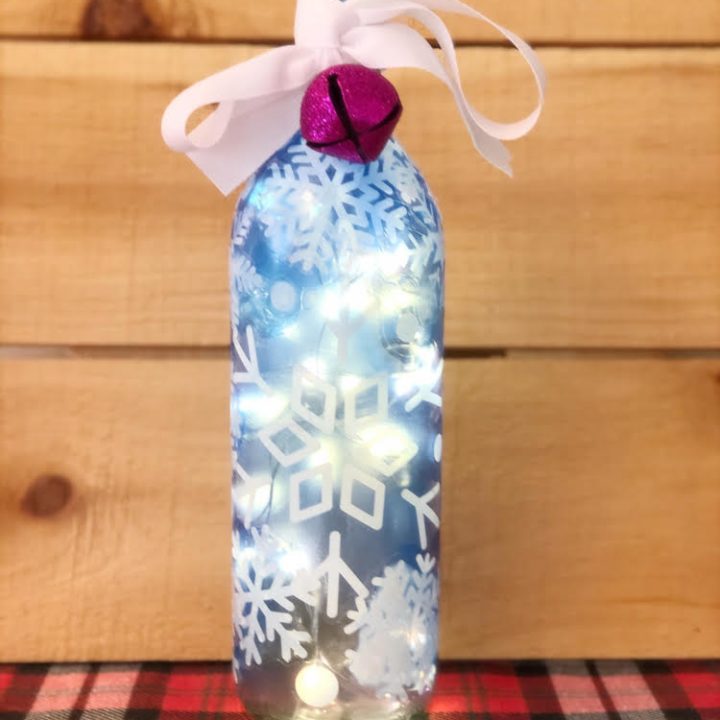
Lighted Snowflake Wine Bottle (DIY Christmas Gift)
Christmas Tea Towels Using Cricut Easy Press | Across the Blvd
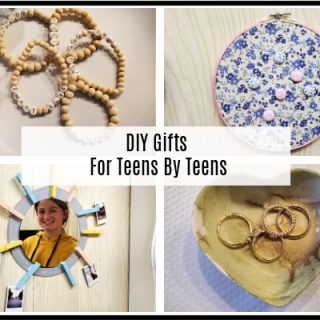
DIY Gifts For Teens By Teens
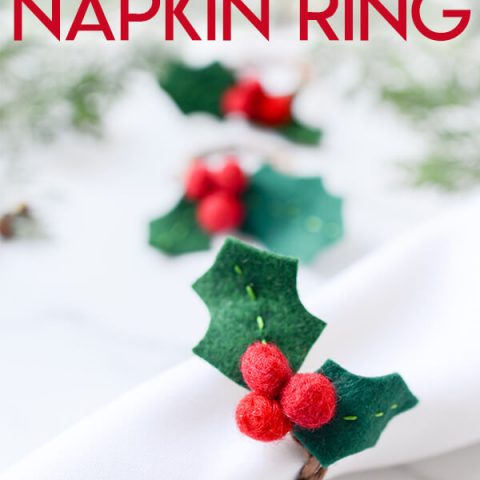
Felt Holly Christmas Napkin Rings
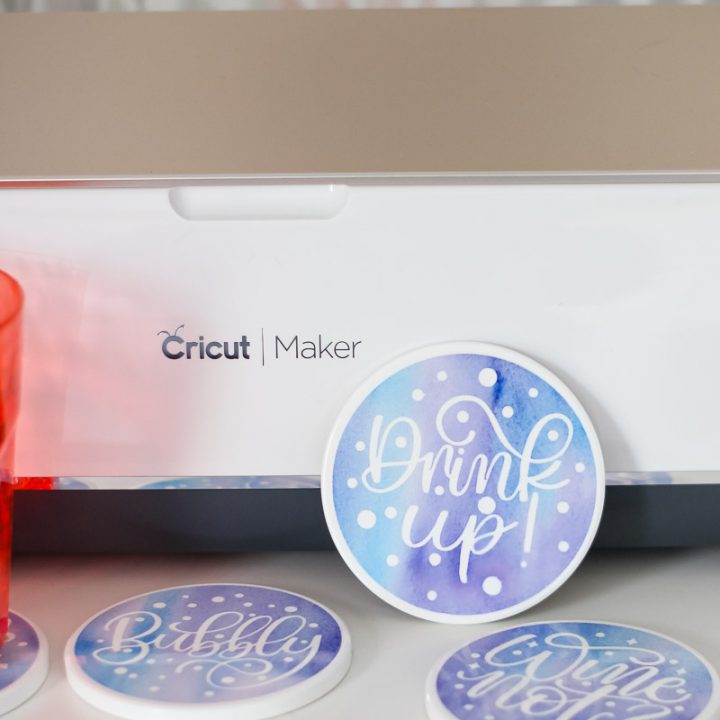
DIY Coasters with Infusible Ink
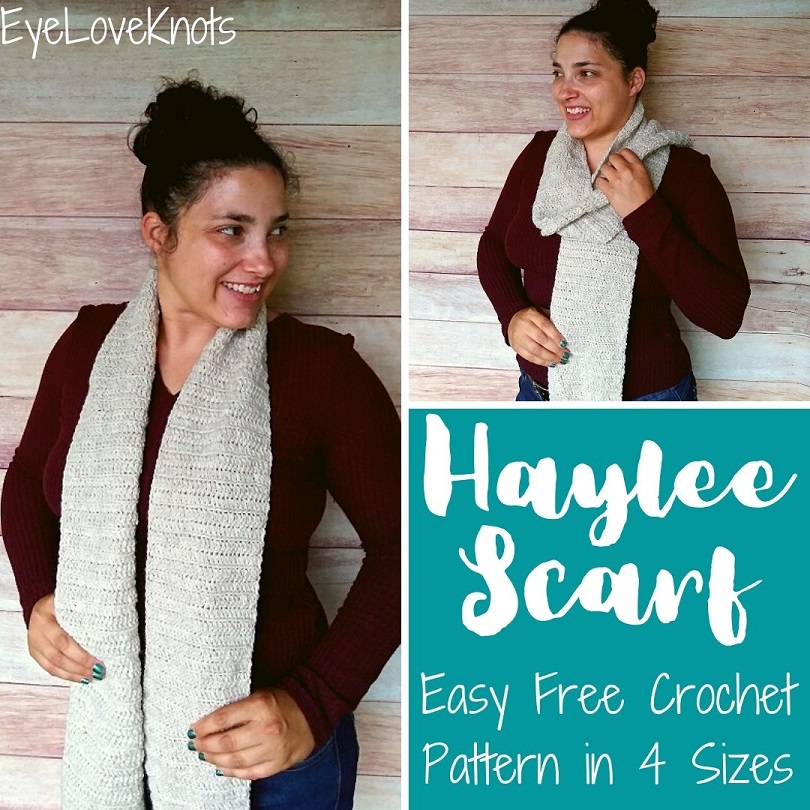
Haylee Scarf – Free Crochet Pattern
2020 Festive Christmas Ideas
Quick links to all the Festive Christmas Ideas on My Pintervetures.








These are really cute! Even though it’s no fun to have to wear a mask, I love the idea of wearing cute, festive ones like these! I haven’t tried the pleated ones, but I’ll take your recommendation to stick with these. Just might have to try my hand at some.
Thanks. I hope we won’t have to wear masks for much longer. But these festive ones do help make it a bit more fashionable 🙂 for the season.
These will make a great gift idea! I have been looking for a good pattern, because i haven’t liked the ones i have found. I will have to try these!
I’ve tried several styles of masks and definitely find the center seam style to be the most comfortable.
Same. For some reason the other types tickle my nose.
These are great, Erlene. It makes me wish I could sew! I love the holiday patterns.
Your face masks look awesome, Erlene! What a fabulous idea for gift giving! I wish someone would make and give me a few purple ones! They are hard to find. But I guess I could make my own from your awesome directions! Pinned!
I would love to have a few Christmas themed face masks to wear! What a great idea, Erlene and I’m loving the red (my favorite color) polka dot one.
This is such a great idea! I was just looking at masks in the store the other day but making one would be so much nicer!
Tania