When I saw these cute chocolate Easter bunny eggs, I knew I had to have them. Even though they really don’t go with this year’s mermaid Easter theme, I couldn’t resist and used them to create a chocolate Easter bunny basket wagon.
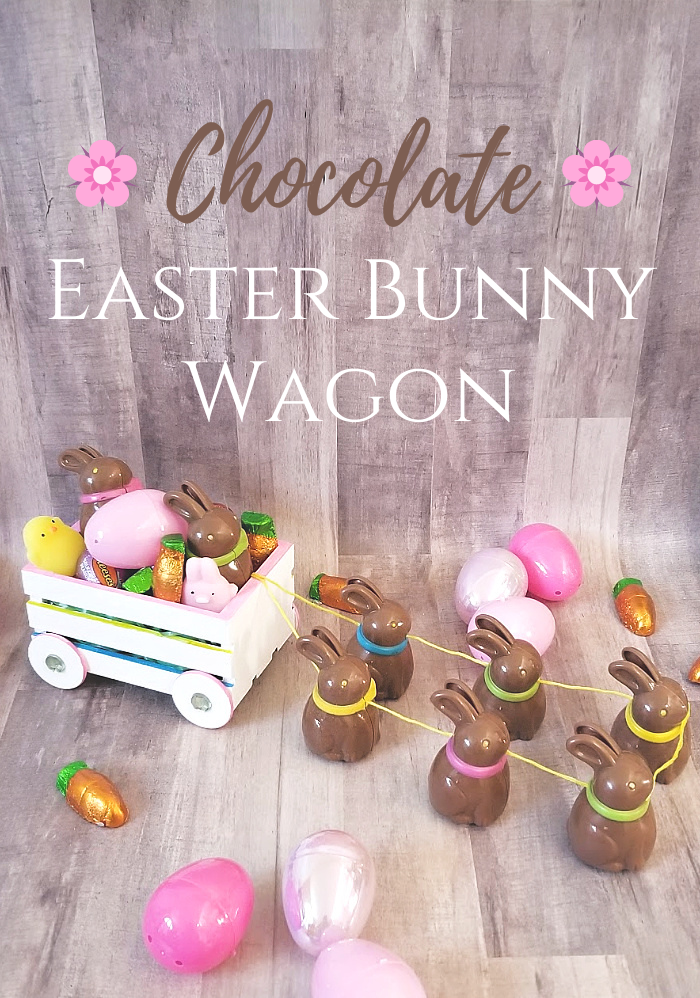
Use this tutorial as a base to create your own version of this chocolate bunny Easter wagon. Jazz it up using stencils, glitter, washi tape, pom poms, or anything else you can think of. Have fun and tag me on Instagram (@mypinterventures) if you make your own.


Chocolate Easter Bunny Wagon Tutorial
Use a mini wooden crate to make a chocolate Easter bunny wagon.
Materials
- Mini wood crate
- wood discs
- acrylic paint - blue, yellow, pink, and white
- optional - flat back gems
- colored string
- various Easter basket fillers
Tools
- hot glue gun/glue sticks
- scissors
- paint brushes - small and medium
- Painter's tape
Instructions
 Paint the entire wooden crate, inside and out white. At the same time, paint the wood discs, front and back, white. Let dry.
 Use a small paint brush to paint the edges of the disc pink (or another color). Let dry. Optional - glue on a colored gem stone to the center of the discs.
 Apply painter's tape to edges of crate slats. Take a small paint brush and add colored paint to the slat edges. I colored the bottom slats blue, middle slats yellow, and top edge pink. Let paint dry for a few minutes and remove tape.
 Glue wheels onto the sides of the crate.
 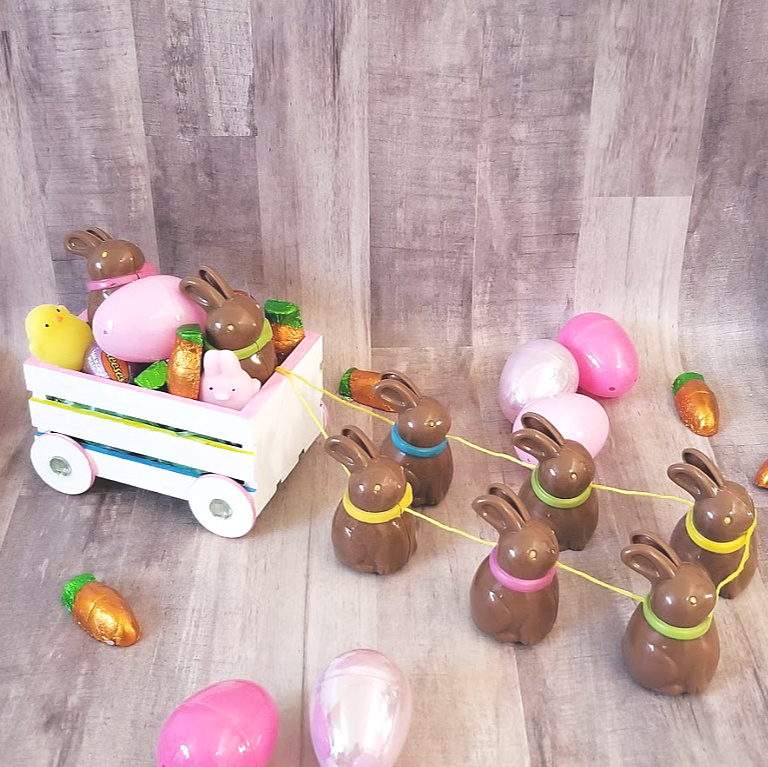 Not shown - Open the chocolate bunny eggs and run colored string through the neck area and close, making sure to space out each bunny. This will be the reigns of the wagon. Tape or glue the ends to the inside of the wagon. Fill wagon with Easter grass, candy, eggs, mini gifts, and more chocolate Easter bunnies.
Notes
The wagon can be decorated with washi tape, handpainted for more detail, or glitterized. Use your imagination and make it your own!
Recommended Products
As an Amazon Associate and member of other affiliate programs, I earn from qualifying purchases at no additional cost to you. Thank you for your support.
-
 6 Wood Mini Crates
 -
 Round Unfinished 1.5" Wood Cutout Circles (100 Pieces)
 -
 Apple Barrel PROMOABI, Assorted Colors 1 (18 pack)
 -
 Chocolate Bunny Shaped Eggs for Easter - 12 Pieces
 -
 Funiverse Bulk 200 Pack of Hinged Plastic Easter Eggs - Bright Colors, Easy Snap Shut, and Never Lose Pieces
 -
 Candy Retailer Chocolate Carrots 1 Lb.
 -
 Embroidery Floss Rainbow Color 50 Skeins Per Pack Cross Stitch Threads Friendship Bracelets Floss Crafts Floss
 -
 360pcs Larger Craft Gems Jewels Acrylic Flatback Rhinestones Gemstone for Arts and Crafts Jewels, 9 Shapes, 10-15mm






OMG! How did I miss this! Soo cute! I love it!
Thanks kim. I fell in love with the bunny eggs and knew I had to make something with them. I’ll probably do an entire chocolate bunny table next year since I really love these bunny eggs 🙂