Learn how to make a fluffy bunny pillow and create your own custom Easter and spring decor.
A few weeks ago, I saw a cute bunny tail pillow in a local craft store. It wasn’t very expensive, but I didn’t like the fabric and wanted to add large floppy ears. So, off I went to the fabric department and found the cutest fluffy mink fabric and printed fleece to create a custom fluffy bunny pillow.
Before getting started, you will need a sewing machine and basic sewing skills. I have listed the supplies I used below.
Supplies:
Note: the smallest amount of cut fabric that most stores will cut is 1/4 yd. If buying an accent fabric, there will be leftover that can be used for other projects.
- Sewing machine
- Sewing needles
- Sewing pins
- Fabric scissors
- Thread – in the color that matches your fabric
- embroidery thread – in color that matches your fabric
- 1/2 yd. furry fabric
- optional – 1/4 yd. accent fabric for inner ears
- Poly-fil – to stuff pillow
- Poster board or paper – pattern template
- Fabric pen
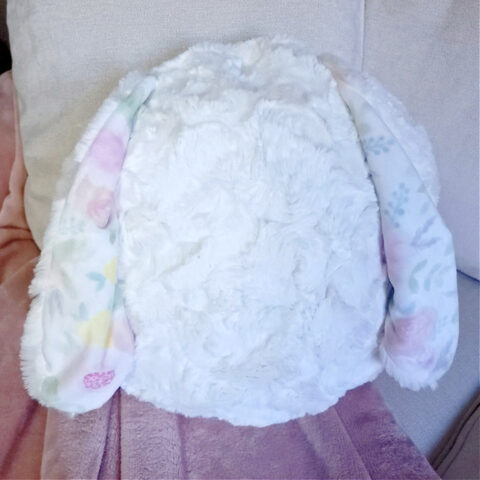
Fluffy Bunny Pillow
How to make a fluffy bunny pillow for spring or Easter.
Materials
- Thread - in the color that matches your fabric
- embroidery thread - in color that matches your fabric
- 1/2 yd. furry fabric
- optional - 1/4 yd. accent fabric for inner ears
- Poly-fil stuffing
Tools
- Sewing machine
- Fabric scissors
- Craft scissors
- Sewing pins
- Sewing needles
- Fabric pen + pen/pencil
- Poster board
- Ruler
Instructions
Prep Pattern
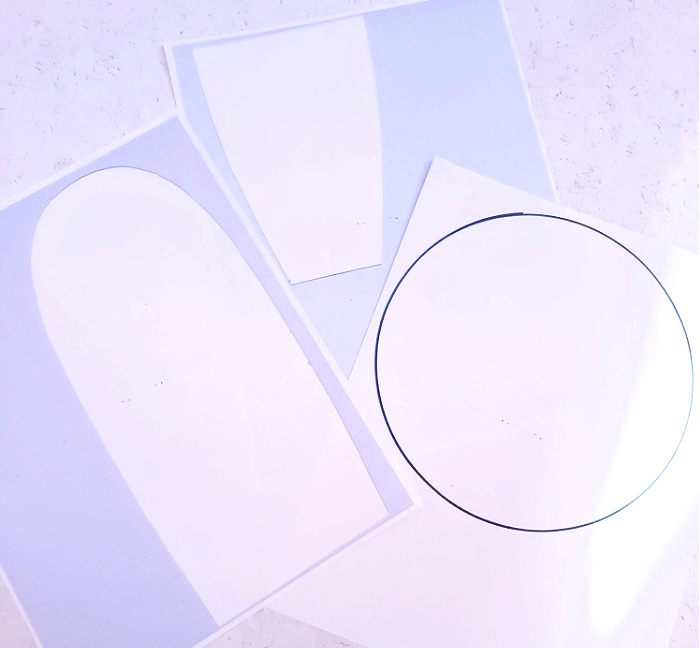 Print out the bunny ear template or freehand and cut your own shape. Print out the bunny tail template. Cut out the templates with craft scissors. The bunny ear template comes in two parts and will need to be taped together. Once that is done, set all the templates aside for later.
  Create a 16.5" or 17" circle pattern on paper or poster board. I did this by tying a string to a pen and measuring out a radius of 8.5" for a 17" circle. Mark the string at 8.5". Place the marked string onto the poster board and hold it down the marked area on the string with a finger. With the opposite hand, rotate the tied pen around in a circle. Make sure the pen is kept straight up and perpendicular to the paper. Once the circle is made, cut out the circle template with craft scissors. Set aside.
Cut Fabric
 Two large circles will need to be cut out. Make sure the fabric is folded in two, with the right sides facing each other. Place the large circle template onto the fabric. Trace around the template with a pen or fabric pen. Remove the template and pin the two pieces of fabric together. Cut out two circles with fabric scissors. Set aside.
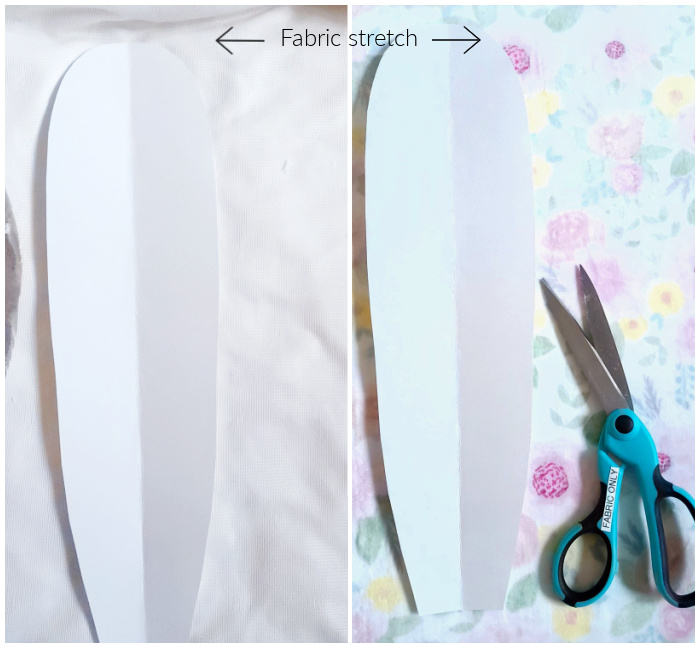 Two fluffy fabric ears and two coordinating fabric ears will need to be cut out. Place the bunny ear template on the fabric, making sure it is placed parallel to the salvage or so the fabric stretches as seen in the image. Trace around the template and cut with fabric scissors.
  Take one fur fabric ear and one pattern fabric ear. Pin these together, right sides facing each other. Repeat this for the second ear. Set aside.
 Place the bunny tail template on the wrong side of the furry fabric. Trace around the template with fabric pen/pen and cut out ONE circle. Set aside.
Sewing
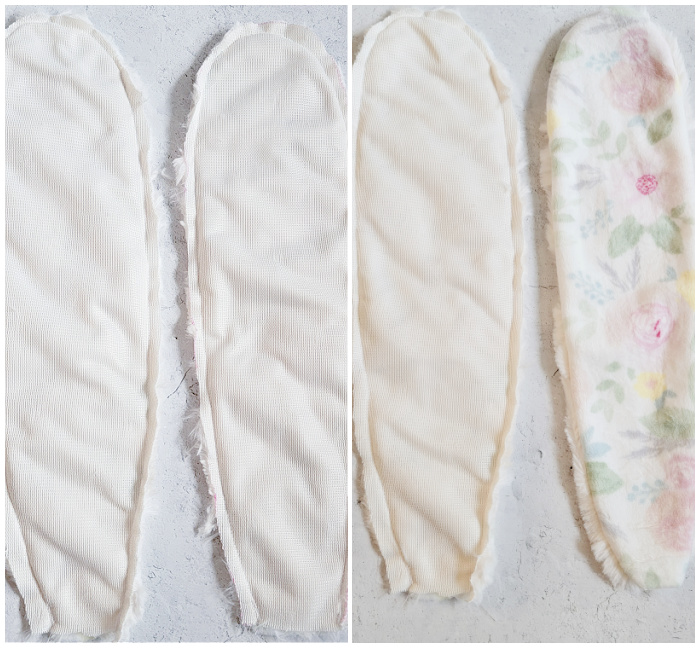 Using a 1/4" seam allowance, sew together the bunny ears. Flip so that the right sides of the fabric are out. Set aside.
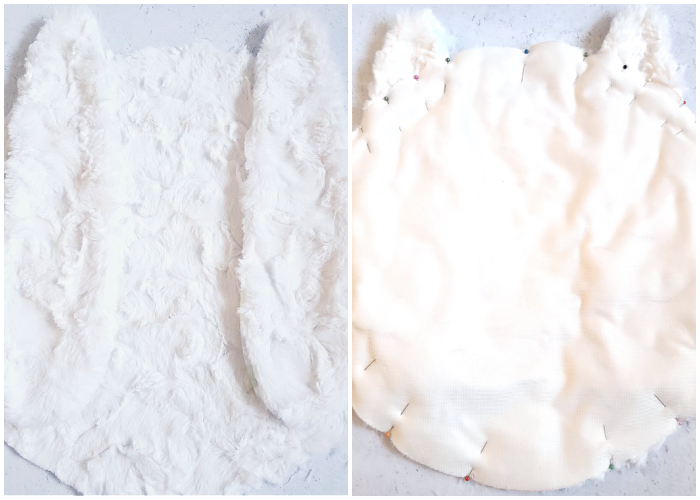 Unpin the large circles and place the bunny ears between the two circles. It is up to you how close or far you want the bunny ears. Once you like the placement, pin together the two circles with the bunny ears between them.
  Using a 1/4" seam allowance, sew the two large circles together. Make sure to leave a 4" opening gap for stuffing. Trim off any excess fabric of the bunny ears.
  Turn the pillow out, so that the right side of the fabric is outside.
 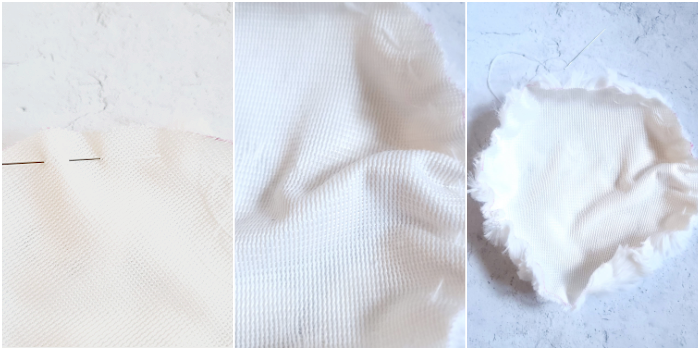 Thread a sewing needle with embroidery thread. Cut enough to sew around the bunny tail circle and knot the end. Sew a running stitch, about 1/4" from the circle edge of the bunny tail circle.
  Place a handful of Poly-fil inside the circle and pull on the embroidery thread to close up the circle. Pull as tight as it will go and tie a knot.
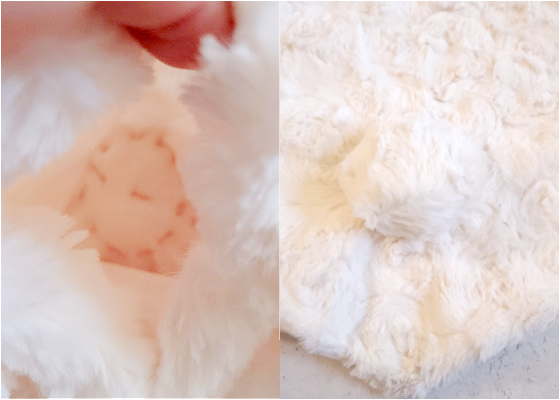 Thread a sewing needle with more embroidery thread. Knot the end. Find where you want the bunny tail and sew it to the body of the bunny pillow. Sew from the inside of the pillow and come up to the outside, grabbing some of the tail fabric. Go back down through the body of the pillow. Continue to do this in a circular pattern until the tail is attached to the body.
 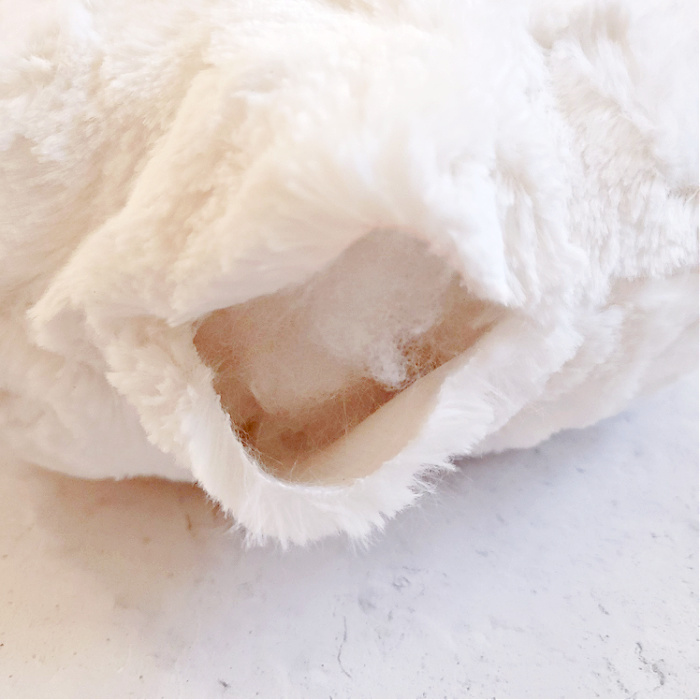 Stuff the main body of the pillow. Add as much Poly-fil until you get the firmness you like. Ladder stitch the pillow opening close.
  Pillow is ready to be displayed!
Notes
Notes:
Wash and iron your fabrics before using them.
The pattern uses 1/4" seam allowances.
Pillow can be made with or without ears or tail. Skip cutting out these templates if you choose to only do one or the other.
Recommended Products
As an Amazon Associate and member of other affiliate programs, I earn from qualifying purchases at no additional cost to you. Thank you for your support.
-
 Fairfield Poly Fil Premium Fiber Fill, 32-Ounce
 -
![LEONIS 5 Water Erasable Marking Pens Blue [ 78008 ]](https://m.media-amazon.com/images/I/41LM+pMEtdL._SL500_.jpg) LEONIS 5 Water Erasable Marking Pens Blue [ 78008 ]
LEONIS 5 Water Erasable Marking Pens Blue [ 78008 ] -
 KYUEWRT 25 Large Eye Embroidery Needles-5 Sizes Big Eye Hand Sewing Needles in Aluminum Storage Tube
 -
 Similane Embroidery Floss 50 Skeins Cross Stitch Thread Rainbow Color Friendship Bracelets Floss Crafts Floss with 12 Pcs Floss Bobbins and 1 Pcs Needle-Threading Tool
 -
 Dark Ivory Cream Beige Minky Swirl Rose Blossom Ball Rosebud Plush Fur Fabric Polyester 16 oz 58-60
 -
 Fiskars Craft Scissors
 -
 2 Pack Premium Sewing Scissors Set (9.5 INCH), Tailor Scissors Heavy Duty Multi-Purpose

