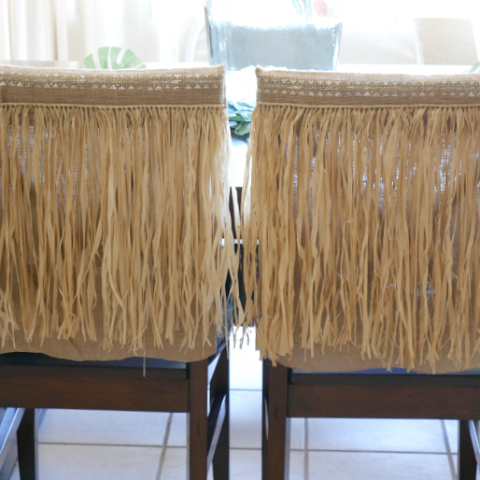
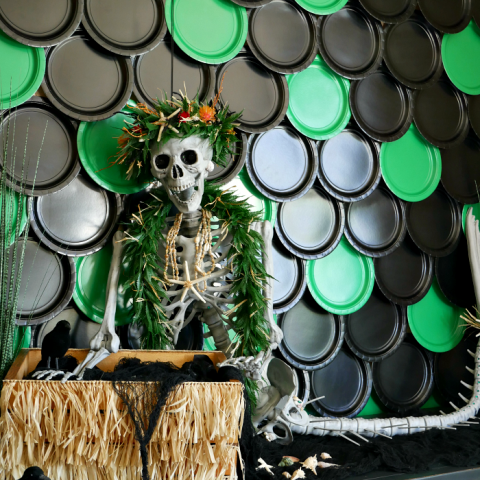
It’s a tropical Halloween and I’m sharing a DIY Halloween Pumpkin Hawaiian Warrior Helmet.
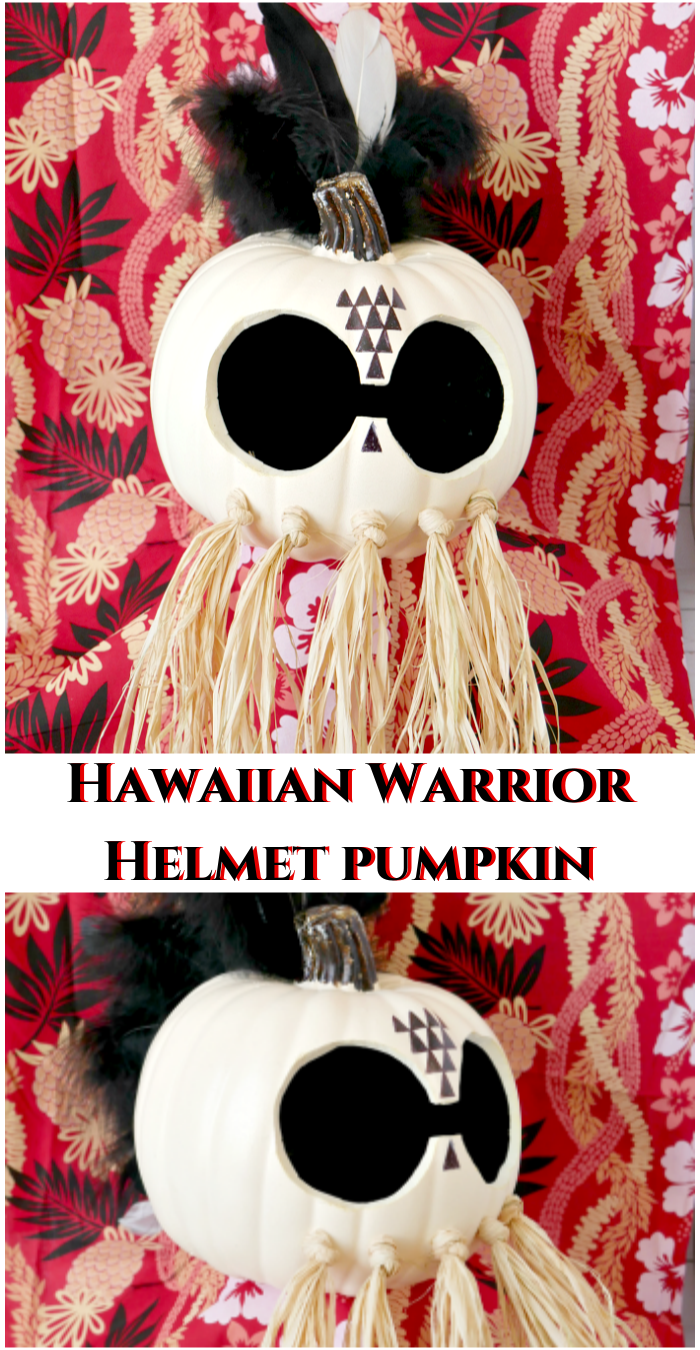
I know traditional Halloween decor is all about ghosts, goblins, and witches, but sometimes you have to change things up. For the longest time, I’ve been wanting to do a tropical Halloween. So this year, I created a Tropical Mermaid Halloween Display and decided to continue with the tropical decor! It really gives me island vibes and I love it!
So, I started to brainstorm on all the things that reminded me of Hawaii. The typical things came to mind…pineapples, beaches, tropical flowers, etc… These are all nice, but we’re talking Halloween and I wanted something with a strong vibe. Then, I remembered the Hawaiian Warriors and their helmets, called Makini. In the past, Makini were made with gourds and worn by warriors that protect the chief or the alii. Nowadays, minature versions of the Makini are made and are called Ikaika, which means strong in Hawaiian. If you visit Hawaii, you might see them hanging on car mirrors. Anyway, this is where the inspiration for this DIY Halloween Pumpkin Hawaiian Warrior Helmet came from.

Okay, let’s get to making this Halloween Pumpkin Hawaiian Warrior Helmet!
How to make a Hawaiian warrior helmet pumpkin for Halloween.

DIY Halloween Pumpkin Hawaiian Warrior Helmet
How to make a DIY Halloween Pumpkin Hawaiian Warrior Helmet with a foam pumpkin, raffia, and feathers.
Materials
- 1 - Medium foam pumpkin
- 1 - Black acrylic or chalk paint
- 1 - pack raffia
- 2 - packs goose wing rounds blk/wht mix
- 1 - pack turkey marabou loose feathers blk
- 1- black felt pen
Tools
- 1 - heat knife
- 1 - drill or awl
- 1 - drill bit(s) the same size as the feather stem. I used 1/8 and 5/64.
- 1 - small scissors
- 1 - bread wire tie or string
- 1 - paint brush
- 1 - pencil
- 1- painter's tape
- 1 - round glass or cardboard template
- optional - Silhouette cut machine & black vinyl
Instructions
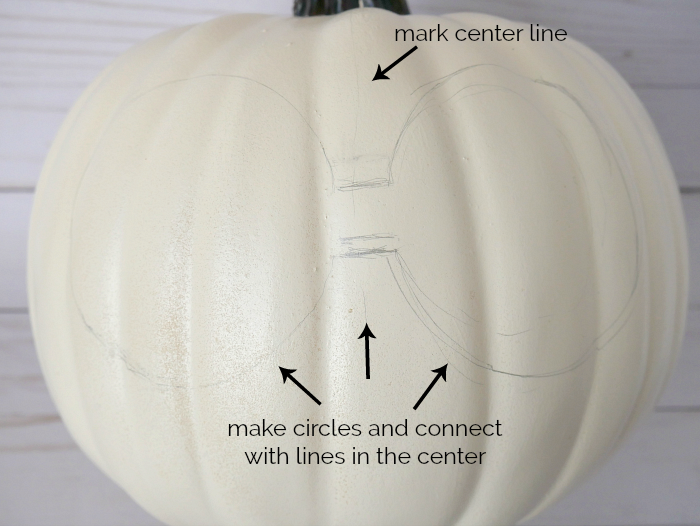 For reference, lightly mark a line down the the center point of the pumpkin with a pencil on both sides. Use a cup or round template to trace eye holes and connect them with horizontal line.
 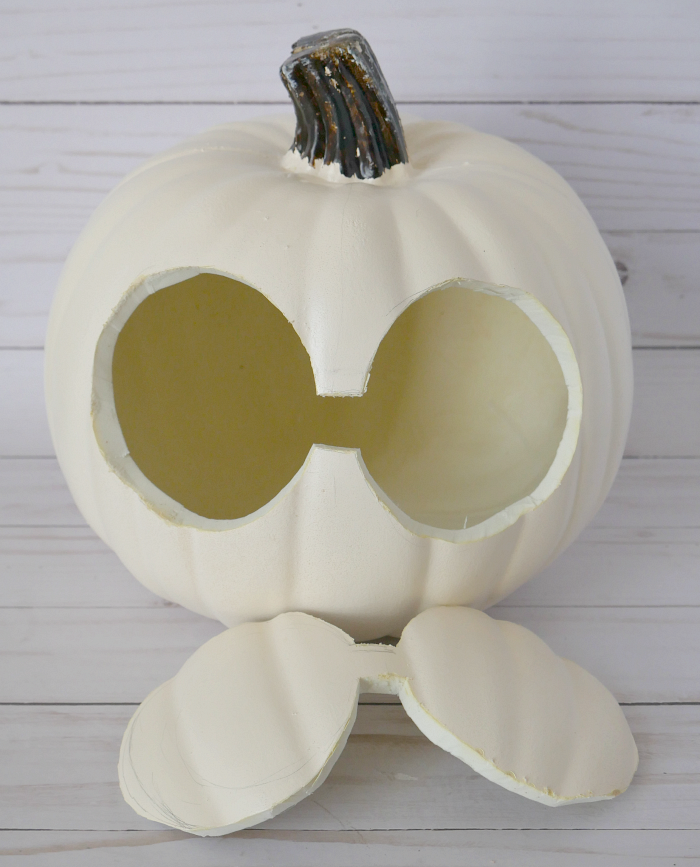 Use a hot knife to cut out the eye holes. Paint the inside of the pumpkin with black paint. I painted later and it was difficult to maneuver once all the feathers and raffia were in place. It's best to paint at this stage. Let the paint dry.
  To make the bottom decoration of the helmet, place painter's tape about 3/4' down from the eye holes or where it looks nice to you. Then, mark a center point in the middle of the tape. Mark a dot on each side of the center point, spacing about 1 1/4" apart. In the picture it shows 7 dots, but I spaced them too close. I moved the dots wider apart and ended up with only 5 drilled holes. Next, use the drill (3/16 bit) or awl and make a hole for the raffia. Make sure to support the pumpkin with your other hand when pushing through as to not have it cave in.
  Take 5-6 raffia strands and fold in half. Take the bread wire or string and loop it around the center fold of the raffia. Use this to help pull the raffia through the drilled hole. Tie a knot on portion inside the helmet and then tie one on the outside of the helmet. Trim to desired length.
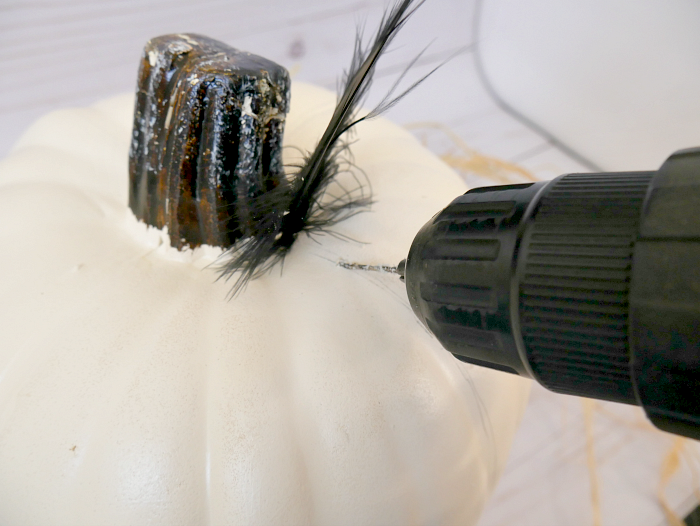 I forgot to take photos of this part, but here is an example. I didn't mark the holes and tried to drill as I went and the feathers kept getting caught in the drill. Mark first! Make dots about 1/2" apart directly on the center line, stopping about 1 1/2" - 2" from the bottom curve. Next, make dots in between each center dot that are about 3/8" - 1/2" away from the center line. Use a drill bit that is the same size as the feather shaft and drill holes down the center back. I used a 1/8 bit. For the side holes, use a smaller bit for the turkey feathers. I used a 5/64 bit.
 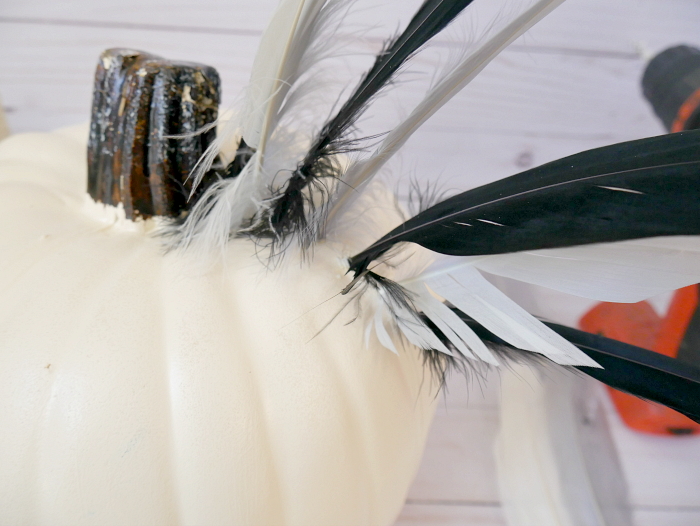 Insert the larger goose feathers into the center holes, alternating colors.
  Place the smaller turkey feathers in the smaller holes along side the goose feathers. This should fill in the empty spots and make the back look nice and full.
 - Even out the feather tips that are sticking out inside the pumpkin by trimming them with scissors. Camouflage the tips by painting them with black paint.
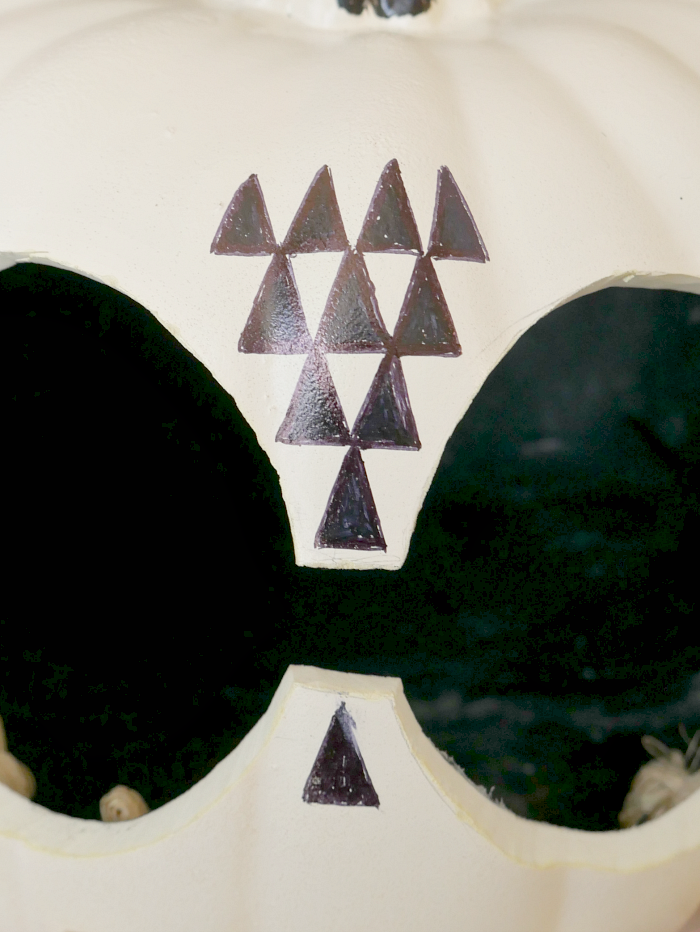 Optional - Create a 'shark tooth' triangle pattern with felt pen or use a cut machine to make black triangles. If I had to do this again, I would use a cut machine for a cleaner look.
Notes
Glue may be used to secure the feathers into the pumpkin, but I didn't have to add any glue.
Recommended Products
As an Amazon Associate and member of other affiliate programs, I earn from qualifying purchases.
-
 Scotch Precision Scissor, 6-Inches (1446), 1-pack
 -
 BLACK+DECKER 20V MAX Cordless Drill / Driver with 30-Piece Accessories (LD120VA)
 -
 Artlicious - 25 All Purpose Paint Brush Value Pack - Great with Acrylic, Oil, Watercolor, Gouache
 -
 Apple Barrel Acrylic Paint in Assorted Colors (16 Ounce), 21148 Black
 -
 Silhouette SILHOUETTE-CAMEO-3-4T Wireless Cutting Machine - AutoBlade - Dual Carriage - Studio Software
 -
 KINGLAKE Natural Raffia for Florist Bouquets Decoration Crafts Ribbon,Total 2 x 50g,Pack of 2
 -
 TommoT 100 Pcs 5-7 Inch Natural Large Black Goose Feathers for DIY Crafts or Dream Catcher
 -
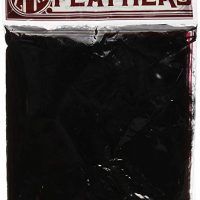 Zucker Feather Products Loose Turkey Flats Dyed Feathers, 4-6", Black
 -
 Mr. Light Eerie White Funkin - Size 6.5 inches x 6 inches
 -
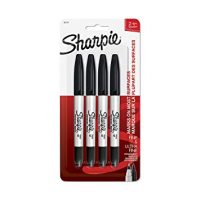 Sharpie Twin Tip Permanent Markers, Fine & Ultra-Fine Points, Black, 4 Pack (32175PP)
 -
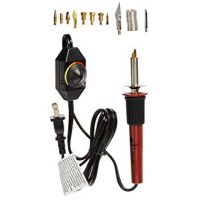 Walnut Hollow Creative Versa Tool with Versa-Temp Variable Temperature Control & 11 Woodburning Points (Tips)
