Products used in this Tropical Halloween Mermaid post were sent complimentary from Oriental Trading. Commission may be earned on orders placed through my links. #OTCBooCrew #OTCHalloween #orientaltrading
Making mermaid skeleton containers is easy with the help of Oriental Trading, your one stop shop for all things Halloween and more!

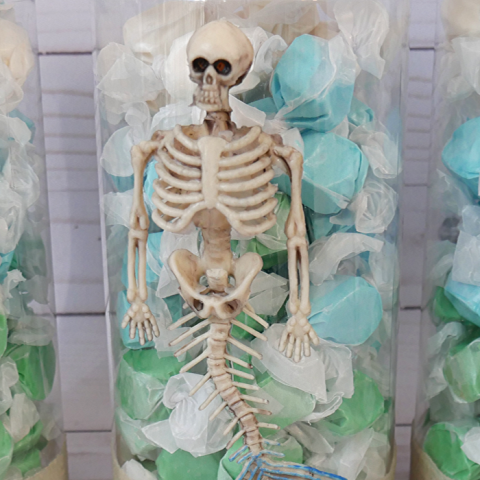
To compliment and keep with this year’s tropical Halloween theme, these mermaid skeleton containers are a great way to decorate and hold candy. Of course, I could have just thrown candy into a giant open bowl, but candy seems to last longer around my kids when it’s harder to get to. Know what I mean? These DIY mermaid skeleton containers are a nice way for me to add Halloween decor and display candy without having to worry about the kids easily grabbing handfuls of candy. It’s a win-win situation! Now, let’s get to the tutorial!

DIY Mermaid Skeleton Containers
How to make Mermaid Skeleton Containers for Halloween Decorations
Materials
- 1 - Tall Jars with Lids #41/1393
- 1 - Skeleton Mermaid Light String #13908203
- 1 - Sand #13646710
- Aleene's The Ultimate Multi-surface Glue
- Mod Podge
- Salt Water Taffy #13608213 or something to fill the containers
Tools
- Glue gun and glue sticks
- Rubber bands or Painter's tape
- Paint brush
Instructions
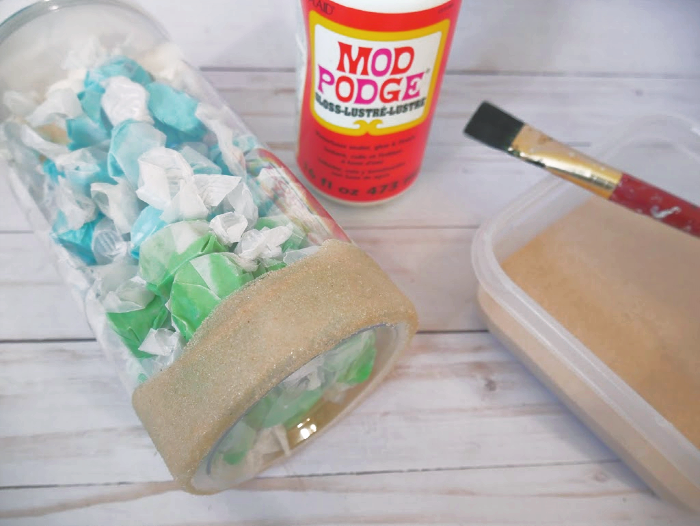 Add Modge Podge to the bottom of the jar in a wavy pattern. Sprinkle sand over the wet Mod Podge. Let dry. Repeat and let dry again. Seal with a final coat of Mod Podge.
 Optional - To move the positions of the arms, use the tip of the glue gun to heat up the joint. Then, slowly bend/rotate the joint.
  Place some of the Aleene's multi-purpose glue on the head, mid section, and on the tail. The multi-purpose glue will hold the piece in place when dry, as hot glue alone will not. Next, add hot glue around the head, down back, and sides of tail. Position the mermaid in place and press in place and hold until the hot glue is dry. The hot glue is used to help hold the mermaid in place until the multi-purpose glue dries. To ensure the piece stays in place, use rubber bands or painter's tape to hold the skeleton in place until all glues dry.
 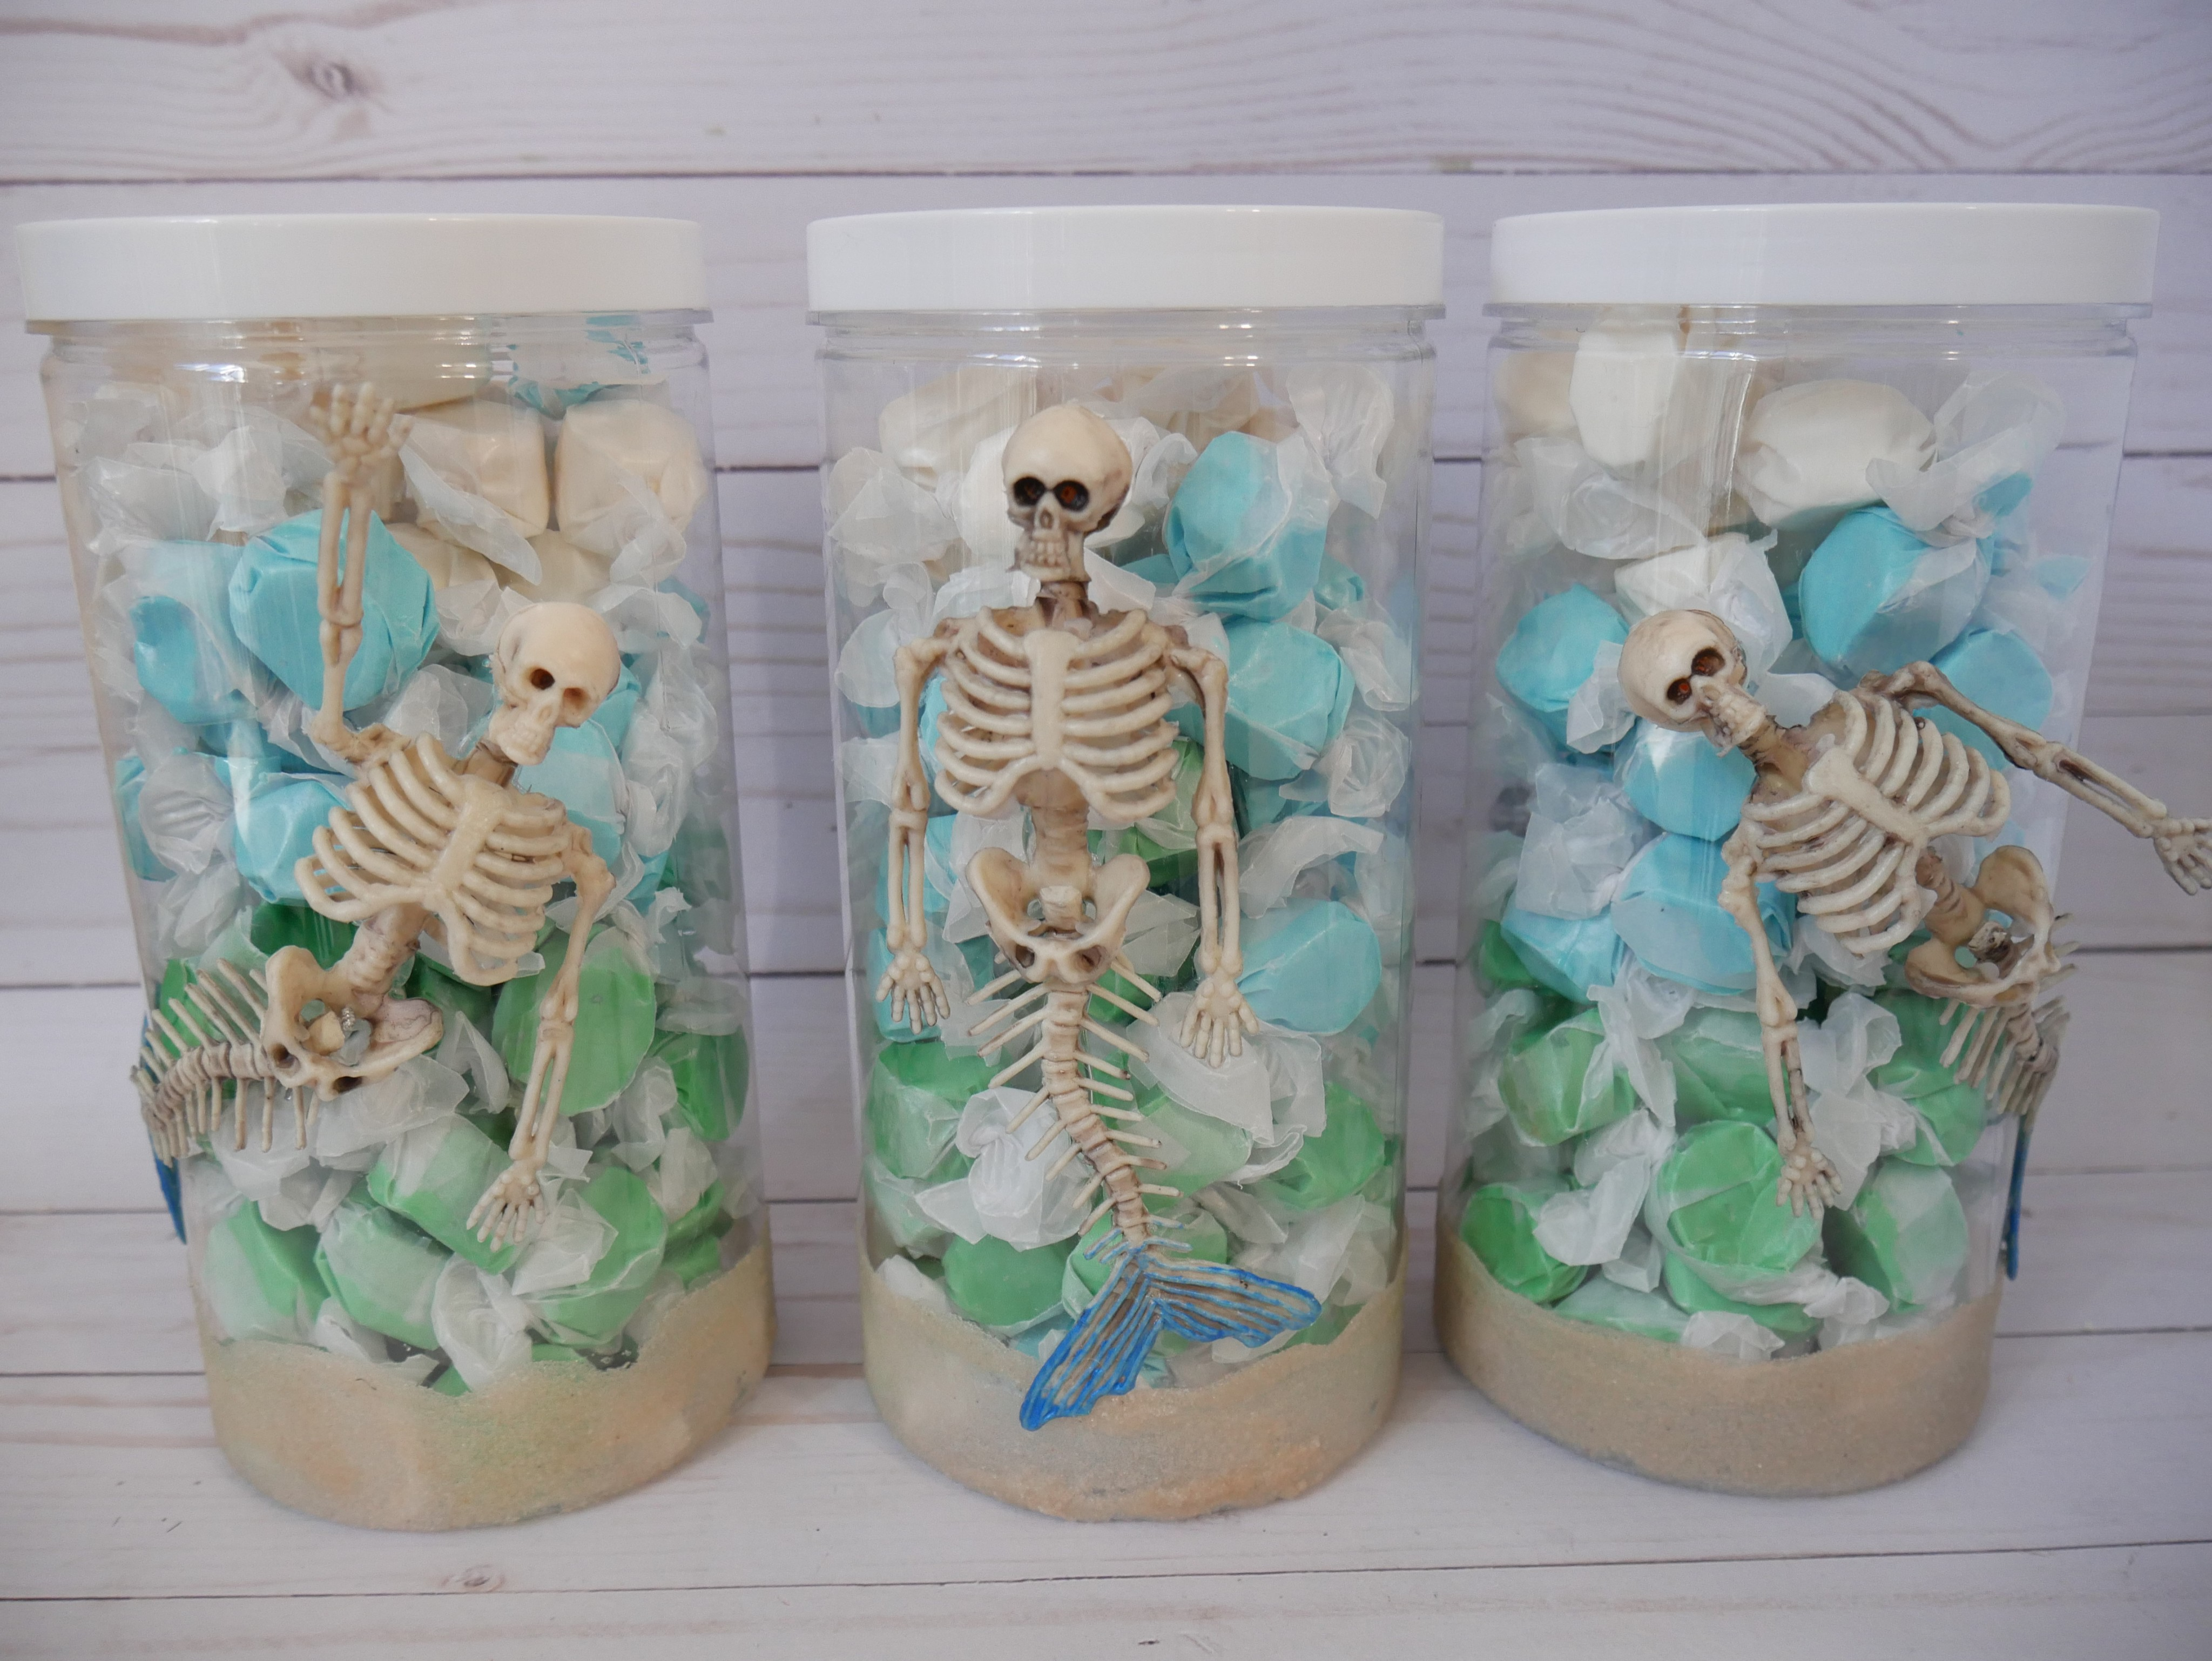 Fill containers will salt water taffy or any other candy to resemble water.
Notes
- It's important to use a multi-purpose craft glue to hold the mermaid permanently in place. Hot glue alone will not hold the mermaid in place and will pop off the plastic container.
- Jars can be filled with any non-candy item that mimics the color of water. Example - tissue paper, cellophane, sand, or colored water (note these are not leak proof).
- It's important to seal the sand with a final coat of Mod Podge to prevent the sand from falling off.
Recommended Products
As an Amazon Associate and member of other affiliate programs, I earn from qualifying purchases.
-
 Aleene's 33260 Ultimate Multi-Surface Adhesive, 1.5 oz.
 -
 Sandsational Champagne Unity Sand~ 1.5 lbs (22oz), Beige Colored Sand for Weddings, Vase Filler, Home Décor, Craft Sand
 -
 Mod Podge Acrylic Sealer - Matte
 -
 Heartybay 10Pieces Round Pointed Tip Nylon Hair Brush Set, Blue
 -
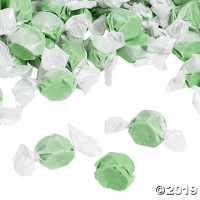 Green Salt Water Taffy Candy | Oriental Trading
 -
 White Salt Water Taffy Candy
 -
 Blue Salt Water Taffy Candy
 -
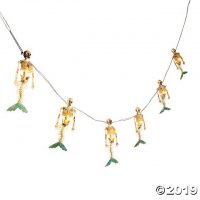 Skeleton Mermaid String Lights
 -
 Tall Jars with Lids


These are so cute! Very unique!!
What a cute idea. And I love how easy they are to put together.