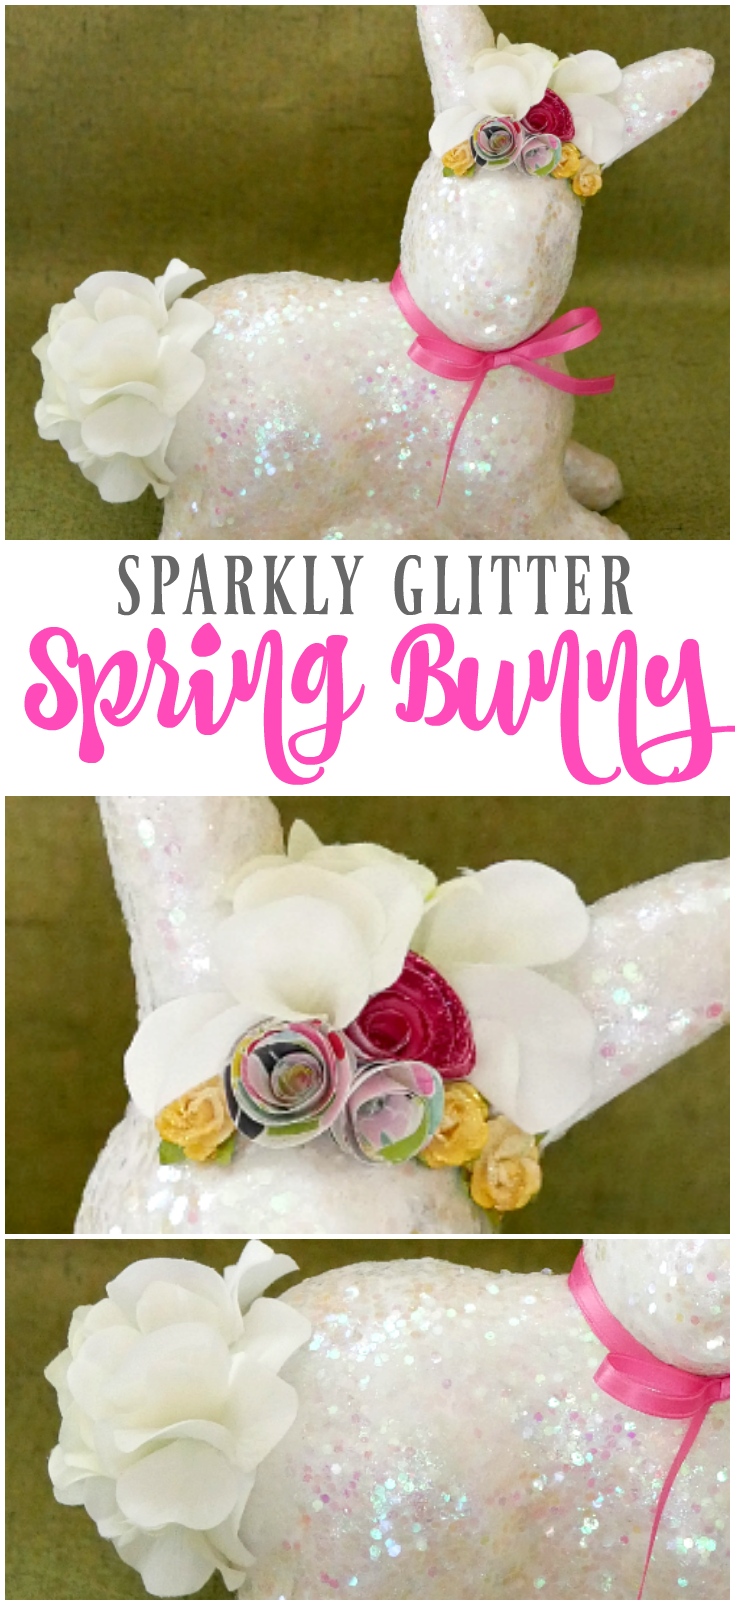
Three years ago, there was a great after-season sale on paper mache bunnies. So what does a crafter do? Stock up! So for the past few years, I’ve been creating a new spring bunny. I’ve already made moss bunnies. a floral decoupage bunny, and now I’m creating a sparkly glitter spring bunny!
I am a participant in the Amazon Services LLC Associates Program, an affiliate advertising program designed to provide a means for us to earn fees by linking to Amazon.com and affiliated sites. Thank you!
Sparkly Glitter Spring Bunny
Supplies:
- paper mache bunny or any bunny shape that can take glitter
- large opalescent glitter – best to create a colorful reflective look
- white paint
- paint brush
- Sparkle Mod Podge
- 1/4″ – 1/2″ ribbon
- colored or patterned paper (craft store in scrap book section)
- small paper flowers (craft store in scrap book section)
- hot glue/glue sticks
- faux hydrangena stem
How to:

Paint the entire paper mache bunny white and let it dry. If using a different color glitter, paint it a slightly lighter shade or color of the glitter being used.

Add a generous amount of Sparkle Mod Podge in sections onto the bunny and sprinkle glitter on it. Do this until the entire bunny is covered in glitter. Let it dry and then dab a layer of Sparkle Mod Podge over the glitter to set it in place.
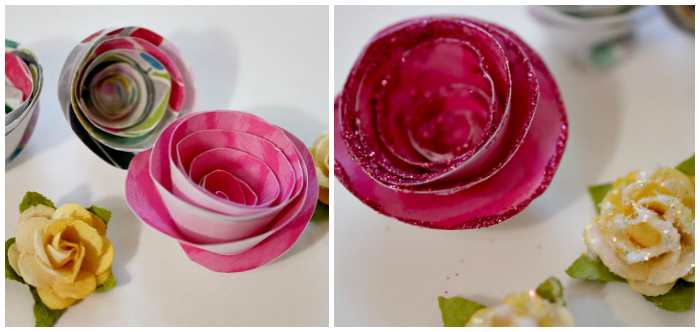
While the Mod Podge is drying, make several sizes of paper flowers to decorate the ears of the sparkly glitter spring bunny. Optional – dab Mod Podge on the flower petals and dust with glitter. Let dry.
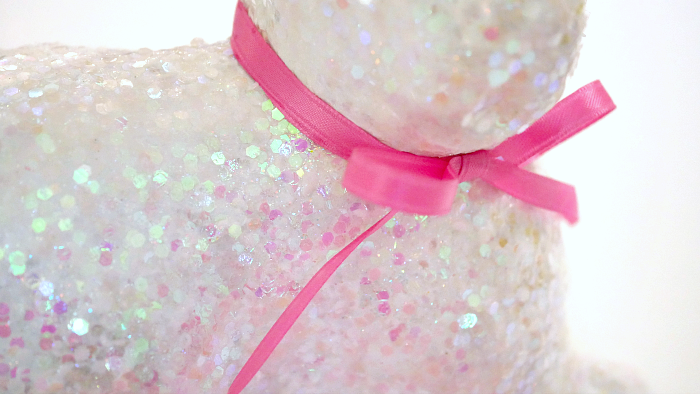
Tie a bow around the bunny neck.
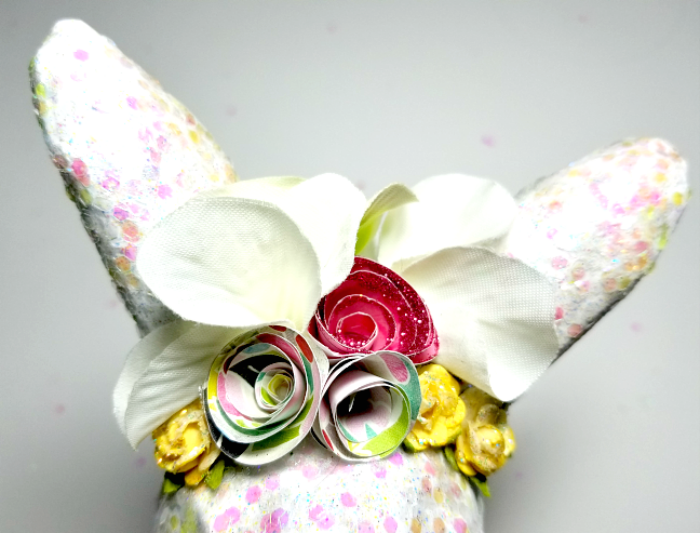
Dry arrange the flowers around the bunny ears and when you get a look you like, start gluing down the flowers. Pull off hydrangea flower petals from the stem and glue between a few flowers to add some fluff and height.

Finally, pull more hydrangea flower petals off the stem and glue them in a cluster to cover the bunny tail.
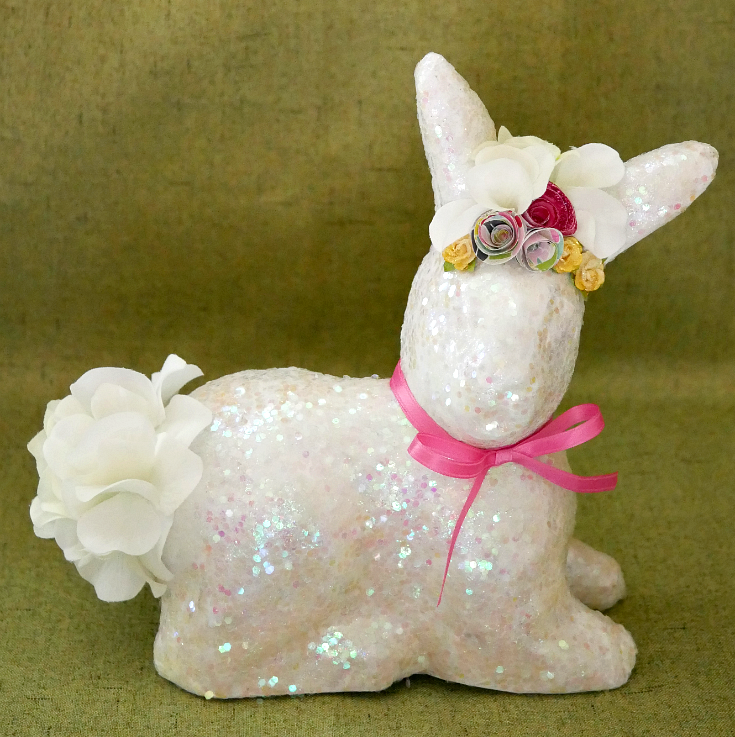
Now, this sparkly glitter spring bunny is ready to shine anywhere you place her!

On the first Monday of each month, a group of DIY and crafty bloggers join forces to bring you the #BlingontheCrafts blog hop. Each blogger creates a glittery, sparkly, shiny, shimmery, sequined, or “blingy” craft to share that goes with a monthly theme.
March’s theme is Spring. Each blogger chooses their own craft to make as long as it shines and is Spring themed.
If you’d like to participate next month, you can request to join our Bling on the Crafts Facebook group. Next month’s theme is Cinco de Mayo!


This bunny is so cute and I will be featuring it in my Bunny Decorations for the Home on Sunday at the Merry Monday Party! Hope to see you at the party at 6 pm PST.
Just love how sparkly this bunny turned out! So cute! That paper floral crown is so gorgeous on it, too!
Carrie
curlycraftymom.com
So pretty and sparkly! I love it.
I just realized in re-read the post that his tail is made out of hydrangea petals! I’m not sure how I missed that detail the first time around but I love that idea. Pinned.
This sparkly bunny is so cute! I love the hydrangeas as the bunnies tail. I’m sure you bunnies all look so cute together.