• About Me
    • Contact me
    • Featured On
  • Advertise/Sponsor
  • Disclosure & Privacy Policy
    • Summer Giveaway Terms & Conditions

My Pinterventures

Daily Adventures Inspired by Pinterest

  • My Pinterventures
  • Blog
    • 100+ Link Parties
  • Food
    • Recipes
    • Kitchen Tips
    • Recipe Round-ups
  • Crafts/Projects
    • Spring – March to May
    • Summer Crafts – June to August
    • Fall Crafts – September to November
    • Winter Crafts – December to February
    • Pinterest Tested
  • Life & Home
    • Cleaning & Organization
    • Health & Wellness
    • Family Fun
    • Product Reviews
  • Shop
    • Gift Guides

Easter Egg Fabric Rag Wreath
You are here: Home / Easter Ideas / Easter Egg Fabric Rag Wreath

Easter Egg Fabric Rag Wreath

  • Share
  • Tweet

Easter Egg Fabric Rag Wreath

Hi Everyone! I’m really excited to take part in Hometalk’s DIY My Spring Blog Hop. Today, I’m sharing my Easter Egg Fabric Rag Wreath tutorial. Hometalk's DIY MY Spring

I’ve been slowly decorating for Easter and realized that I didn’t have a cute wreath for my front door. For this craft, I challenged myself to use items in my existing craft supply and spend zero dollars. Thus, this super easy Easter Egg Fabric Rag Wreath was the perfect way to use up scrap fabric and wire hangers from the dry cleaners.

Easter Egg Fabric Rag Wreath

Supplies:

  • 1/4 yd each of 4 coordinating fabrics (I used white, orange, turquoise, and a yellow print)
  • twine
  • scissors
  • wire hanger
  • ruler
  • cutting mat 
  • rotary cutter 
  • 2 1/2″wired burlap ribbon
  • 3 plastic eggs
  • drill
  • glue gun/glue sticks

Directions: 

Easter Egg Wire Hanger

Shape the wire hanger by hand into an egg silhouette. Set aside.

Easter egg wreath fabric strips

Cut 25 – 1″ x 8″ strips of each fabric + 2 extra strips of one fabric. Cut 25 strips of 8″ twine. 

Fray fabric strips

This step is optional, but I l took all the white strips and pulled about 5 threads from each long edge to create a frayed look. 

Loop fabric on Easter Egg Fabric Rag Wreath

Attach fabric strips onto the wire frame. I did a pattern of white, orange, yellow, twine, and turquoise. Repeat this pattern until the entire frame is covered. 

unravel twine

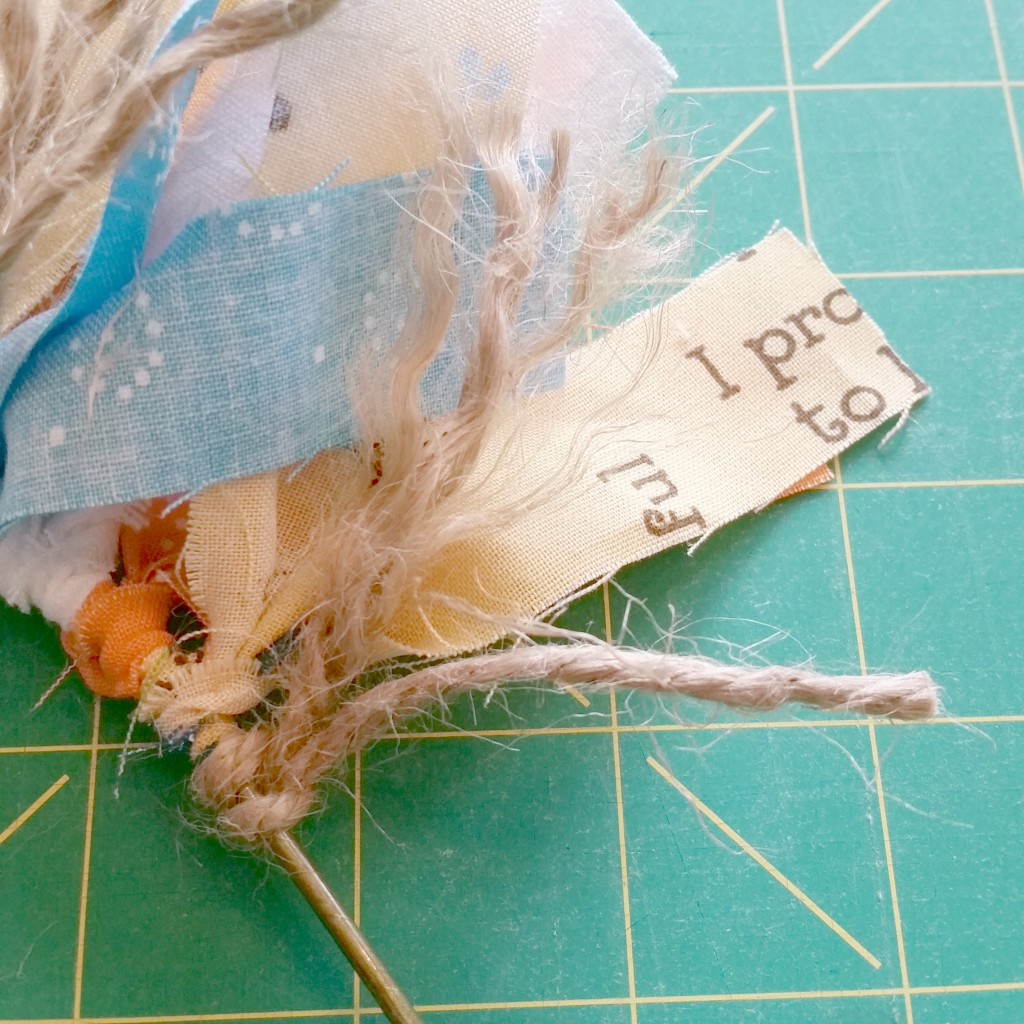
When the entire wreath is done, unravel each twine piece to give it a frayed look. Each twine piece should separate into three pieces.

Wrap Hanger Hook

Glue one of the extra fabric strips onto the hanger hook and wrap it around. Continue with the second strip until the entire hook is covered. 

Eggs

Drill a hole in the center of each plastic egg (wide end). String twine through and knot the end. Leave enough twine to hang in the center of the Easter Egg Fabric Rag  Wreath. Tie or glue the eggs onto the hanger hook. Make a bow with burlap ribbon and glue it onto the hook. 

Easter Egg Fabric Rag Wreath

Now, the Easter Egg Fabric Rag Wreath is ready to hang on my front door and it was done for zero dollars! 

I hope you enjoyed this project. If you need more spring ideas, check out the other Hometalk DIY Spring Blog Hop Projects! Also, make sure to search social media for #DIYMySpring hashtag too!


Even more Spring Ideas

Moss & Twine Easter Eggs

Moss Covered Easter Bunny Tutorial

Digiprove sealCopyright secured by Digiprove © 2016
«
»

Blog, Crafts, Decorating, Easter Ideas, House & Home, Tutorial, Wreath 19

Get Connected

Subscribe to my newsletter! Get the latest updates and access to the subscriber only printable library.

Comments

  1. Mother of 3 says

    March 24, 2018 at 11:32 AM

    That is adorable! I love the added plastic eggs to match; it just adds that much more to it. Pinned.

    Reply
  2. Linda Feray says

    March 19, 2018 at 4:12 PM

    I love upcycles and this is so pretty. It’s also a great way to save money,

    Reply
  3. Licia says

    March 29, 2016 at 1:07 PM

    Deliziosa. Grazie per aver partecipato al Linky Party Buona Pasqua.
    Buona serata
    Licia

    Reply
  4. Marie says

    March 21, 2016 at 7:26 AM

    Erlene this turned out beautifully! Such an inventive and gorgeous idea. 🙂

    Reply
    • Erlene at My Pinterventures says

      March 25, 2016 at 8:27 PM

      Thanks Marie. It turned out better than I expected…lol.

      Reply
  5. Donna of Funky Junk Interiors says

    March 9, 2016 at 10:53 PM

    So pretty, Erlene! I just love the rustic touches! Great idea on using a hanger!

    Reply
  6. Teresa says

    March 9, 2016 at 10:44 AM

    Love the idea and love the colors! Thank you for sharing at The Really Crafty Link Party this week! Pinned!

    Reply
  7. Karen @ Dogs Don't Eat Pizza says

    March 9, 2016 at 5:36 AM

    So cute! What a great way to use extra fabric! Love the colors. Pinned! From #DIYMySpring blog hop.

    Reply
  8. Christina says

    March 8, 2016 at 2:29 PM

    Love this! So fresh and springy- and love the clever egg shape. What a great way to use fabric scraps!
    Visiting from the Spring blog hop
    Cheers!
    Christina recently posted…Splendor in the Grass: DIY My Spring Blog Hop Outdoor OttomanMy Profile

    Reply
  9. DazzleWhileFrazzled says

    March 8, 2016 at 10:40 AM

    Cute egg wreath and great idea! Visiting from Two Uses Tuesday.

    Reply
  10. Michele says

    March 8, 2016 at 8:14 AM

    What a great project. This would be fun to do with my children. Thank you!!

    Reply
  11. Claire says

    March 7, 2016 at 11:28 PM

    Didn’t realise this was a coat hanger, great upcycle. Love the use of scrap fabric too ! Brilliant idea !

    Reply
  12. Kristina & Millie says

    March 7, 2016 at 5:33 PM

    Great Easter/Spring wreath! Love the idea of using scraps – clean out that stash!

    Reply
  13. Cindy diy beautify says

    March 7, 2016 at 5:30 PM

    Perfect spring colors, and such a sweet wreath!

    Reply
  14. Holly says

    March 7, 2016 at 4:23 PM

    Hi Erlene – I love this Easter egg wreath! Visiting as a fellow contributor to #DIYMySpring. Hope your week is full of sunshine! Hugs, Holly

    Reply
  15. Kelli says

    March 7, 2016 at 3:27 PM

    This is fantastic! I love the egg shape, that it’s just a hanger, and fabric scraps. It’s so simple, but so perfect! Thanks for sharing!

    Reply
  16. Emily says

    March 7, 2016 at 8:15 AM

    This is adorable! And I love that you raided your fabric stash to make it 😀

    Reply
  17. Gail@Purple Hues and Me says

    March 7, 2016 at 4:53 AM

    Too cute, Erlene!

    Reply

Trackbacks

  1. 34+ Creative DIY Easter Wreath Ideas For This Spring 2019 says:
    December 19, 2019 at 12:34 AM

    […] A very creative idea, that you allow you to upcycle fabric leftovers from other projects. Source […]

    Reply

Leave a Reply Cancel reply

Your email address will not be published. Required fields are marked *

CommentLuv badgeShow more posts

This site uses Akismet to reduce spam. Learn how your comment data is processed.

  • Bloglovin
  • Facebook
  • Instagram
  • Pinterest
  • Twitter
  • YouTube

Get connected

Subscribe to my newsletter! Get the latest updates and access to the subscriber only printable library.

My Pinterventures does not share your information and will only use your name and email to send you My Pinterventures emails.

Recent Posts

Free Printable St. Patrick's day Game Set

FREE Printable St. Patrick’s Day Game Set

Quick and Easy Meatloaf Recipe slices

Quick & Easy Meatloaf Recipe

Hotteok Recipe - Stuffed Sweet Korean Pancakes

Hotteok Recipe – Stuffed Sweet Korean Pancakes

Spring tulle rainbow wreath

How to Make a Spring Tulle Rainbow Wreath

My Favorite Things 2020 Edition

Valentine's Day Games Printables slider

Valentine’s Day Games – 3 Free Printables

Archives

Copyright & Affiliate Information

All images and text on this site are the property of My Pinterventures. I’m honored to have you feature ONE of my images, provided that you link back and give credit to the original post and my site. Please do not crop, edit, or remove any watermarks on my images. Do not copy any post or recipe in its entirety. Pinning to Pinterest is always welcome and much appreciated.

As an Amazon Associate, I earn from qualifying purchases made through this site. Thank you!

Copyright © 2021 · Darling theme by Restored 316

Copyright © 2021 · Darling Theme on Genesis Framework · WordPress · Log in

All original content on these pages is fingerprinted and certified by Digiprove
This site uses cookies to enhance your user experience. By continuing to visit this site, you agree to our use of cookies. Find out more.