Love Animal Crossing? Then, these reusable DIY Giant Animal Crossing Money Bags for gift wrapping or pillow covers is a must make DIY project.
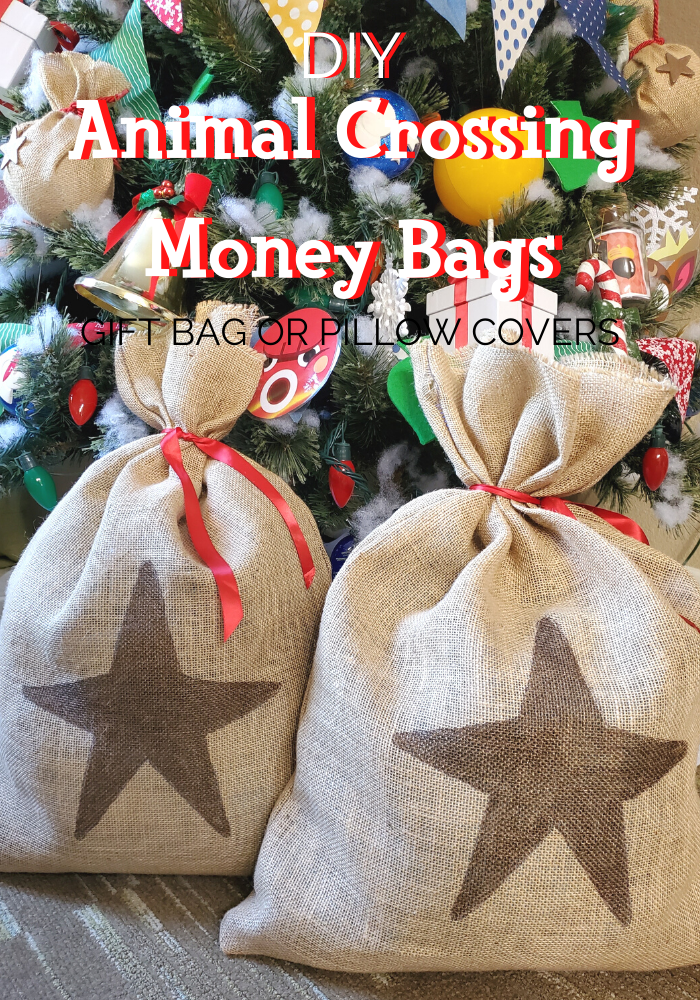
Here’s another fun Animal Crossing project! Since this year’s Christmas tree theme is Animal Crossing, I decided to create DIY giant Animal Crossing Money Bags that can be used to decorate our sofa or to wrap gifts. I’m planning on using them as gift wrapping and placing the money bags under the tree. I think they make the perfect finishing touch and complete the look of the Animal Crossing tree.


Before we get to the DIY Giant Animal Crossing Money Bags tutorial, it’s day 8 of the Festive Christmas Ideas Event – Holiday Decorations! I’ve teamed up with a group of talented blogging friends to bring you a plethora of creative ways to celebrate your holiday season. You’ll find new ideas every Monday and Wednesday between Oct. 19th through Nov. 18th. Don’t forget to scroll down to find all the wonderful Christmas decoration ideas linked at the bottom!


DIY Giant Animal Crossing Money Bags
How to make giant Animal Crossing money bags to use as pillow covers or for gift bags. Don't be intimidated by the instructions. You are basically sewing a giant pillowcase (rectangle) for the money bags.
Materials
- 2/3 yard burlap (48" width) - buy off the bolt
- tan thread
- 5/8" red satin ribbon
- brown or copper acrylic paint
Tools
- scissors
- paint brush
- cardboard or newspaper
- card stock, paper, or newspaper that is at least 9.5" wide x 11"
- brown felt tip pen
- Large ruler or straight edge
- glue
- printer + printer paper
- sewing machine
- tan or brown thread
Instructions
 Make sure your burlap is folded in half and all the edges are even. If the edges aren't even, make sure to cut it to make it straight. Then, measure 1/2" from the cut edge and draw a straight line as a sewing guide.
  From the marked line, measure 18 3/4" and draw another line from the salvage edge to the fold. This will be another sewing guide.
  Next, measure another 1/2" from that line and cut. The bag width should be 19 3/4" wide with the drawn lines 1/2" in from the edges.
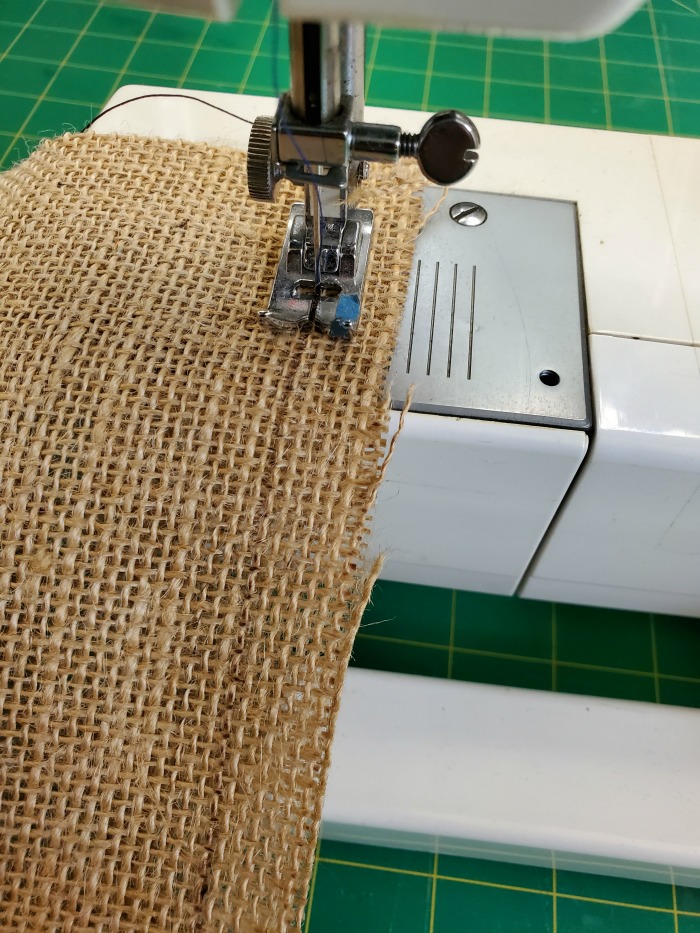 I'm using blue thread to make it easier to see, but you'll want to use tan thread. Sew on the drawn lines.
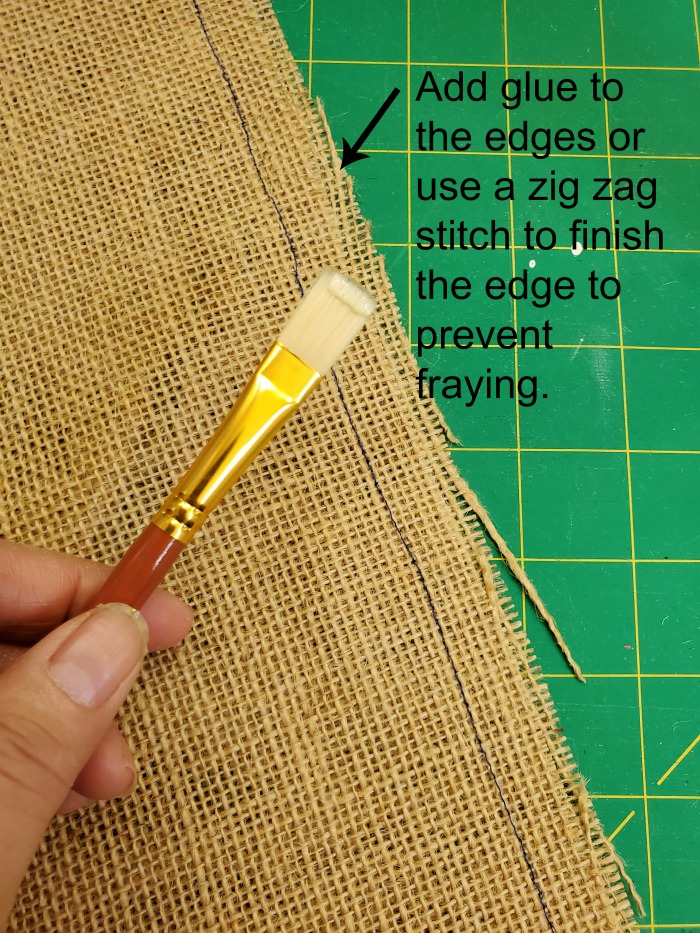 To prevent the burlap from fraying, paint on glue on all the edges or do a zig zag stitch. If using glue, set aside to dry. Once dry, turn the bag right side out. Note: If using regular fabric, you can skip this step or use a serger to finish the edges on the fabric and burlap.
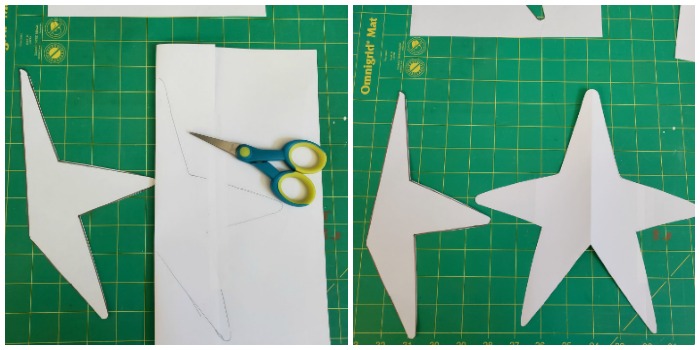 Grab the template here >> Star template. Print the template on cardstock or paper. Cut it out. You will need a paper that is at least 9.5" wide x 11" high. You can use newspaper or tape printer paper together. Fold the paper in half and place the template on the fold. Trace and cut out to make a full star.
 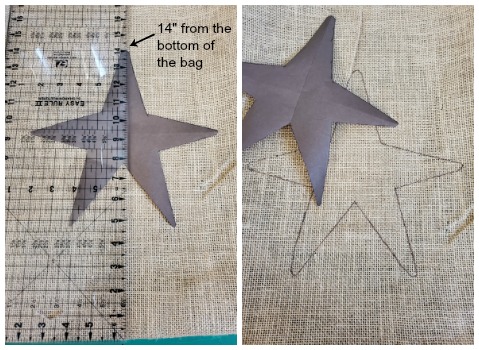 Center the star on the bag, with the to point at the 14" mark. Carefully trace around it with brown pen.
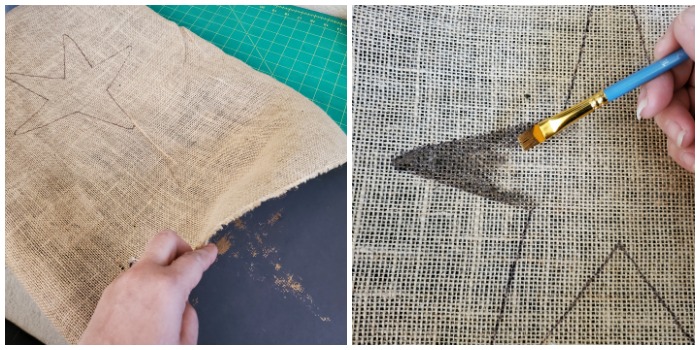 Place newspaper or cardboard inside of the bag. This will help prevent paint from seeping through. Use brown or copper paint to fill in the inside of the star. Let dry.
 Place pillow or gift inside of the bag. Cut 24" of ribbon and tie it around the top of the bag and close it with a knot. Optional - quickly run the ends of the ribbon through a lighter flame to seal the edge from fraying or paint glue on the edge.
Notes
Since burlap frays, you can substitute regular tan or yellow fabric for a sturdy everyday pillow cover.
Recommended Products
As an Amazon Associate and member of other affiliate programs, I earn from qualifying purchases at no additional cost to you. Thank you for your support.
-
 Brother CS5055PRW Sewing Machine, Project Runway, 50 Built-in Stitches, LCD Display, 7 Included Feet
 -
 Paint Brushes Set 10 Pieces Professional Fine Tip Paint Brush Set
 -
 Double Face Satin Allure Dfs Ribbon, 5/8 Inch X 100 Yards, Hot Red
 -
 FolkArt Metallic Acrylic Paint in Assorted Colors (2 oz), 666, Antique Copper
 -
 Singer Bundle - Detail Scissors, Thread Snips, 8.5" Scissors
 -
 Omnigrid Non-Slip quilter's Ruler, 6" x 24", Neon Green
Festive Christmas Ideas Day 8 - Christmas Decorations/Decor
DIY Wood Christmas Decorations
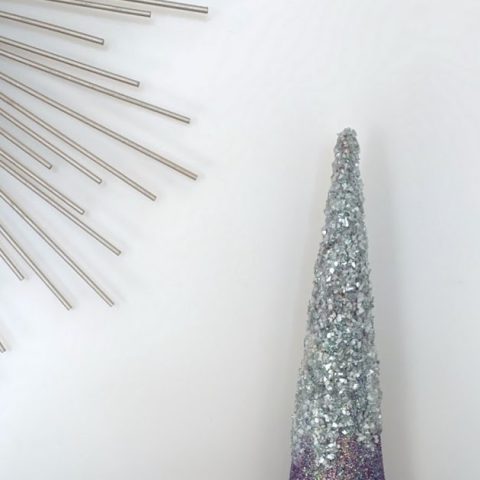
Make This Festive Glittery Pom Pom Cone Christmas Tree
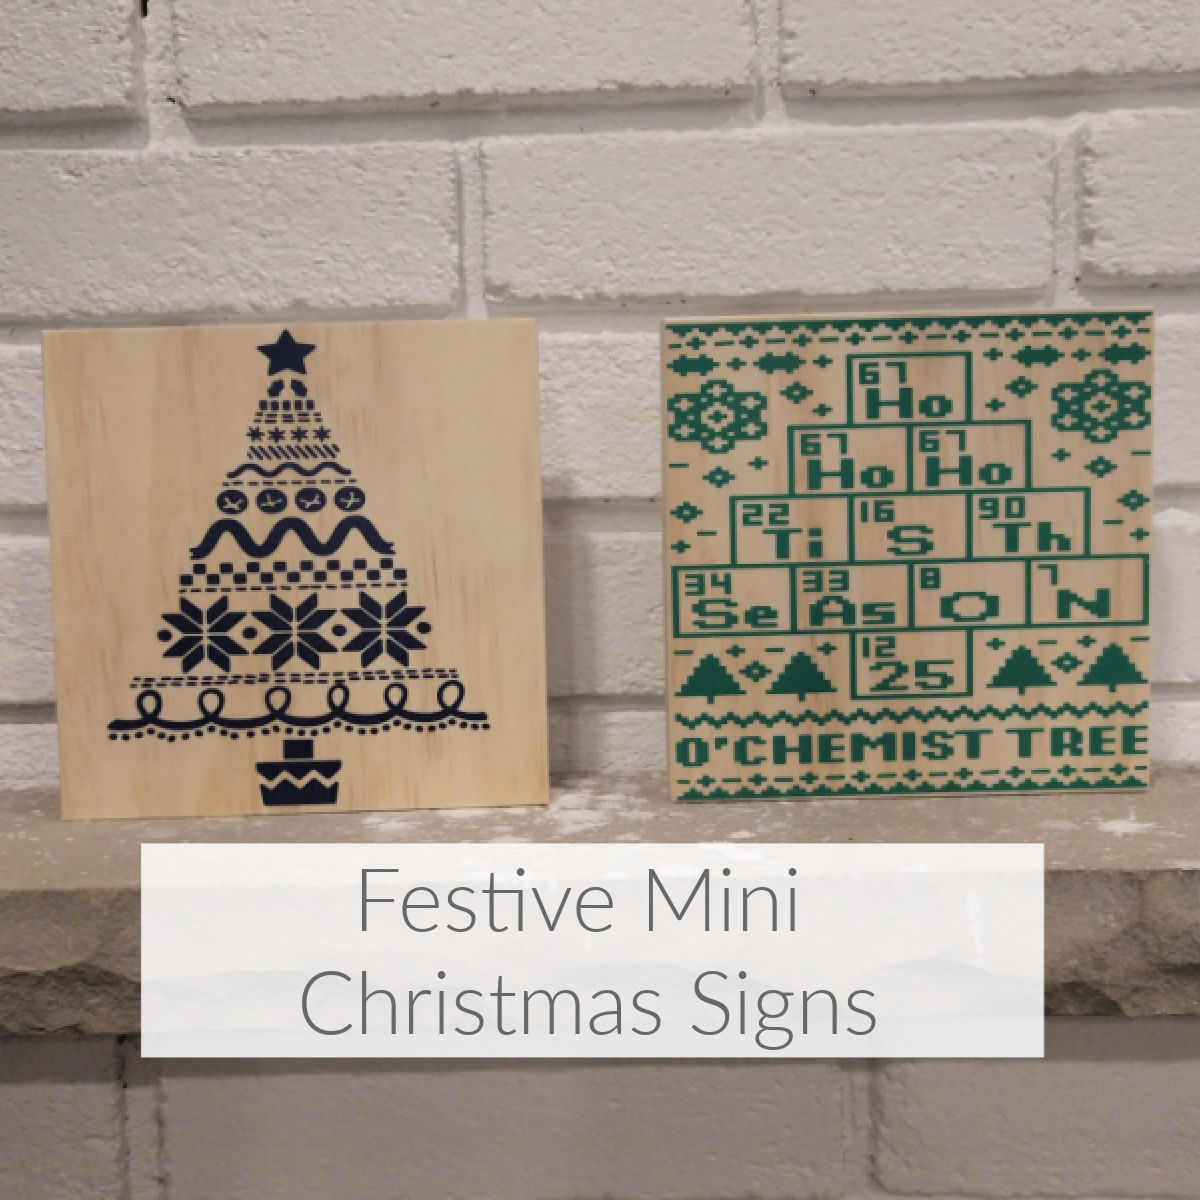
Quick Festive Mini Christmas Signs
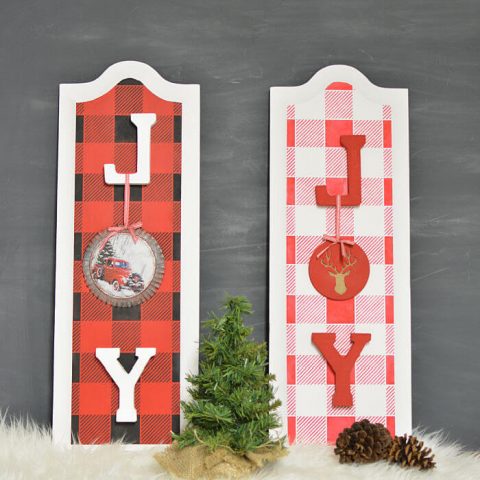
Decorating with Buffalo Plaid for Christmas!
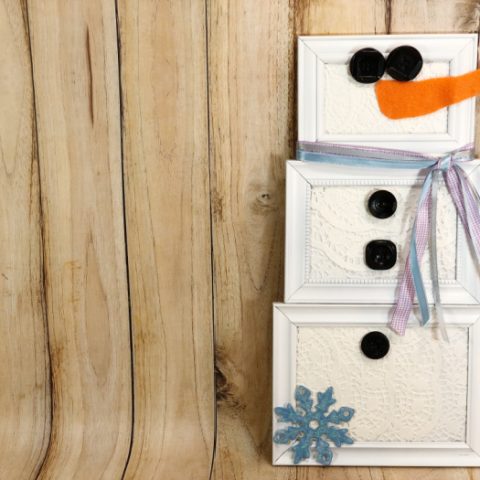
Dollar Store Picture Frame Snowman
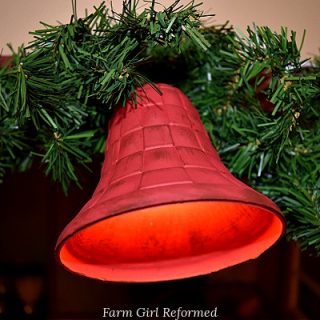
DIY Bell Christmas Garland
Tabletop Christmas Decor
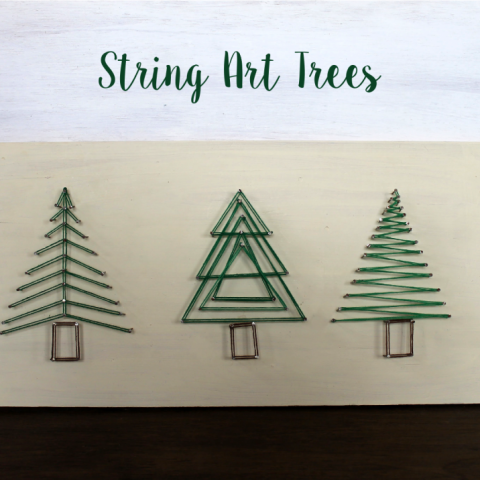
String Art Trees
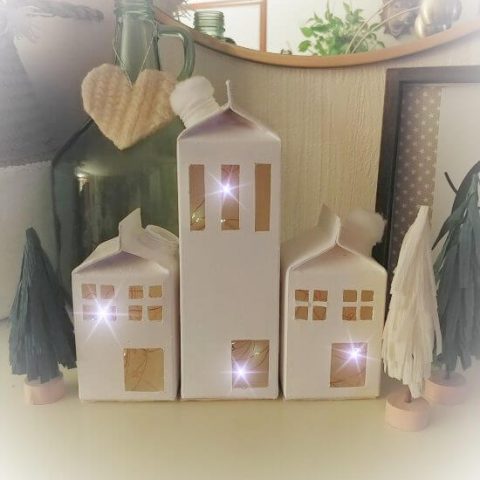
DIY Milk Carton Christmas Village
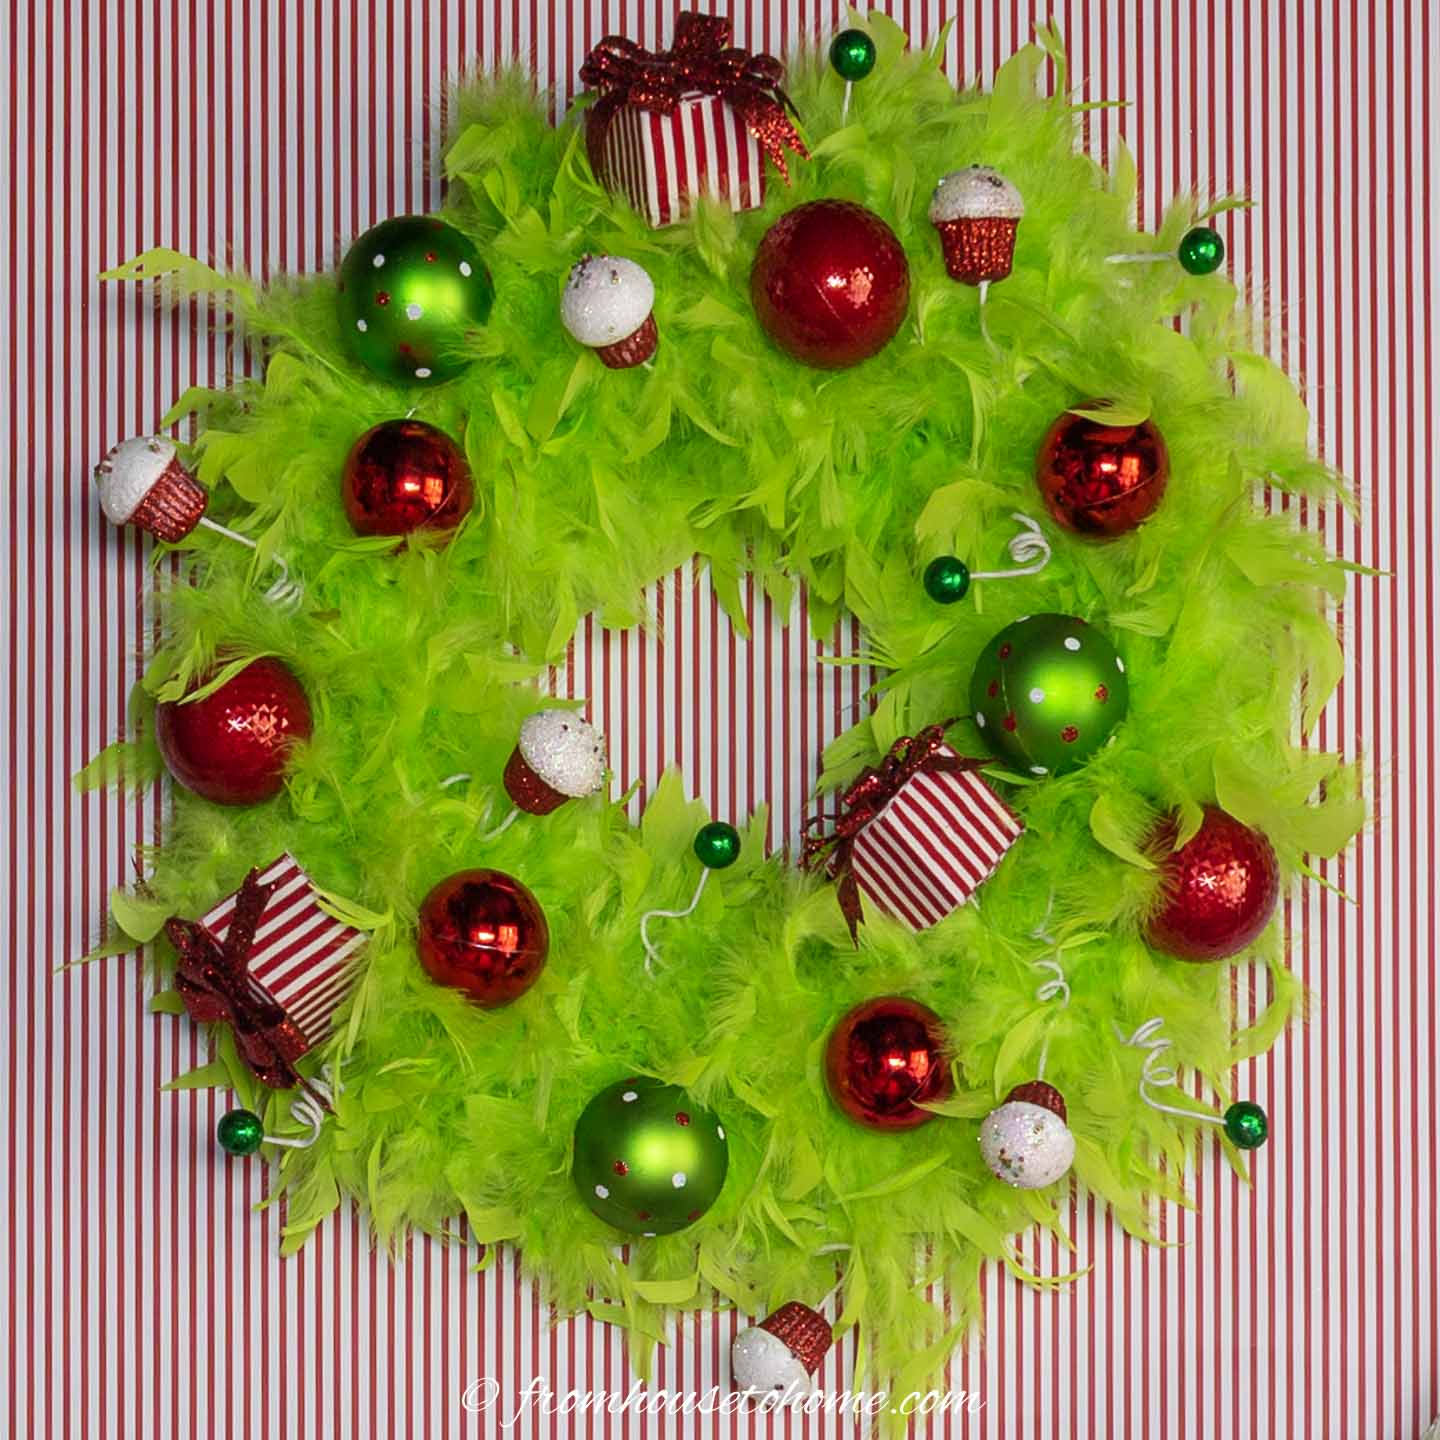
DIY Grinch Wreath (An Easy Grinch Christmas Door Decoration)
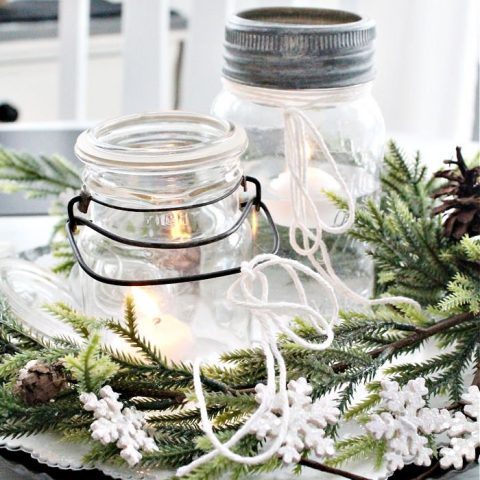
Neutral Farmhouse Christmas Centerpiece for the Kitchen
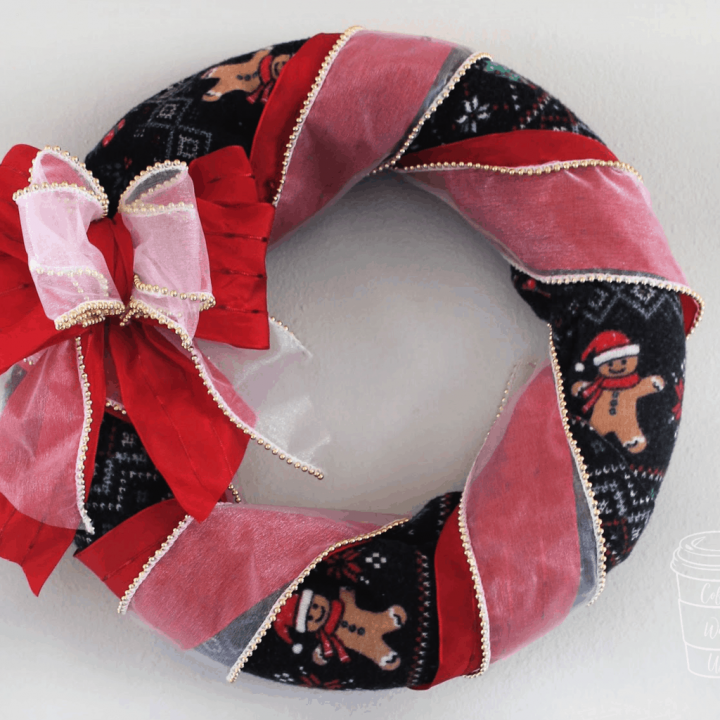
Ugly Sweater Wreath
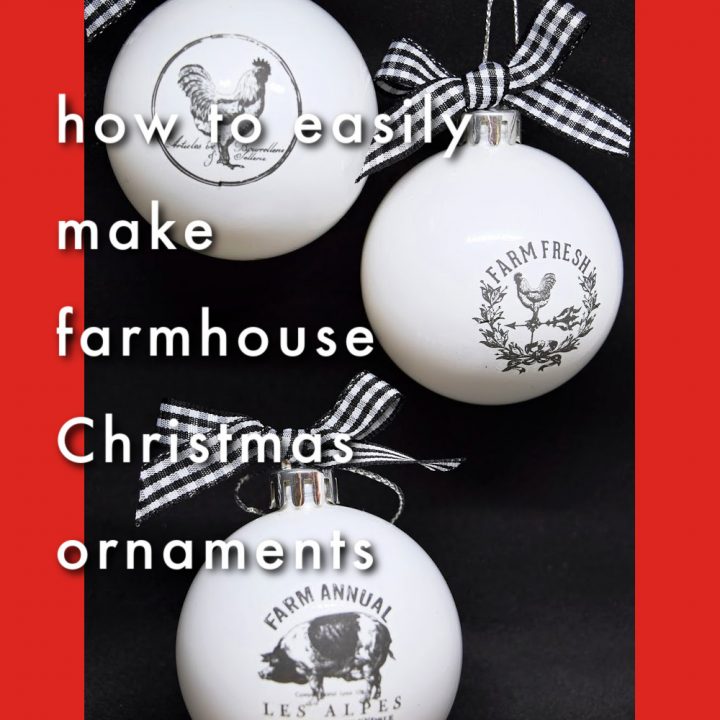
How To Easily Make Farmhouse Christmas Ornaments
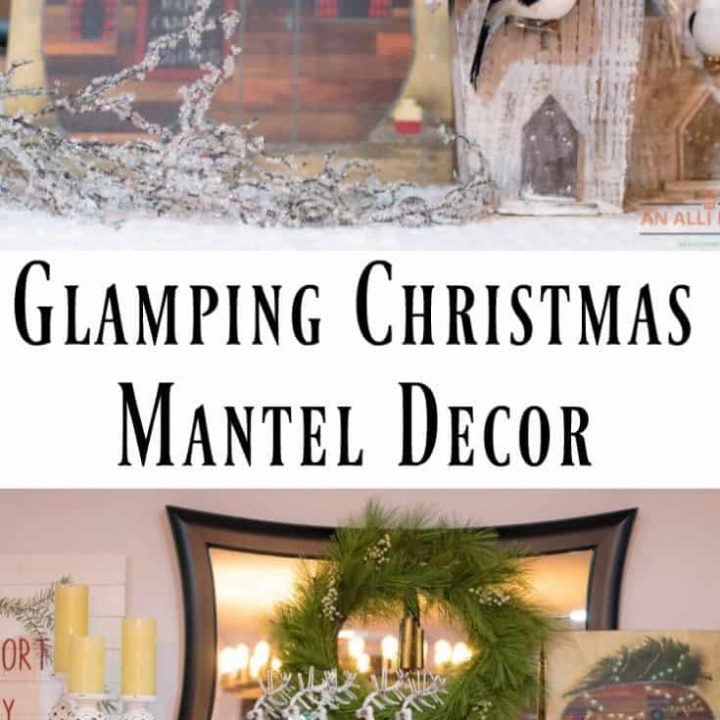
Easy Glamping Christmas Mantel Decor
Repurposed Cabinet Door Christmas Signs
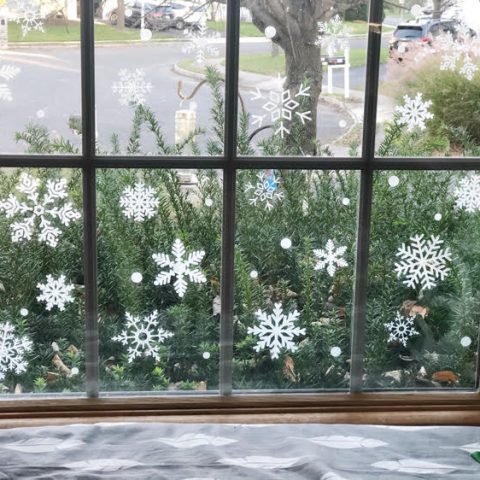
How to Decorate a Snowy Christmas Window
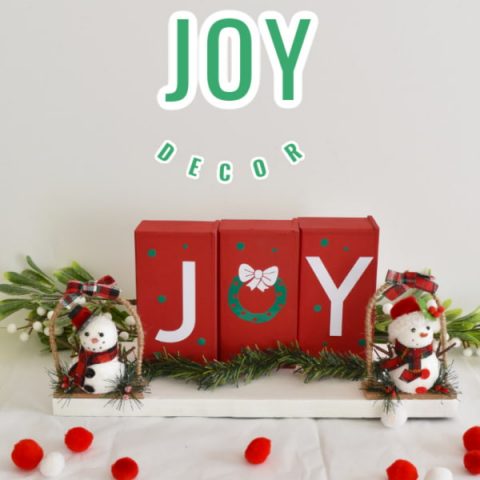
Christmas Joy Decor
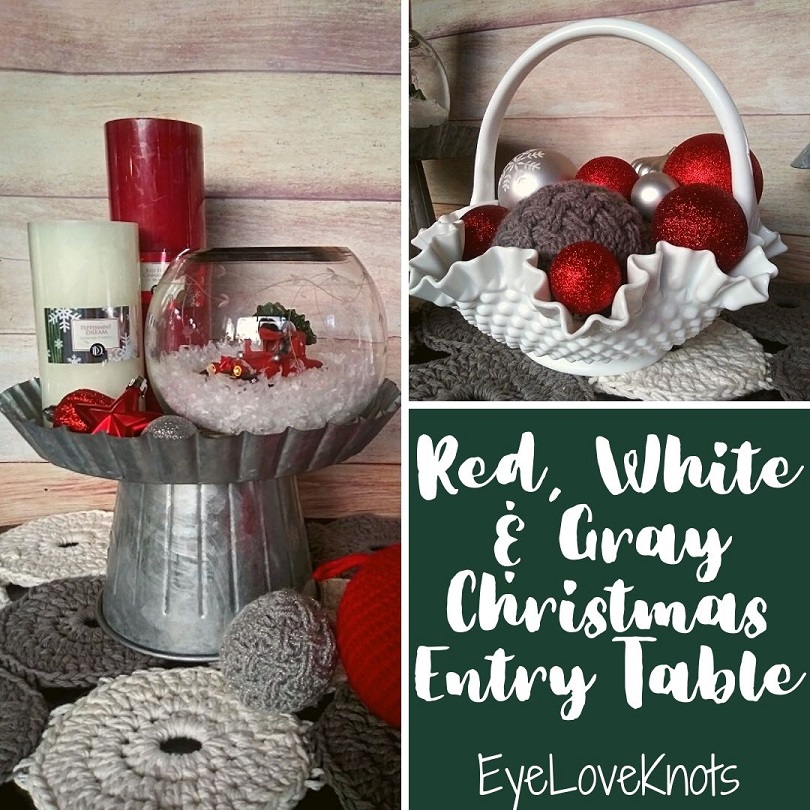
Red, White & Gray Christmas Entry Table 2020
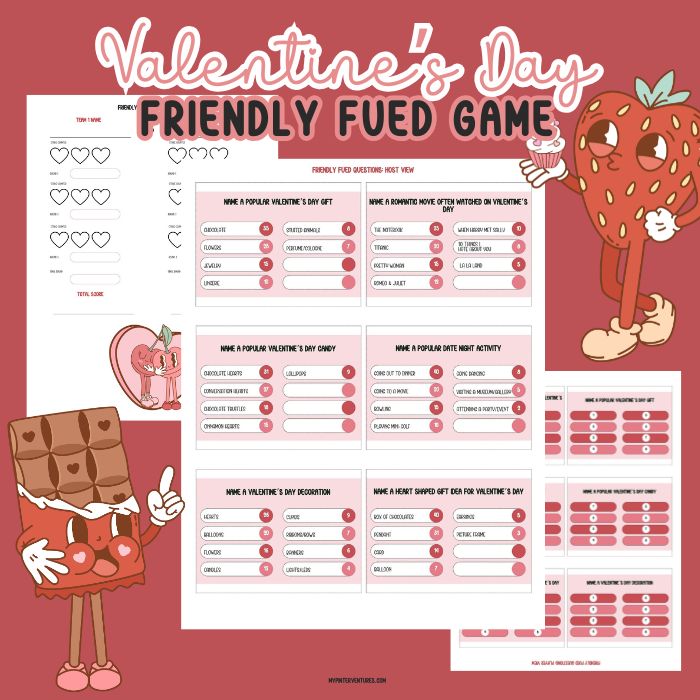
Free Christmas Printables
Cardboard Gingerbread House Garland
DIY Red and White Christmas Wreath
Getting Ready for Christmas on the Trails
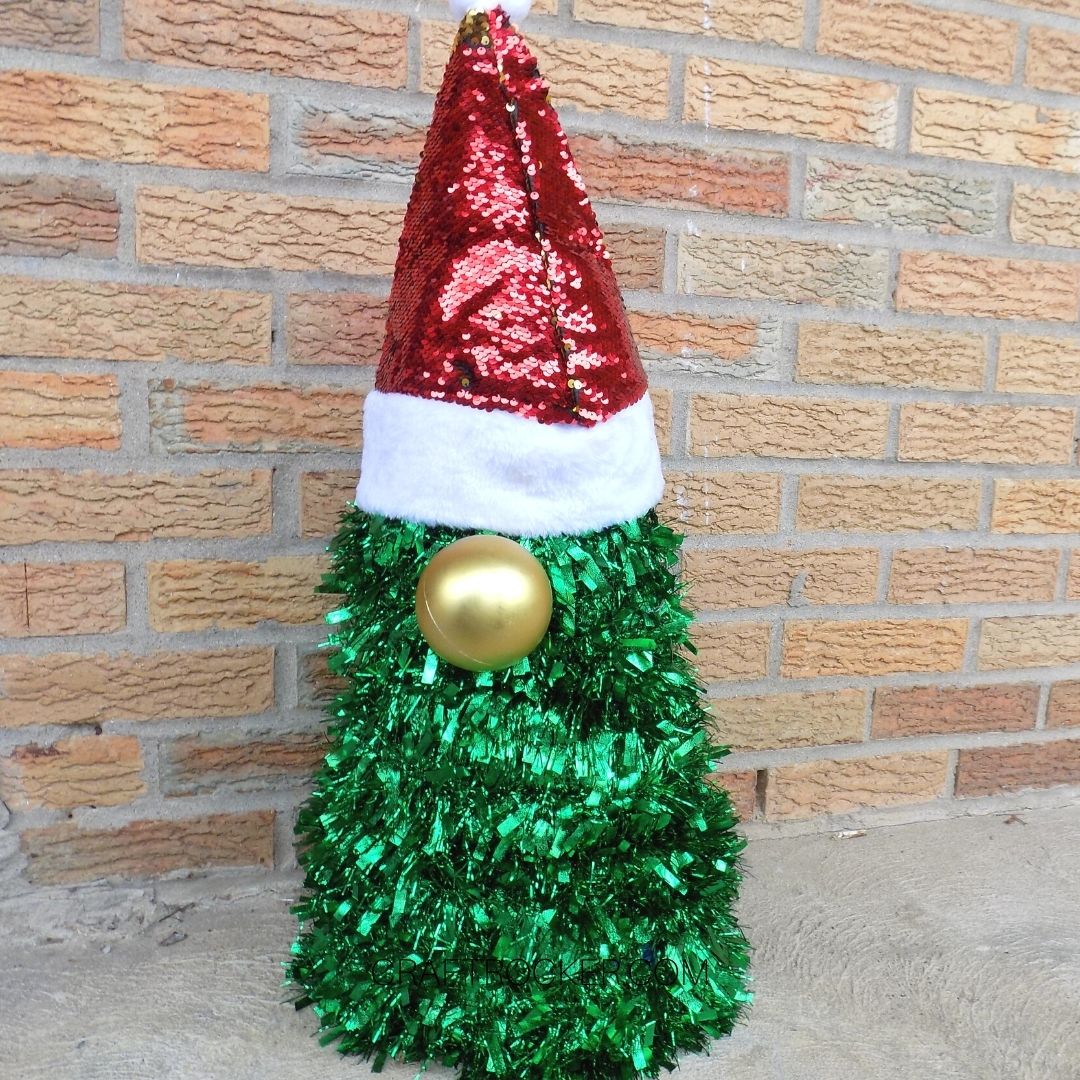
DIY Christmas Gnome
2020 Festive Christmas Ideas
Quick links to all the Festive Christmas Ideas on My Pintervetures.




These look wonderful, my son would enjoy making these! Especially seeing what treats he gets from the Elves!
Thank you so Much for sharing such an amazing Article again thank you
I really like gift bags especially for hard to wrap children’s gifts, so handy. I was curious enough I had to go see what animal crossing was. Great Ideas
Right, gift bags are great for those hard to wrap gifts. These just so happen to go perfectly with our theme this year and make great decor too.
Very cute idea, Erlene!
Thank you.
Your animal crossing ideas have been such fun. Another great decor idea!
Thanks. Now I just need to decorate our fireplace area.