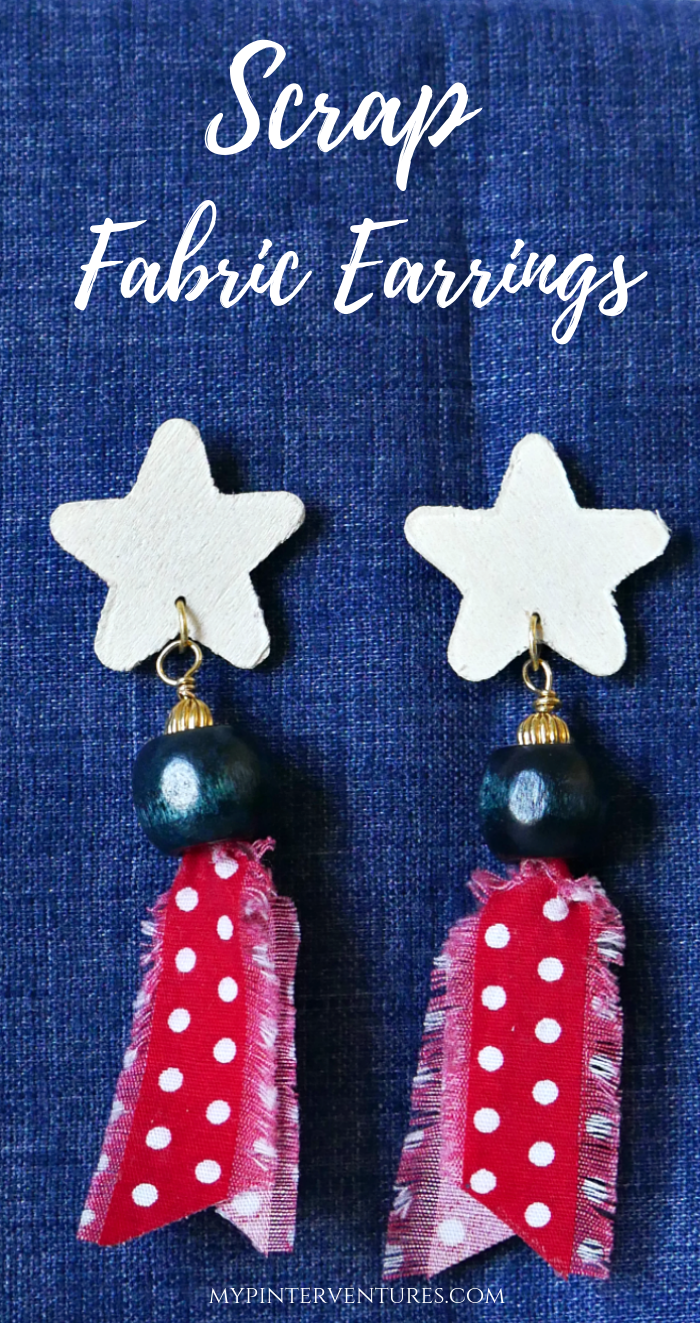
Hoarding scraps of fabric? Well, it’s time to use them to create a fun scrap fabric earrings!
June Fabric Bring on the Crafts — A Craft & DIY Blog Hop
Before I get to the scrap fabric earring tutorial, I’m participating in the June Bring on the Crafts Blog Hop. On the first Friday through Sunday of each month, a group of DIY and crafty bloggers join forces to create a fun craft or DIY project to share that follows a monthly materials theme. Together, with hosts Marie from The Inspiration Vault and Habiba from Craftify My Love, they share the #BringontheCrafts blog hop with you. June’s theme is Fabric! Each blogger chooses their own craft to make as long as they love it and it uses Fabric for the project.
June's Bring on the Crafts Blog Hop is all about fabric crafts!Our May Co-hosts
Jenny at Cookies, Coffee and Crafts
Erlene at My Pinterventures • Marie at DIY Adulation • Michele at Coastal Bohemian • Beverly at Across the Blvd • Gail at Purple Hues & Me
Join in on the fun! If you’d like to participate next month, you can request to join our Bring on the Crafts Facebook Group. Next month’s theme is Beads & Buttons!
Not a blogger, but a creative mind none the less!? Don’t worry, Share your awesome creations in our Craft Cult Facebook Group. This is also a great place to ask craft & DIY related questions and find inspiration for your next project.
Scrap Fabric Earrings

Supplies:
- 2 – 1/2″ wood stars
- white paint
- paint brush
- 2 – jump rings
- 2 – earring backs
- 2 – 3/8″ wood beads in your color choice
- 2- 5mm or 6mm gold beads
- 2 – 2″ head pins
- craft glue
- awl & hammer
- cotton fabric
- scissors
- round, flat nose, and cutting pliers
- toothpick
How to:

Cut two 5/8″ x 5.5″ fabric strips (cut smaller if you want the strips narrower). Make sure to cut the strips with the long edge on the selvage. Then, carefully pull out about 10 threads from each long side of the fabric strips.
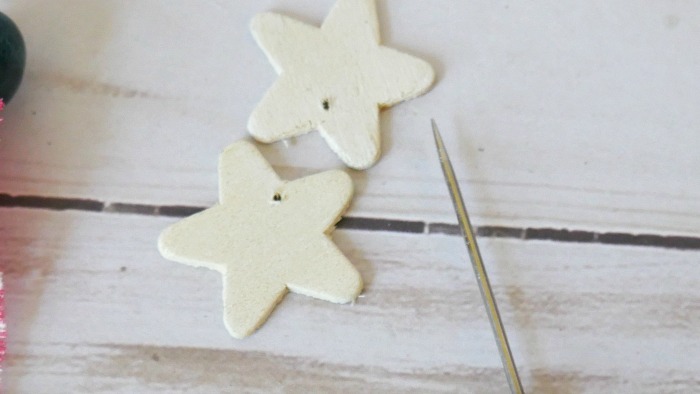
Not shown, paint the back and front of the wood stars white. Let dry.

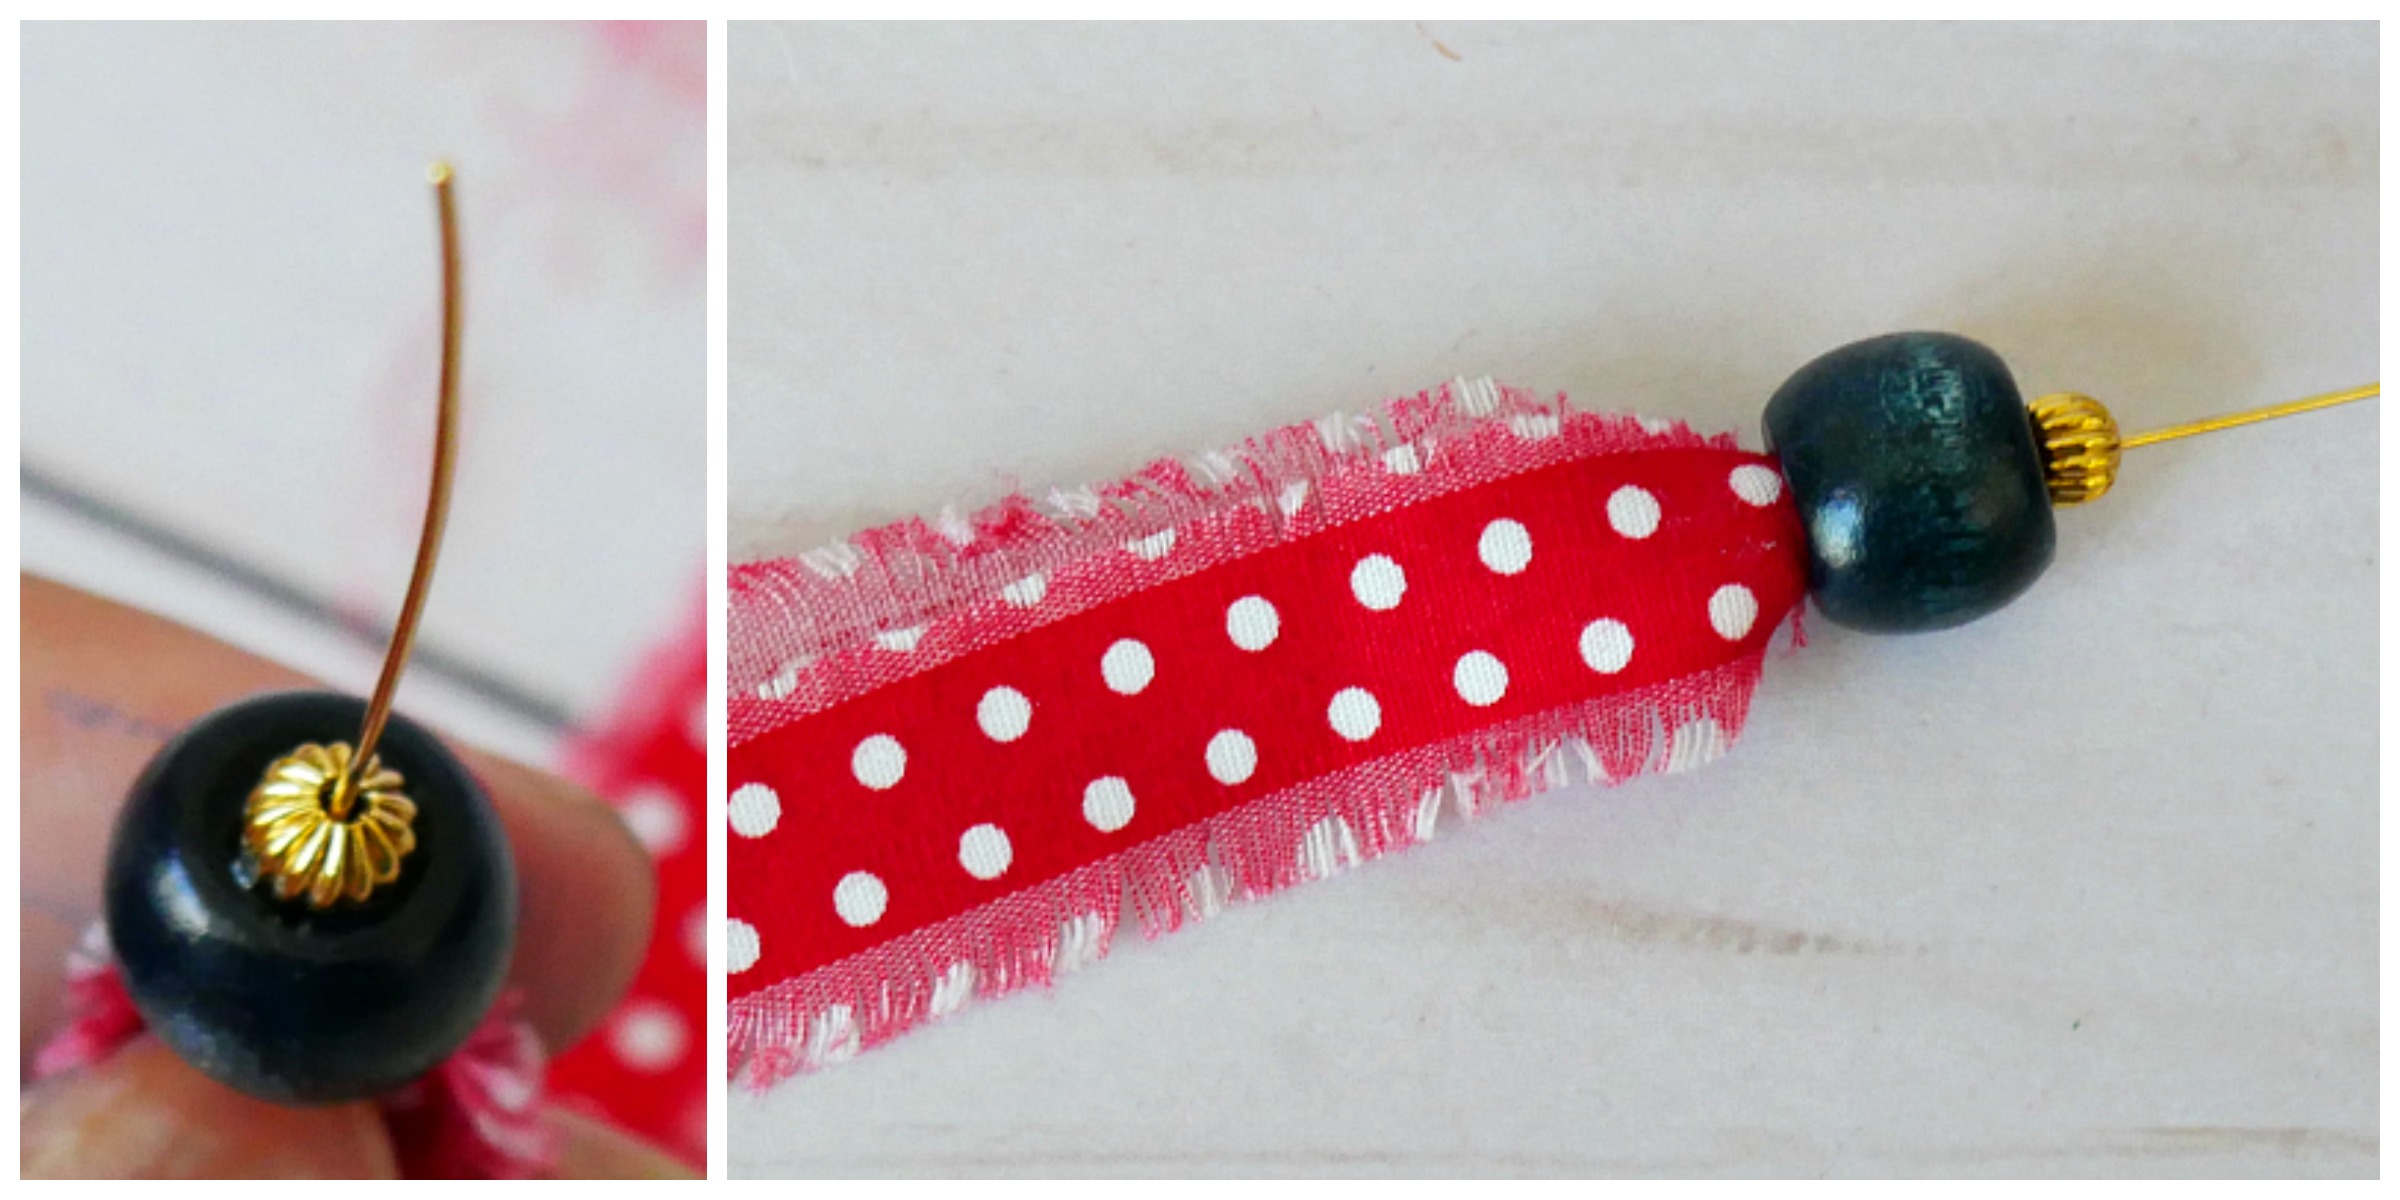
Fold the fabric strip in half and push the folded part through the wood bead with a toothpick. Take a head pin and push it through the top of the fold and add glue.


Pull the fabric and head pin back through the bead, so that it’s even with the top of the bead. Add a bit of glue to the top of the bead. Add a gold 5mm bead onto the head pin and push it against the wood bead. Let dry.
Make a loop on the head pin wire. Here is a video that shows exactly how to make a loop with the head pin.

Once the loop is made, use an awl and hammer to make a small hole in the wood star. Add jump ring into the hole and add bottom portion of the earring. Close the jump ring.

Add glue to the back of the stars and place the earring posts onto it. Let dry.
Note: These can be made without the wood stars by attaching the bottom of the earrings to earring fish hooks.

To complete the earrings, cut the bottom fabric pieces diagonally to a length you like.

Now, I’m all set for July 4th!
I hope you enjoyed this scrap fabric earring tutorial. Now let’s see all of those amazing Craft and DIY Projects!


Erlene, these Earrings are perfect! I love the patriotic theme combined with the cuteness. Would have loved seeing you wearing them. Pinning to my DIY Jewelry and patriotic crafts Board.
How cute and easy are these? And trust me, I have a lot of scraps around my home! 🙂
Carrie
curlycraftymom.com
These are awesome! Such a cute accessory for summer plus I love that you used scrap fabric to make them. I have a storage box full of fabric scraps to use. This is a brilliant way to do so.
Erlene You are my tribe. I would wear these and now I have to make them. I completely adore the,m.