Ugh, it’s 2:30 am and I can’t sleep. Don’t you hate that? Anyway, since I’m up, I thought I’d post some pictures of the first day of my small kitchen pantry organization challenge. I decided to start with the biggest problem area in our kitchen, the very small pantry. I don’t even know if I would call what we have a pantry. It’s more like a closet with shelves. Seriously. There are five shelves, approximately 13.5 inches of height space between them, 37 inches wide, and 23.5 inches deep. This really isn’t a lot of space for a family of six, so I try to use the vertical space as much as possible.Before you get started, I want to say that there isn’t a right or wrong way to organize your pantry. You need to organize it the way that will benefit you the most. We all have different items in our pantry and things we use more than others. You also don’t need to buy a whole bunch of containers to get an organized pantry. That being said, I have a few tips to help before starting.
Small Kitchen Pantry Organization Tips:
- Large space where you can place everything you take out of the pantry
- Cleaning cloths, cleaners, and vacuum (This is the perfect time to wipe everything down and vacuum up crumbs)
- Label maker or permanent pen (To label or date containers)
- Ziplock bags, boxes, baskets, or containers (To place “like” items together)
- Trash can (Toss out expired items)
- Paper or pad (To write items you need or items to replace)
Now that you’ve gathered all your items, are you ready? I’m going to walk you through how I organized my tiny pantry. The first thing I did was to take everything out the pantry. This allowed me to clean, vacuum, and wipe everything that needed it. Next, I grouped “like” items together and tossed out any expired items. Grouping items together allowed me to see how much of each “like” items I had and what I could possibly place into containers or baskets.
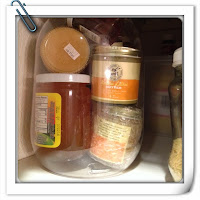
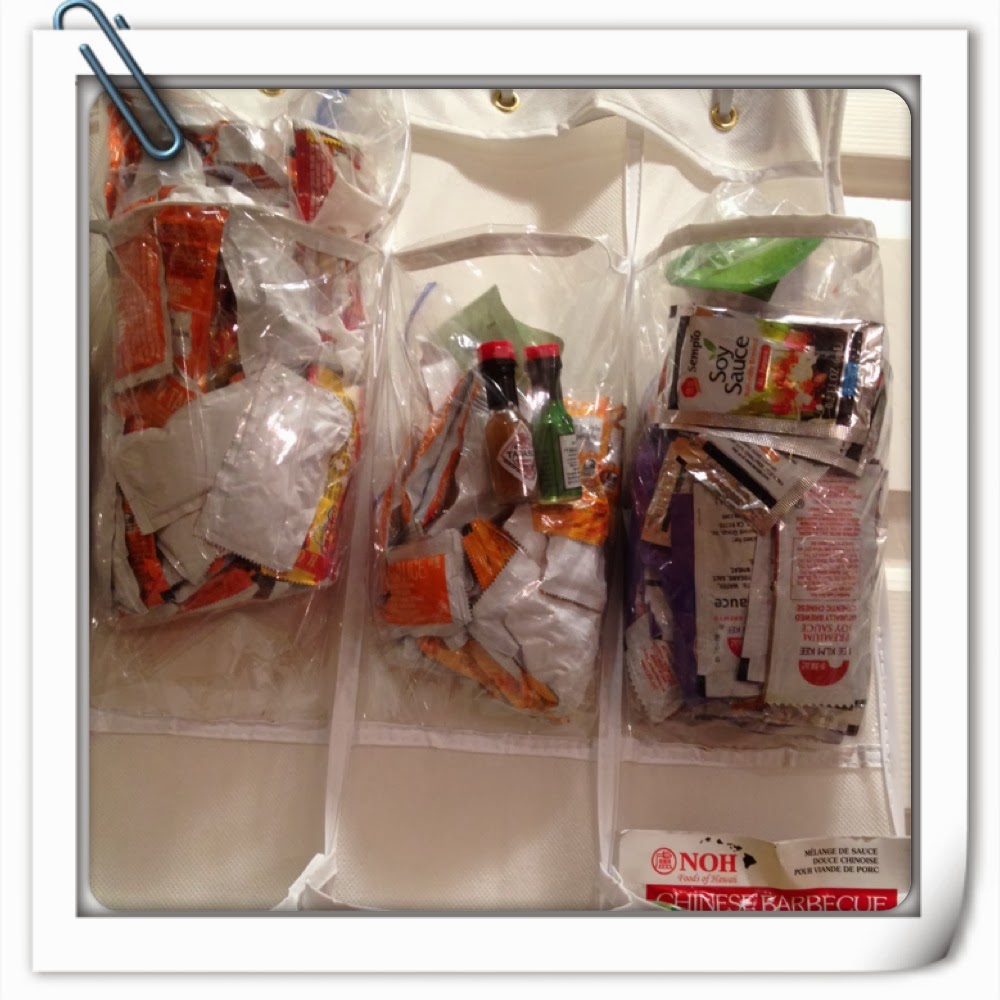
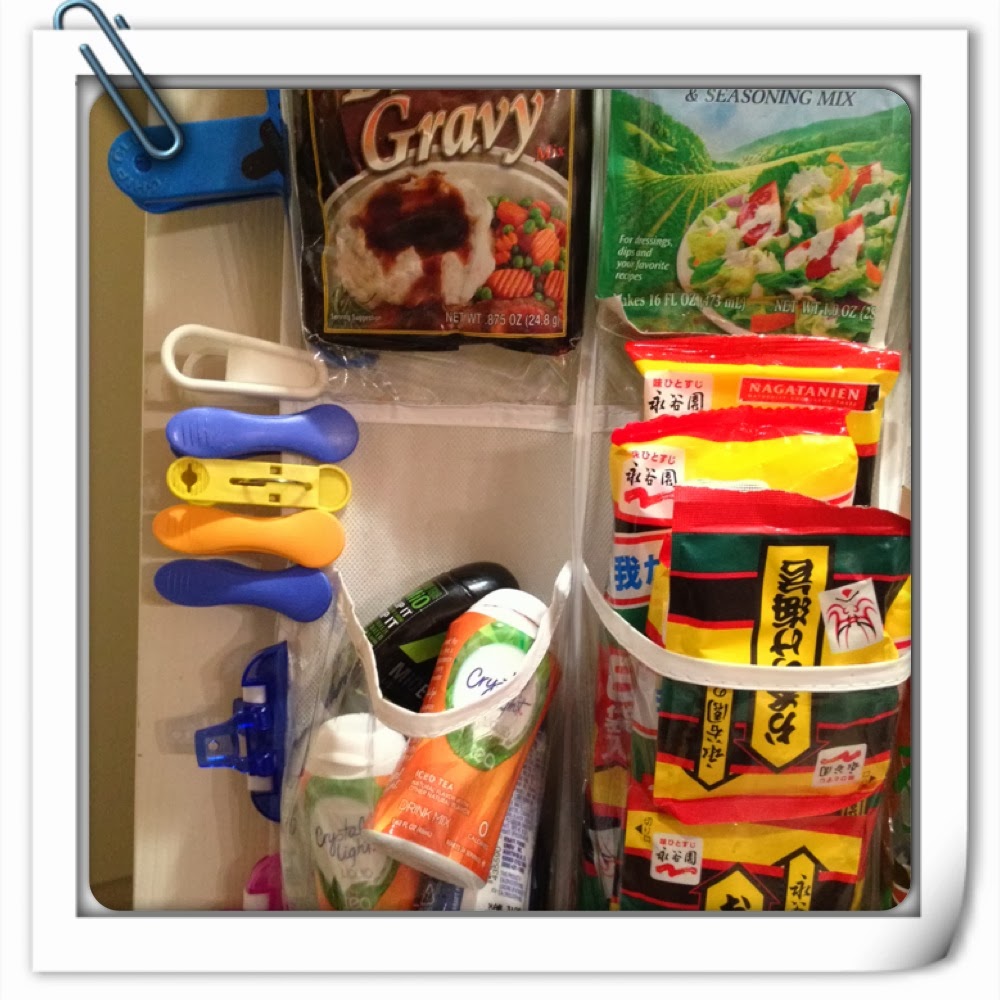
Here are some pictures of items I grouped together. I placed fruit jellies and butters in a clear container (Container is a recycled bulk snack bottle). Asian dry goods in a large basket from Target. For my daughters that love eating salads, I placed salad toppings together (Container is a Tupperware container I wasn’t using).
**If you don’t have baskets, you can recycle old cardboard boxes or utilize other large containers that you aren’t using**


BEFORE AND AFTER

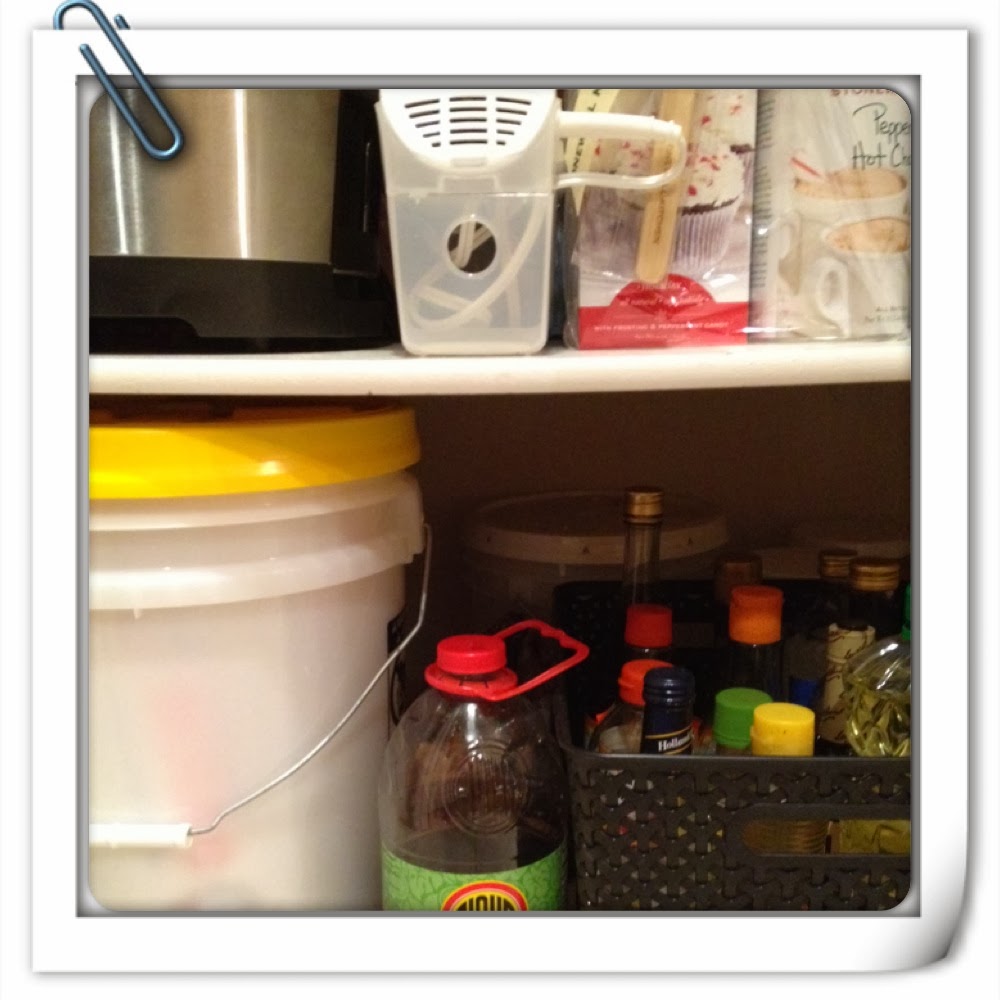
1. At the very top shelf, I have cereal boxes and oatmeal. In the back of these boxes, I placed items that we hardly use (Shave ice maker and my husband’s MREs).
BEFORE AND AFTER


You have some great ideas! I really like the idea of the shoe pocket holder on the door. I’ve just finished reorganizing my home office/craft supply closet and my pantry is next on the list. I saw your post at Get Your DIY on this evening and I’m glad I came to check it out.