It’s time for another Thrift Store Upcycle Challenge and I’m sharing a Simple DIY Fall Floral Wreath!! I’ve joined with an amazing group of talented ladies to bring you a monthly thrift store challenge. Each month we transform item(s) we find at a thrift store, yard sale, or resale shop into a new home decor piece. There is no budget or specific theme and are free to let our creativity run wild!
Meet the Hosts
This month’s participants –
Amanda | The Kolb Corner Erlene | My Pinterventures
Kim | Made in a Day Sara | Twelve on Main Debra | Shoppe No. 5
Shirley | Intelligent Domestications Marie | DIY Adulation
Michelle | Our Crafty Mom Julie | Live From Julie’s House
Maureen | Red Cottage Chronicles Pili | Sweet Things Sherry | Savvy Apron
Ann | Duct Tape and Denim
Follow our board on Pinterest for more upcycled decor inspiration!
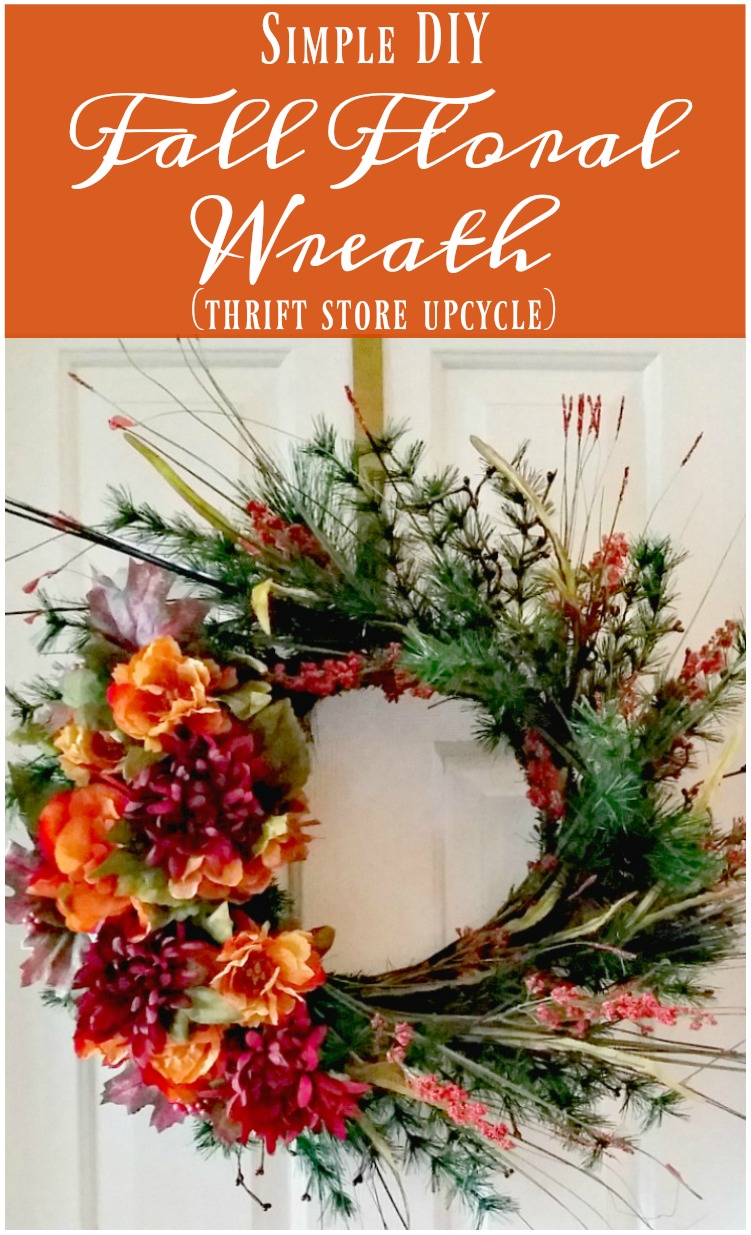
Simple DIY Fall Floral Wreath
Supplies:
- 1 – wreath form
- 1 – mixed bunch of faux flowers ( look for ones with at least 4 – 5 different flowers)
- 1 – bunch of long grass with flowers
- floral wire
- wire cutter
Don’t forget to use your craft store coupons when buying your floral stems! I purchased my stems at JoAnn craft stores.

I’m excited to share this wreath for the Thrift Store Decor Upcycle Challenge. Several months ago, I bought this wreath form from my local Goodwill store for $2.00! I thought about using it for Halloween, but we aren’t really ‘doing’ Halloween this year, so I knew it was time to dust it off for a fall wreath instead. It’s hard to tell from the picture above, but the entire metal form was bent into the shape of a trapezoid. There were berry sprigs, hot glue all over, a way too skinny ribbon running through it, and two glued on wooden birdhouses on the wreath. It was in rough shape.
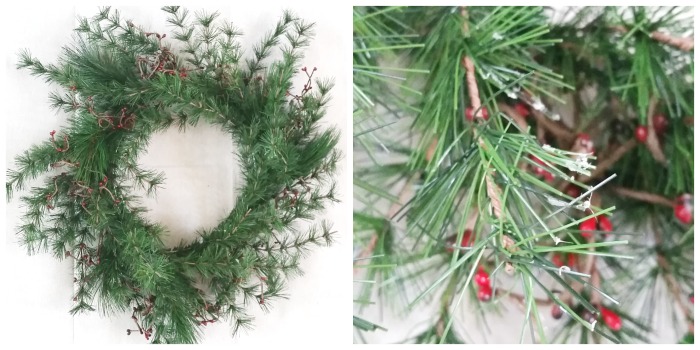
I stripped everything except the berry springs off of the wreath. I also carefully cut off as much of the hot glue as I could, reshaped the wreath form into a decent circle, and fluffed it up.
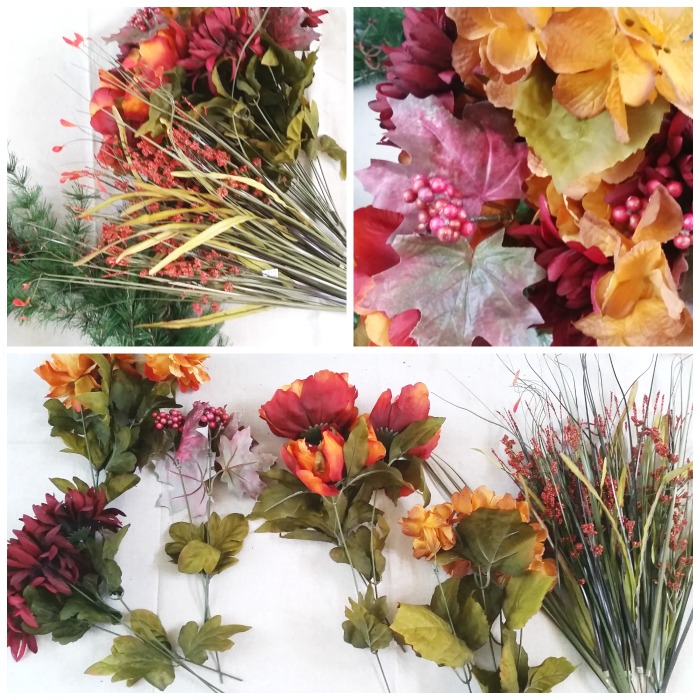
For the flowers, I separated and cut each stem from the flower and grass bunch.

Originally, I wanted to keep the floral stems as long as possible. Keeping the stems long gives me the option to repurpose the flowers, but the wreath was too bare to hide them and I was forced to cut them down to 4″ long. Next, I ‘practice’ arranged the flowers on the wreath form. At first, I wanted to have a circle of flowers around the wreath, but this only accented the bent shape of the wreath.
So instead of fighting with the asymmetrical form of the wreath, I decided to do the same with the flowers. I arranged all of the flowers to one side of the wreath and placed long grass stems throughout the remaining part of the wreath and along the inside shape of the wreath to help hide the bent shape. When I was satisfied with the look, I attached them to the wreath with floral wire.

While it’s not perfect, it’s come a long way from the sad ole’ misshapen thrift store wreath. And this Simple DIY Fall Floral Wreath can now hang proudly on my front door.
Be sure to check out the other creative upcycle projects from my fellow bloggers!




So pretty and a great save for sure. thanks for joining TaDa! Thursdays
Erlene, this looks so lovely! Great update!
I never would have guessed how this wreath started out! I love the colours of the flowers you used, and how you worked with what you had blending everything. The pop of the jewel toned flowers make such a pretty focal point!
Erlene, that wreath was waiting for a good makeover and you did it!! Love the flowers you chose and how you arranged them!
Wow, the wreath is gorgeous. I like the flowers you chose and the placement. I would never have believed it was bent and bare looking. You did a fabulous job.
This is a phenomenal makeover! I can’t believe you made such a gorgeous wreath from that kind of sad thrift store one.
Wow Erlene, you really gave that wreath a huge makeover! I’m not sure I would have had your vision. Love how it came out! I know it’s really pretty on your front door. I’m loving these upcycle challenges!
I like the color of flowers you chose! And I wouldn’t have been able to tell that the wreath was bent–the finished product is perfect!