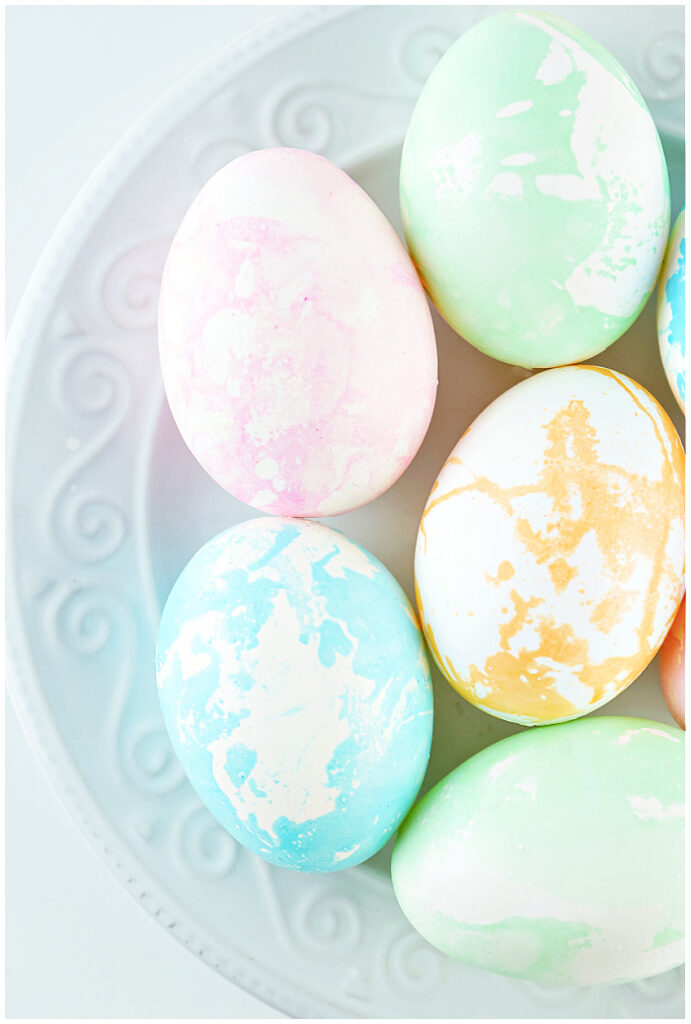
Add a twist to your Easter festivities by making these Marbled Easter Eggs using food coloring, oil, and water. It’s a unique way to color Easter eggs and a great way to bring out your crafty side!
Creating Beautiful Marbled Easter Eggs Using Oil – A Step-By-Step Guide
Are you ready to create Easter egg magic?! Just follow the steps and tips below to make fabulous marbled Easter eggs.
Step 1: Prepare the Supplies You Need for Making Marbled Easter Eggs
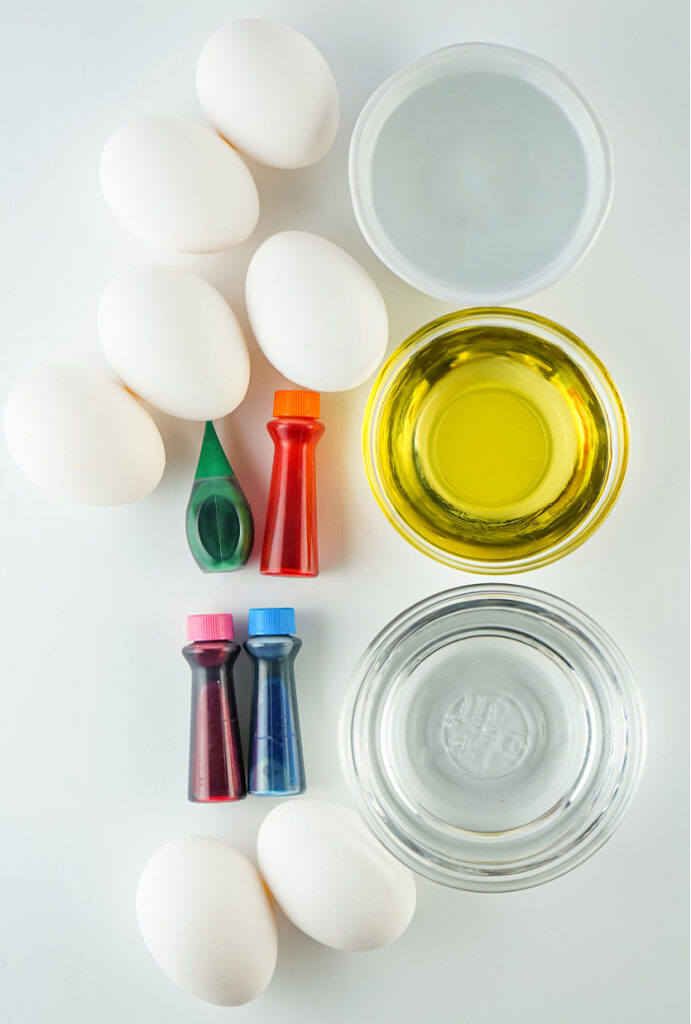
Here’s a list of egg decorating things you’ll need to create your own DIY marble dyed eggs.
- Boiled Eggs, warm or room temperature
- Boiling water – enough to create at least 1/2″ depth per bowl/container
- Cooking oil – vegetable oil, canola oil, olive oil, etc…
- White vinegar
- Food Coloring – basic McCormick food coloring works great
- Small bowls – one for each color
- Measuring spoons/cups
- Paper towels
- Mixing spoons
- Optional – small paint brushes
- Optional – gloves
Step 2: Learn the Basic Technique of Making Marbled Easter Eggs with Oil
Before I get to the steps of marbling the eggs, here are a few tips and techniques to ensure the best marble patterned Easter egg results:
- Any type of cooking oil can be used – vegetable oil, avocado oil, and olive oil and all worked the same.
- Regular food dye or gel dye can be used. For gel dye, make sure to dissolve it completely before coloring the eggs.
- Your bowl must be only full of enough boiling water that when an egg is set in it, the water only covers about a third of it. This is an important step to ensure the best marbling result.
- Make sure to agitate the dyed water and oil before placing the egg into it.
- Don’t let the egg sit in the dyed water and oil mixture. Keep the egg moving with a spoon and immediately remove and pat dry. Letting the egg sit in the colored water will allow the dye to deposit on the entire egg and it will become one solid color.
- Lighter food coloring may need up to 20 or more drops or color, while dark colors may only need 10-15 drops.
- Brown eggs can be used, but the marbling won’t be as intense.
Step 3: How to Marble Eggs
Now that the basics are out of the way, let’s get to the ‘how to’ of marbling Easter eggs!
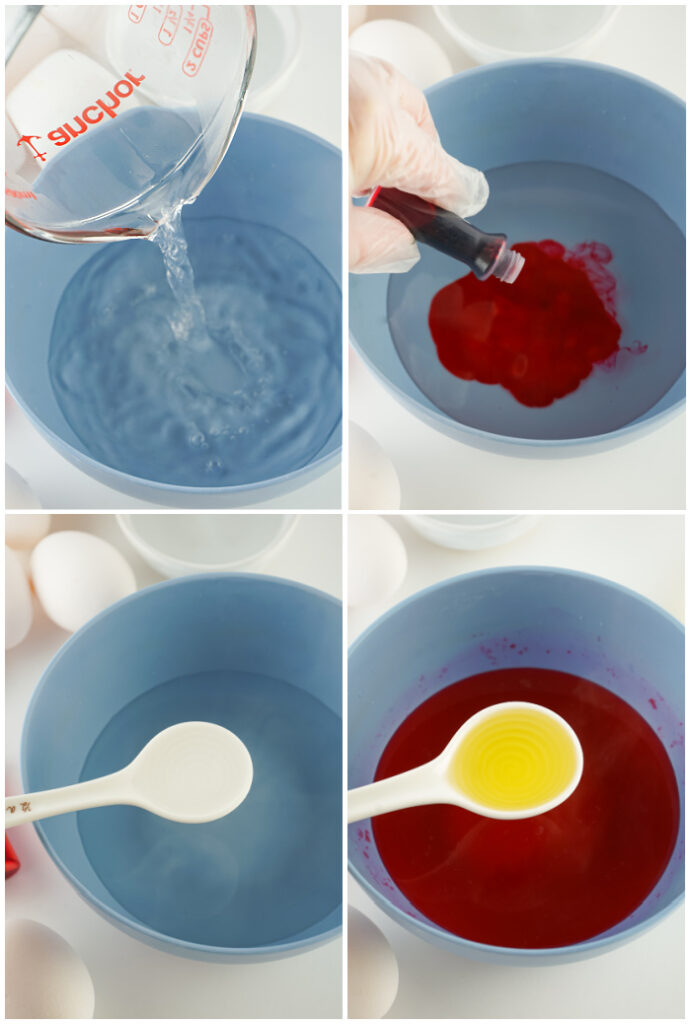
First, add 1/2 cup of boiling water to a small bowl, along with 10-20 drops of food coloring, 1 1/2 tsp. vinegar, and 1 T. of oil. Make sure to add another tablespoon of oil to a separate small bowl to paint onto the eggs. Set these aside.
Next, randomly swirl oil onto the egg with a paintbrush or use your finger, making sure not to cover the entire egg with oil. This is an important step to create a barrier from the dye and will help ensure a nice marbled look.
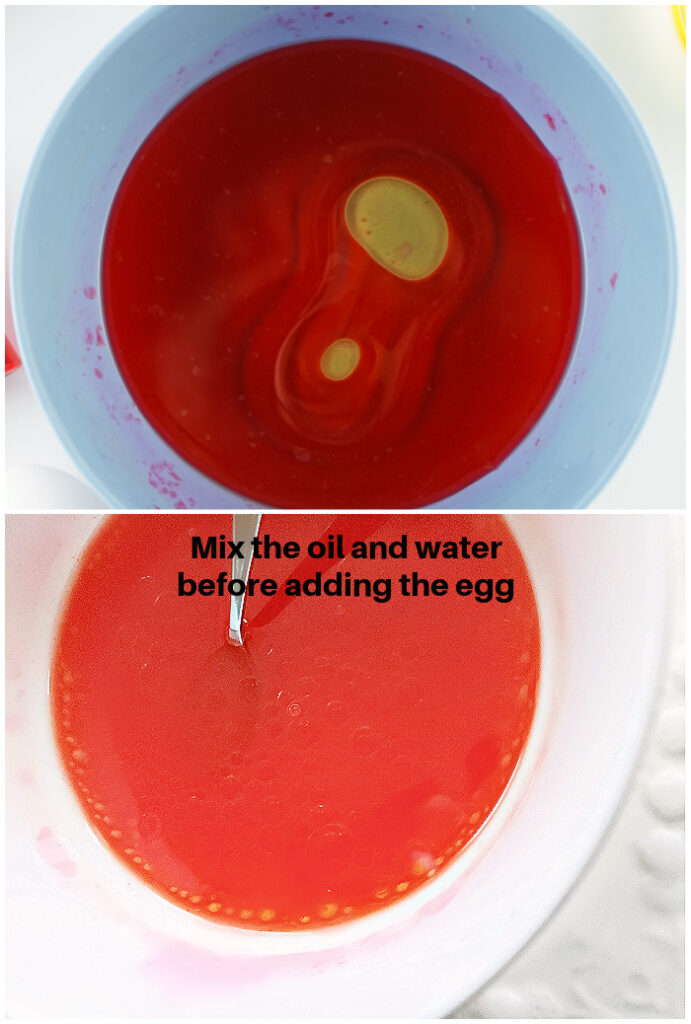
Next, and another important step in making marbled Easter eggs is to agitate the dye mixture BEFORE swirling the egg in it. There should be lots of small globs of oil floating on the surface of the dye mixture.
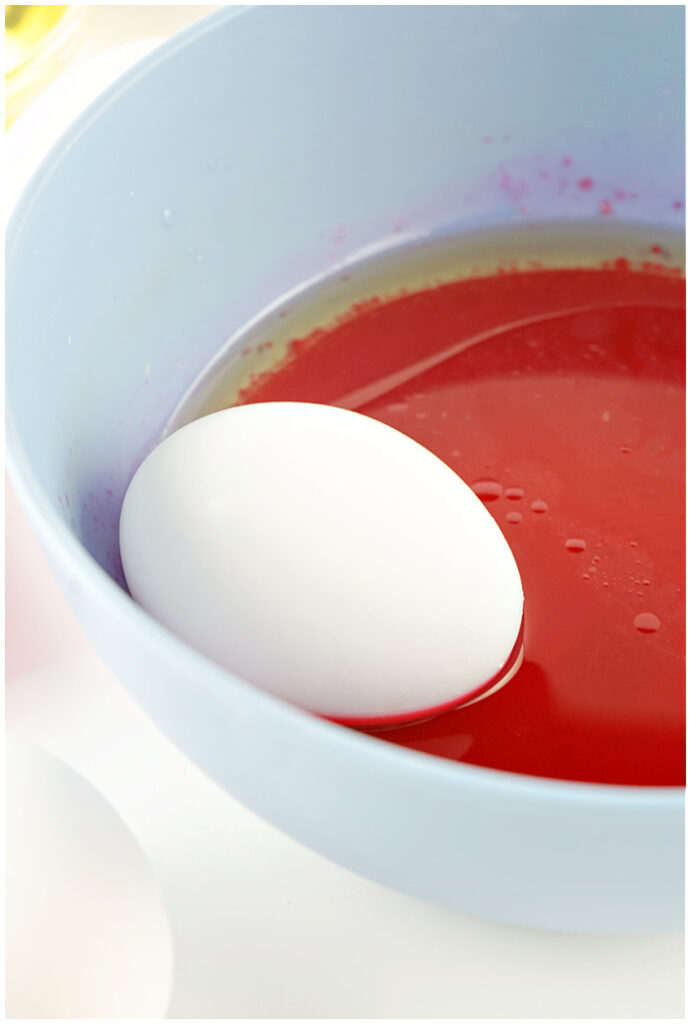
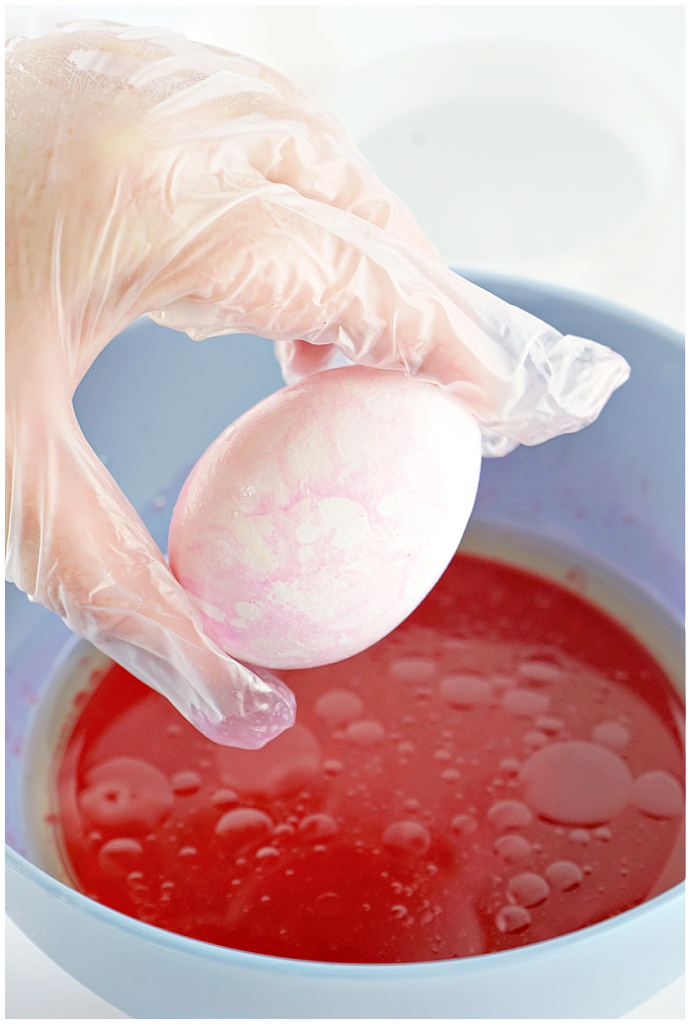
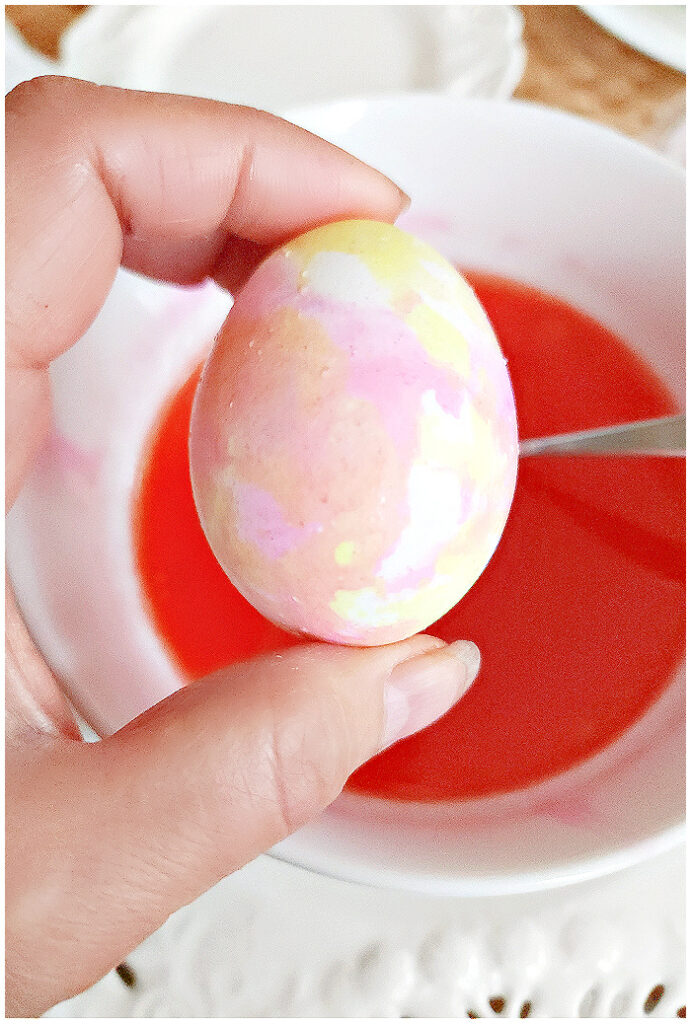
Then, quickly swirl the egg in the mixture, making sure to CONSTANTLY move it around. DO NOT let the egg sit or it will become one solid color. Dying the egg will only take 2-3 seconds. If the egg is left in too long, it will become one solid color.
Finally, when the marbling appears, take the egg out and pat dry with a paper towel. Repeat these steps for all the remaining eggs you want to color.
Experiment and Create Different Patterns & Designs on Your Marbled Easter
- marble egg in a light color, wipe it dry, add oil to the outside again, and roll it in a darker color. This will create a unqiue and layered marbled look.
- Create a solid and marbled egg by following the marbling instructions, but let one side sit in the dye for a few minutes.
I hope you have fun dying eggs this Easter – Marbled Style!
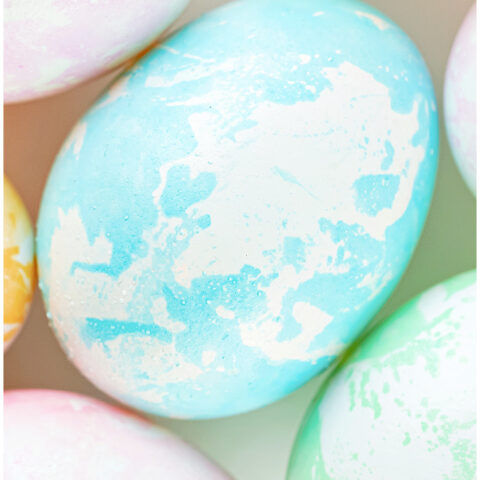
How to Marble Easter Eggs
How to create unique marbled Easter eggs using food color, oil, and water.
Materials
- Boiled Eggs - as many as you want to color
- Boiling Water - 1/2 cup for each color
- Cooking Oil - 1 T. for each color + 1 T. extra for egg painting
- Vinegar - 1 1/2 tsp. for each color
- Various food colorings
Tools
- Small Bowls
- Paper Towels
- Spoons
- Measuring cups/spoons
- Optional - Gloves
- Optional - Paintbrushes
Instructions
- Add 1/2 cup of boiling water to a small bowl, along with 10-20 drops of food coloring, 1 1/2 tsp. vinegar, and 1 T. of oil. In a separate bowl, add another tablespoon of oil to a separate small bowl to paint onto the eggs. Set aside.
- Next, randomly swirl oil onto the egg with a paintbrush or use your finger, making sure not to cover the entire egg with oil.
- Now comes THE most important step in making marbled Easter eggs. The dye mixture must be agitated right BEFORE adding the egg. There should be lots of small globs of oil floating on the surface of the dye mixture. This must be done for each egg.
- Then, quickly swirl the egg in the mixture, making sure to constantly move it around. DO NOT let the egg sit or it will become one solid color.
- When the marbling appears (only takes a few seconds), take the egg out and pat dry with a paper towel. Repeat these steps for all the remaining eggs you want to color.
Notes
TIPS:
- Regular Mccormick food coloring works great. Gel dye works too, but make sure to stir well to dissolve the dye.
- Dark colors will only need 10-15 drops of color. Lighter colors, such as pink or yellow, will need up to 20 drops.
- Do not leave the egg to sit in the dye or it won’t marble. It will just fully turn the dye color.
- Painting oil on the egg before dipping is an important step to the success of the marbling design. It will help repel the dye from parts of the egg to create a marbled look.
- In each dye bowl, there should only be enough water to cover about a third of the egg. This is an important step to ensure part of the egg will come into contact with the oil.
- Immediately pat the eggs dry upon pulling them from the dye.
- Use whatever cooking oil you like. Vegetable oil, avocado oil, and olive oil all worked the same.
- Brown eggs can be used, the colors will just look a little different.
Recommended Products
As an Amazon Associate and member of other affiliate programs, I earn from qualifying purchases at no additional cost to you. Thank you for your support.
-
 Paint Brushes Set 10 Pieces Professional Fine Tip Paint Brush Set
 -
 Heinz Distilled White Vinegar (32 fl oz Bottle)
 -
 Kiddiz Gloves: Eco-friendly Disposable Gloves for Kids Ages 3 - 8. Multipurpose use
 -
 McCormick Neon Assorted Food Colors & Egg Dye, 1.5 fl oz
 -
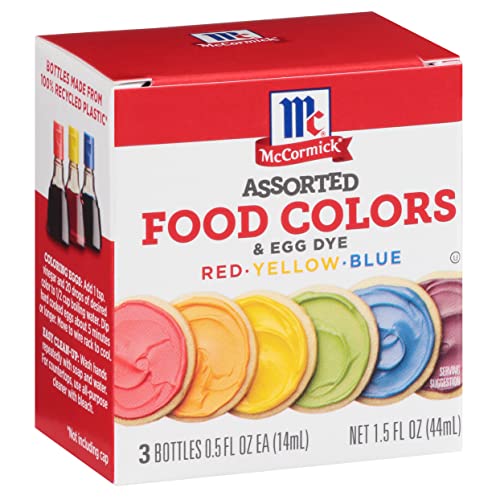 McCormick Assorted Food Colors & Egg Dye, 1.5 fl oz
 -
 Plastic Bowls Set of 12 - 24 Oz Microwave Dishwasher Safe BPA Free Plastic Cereal Bowls

