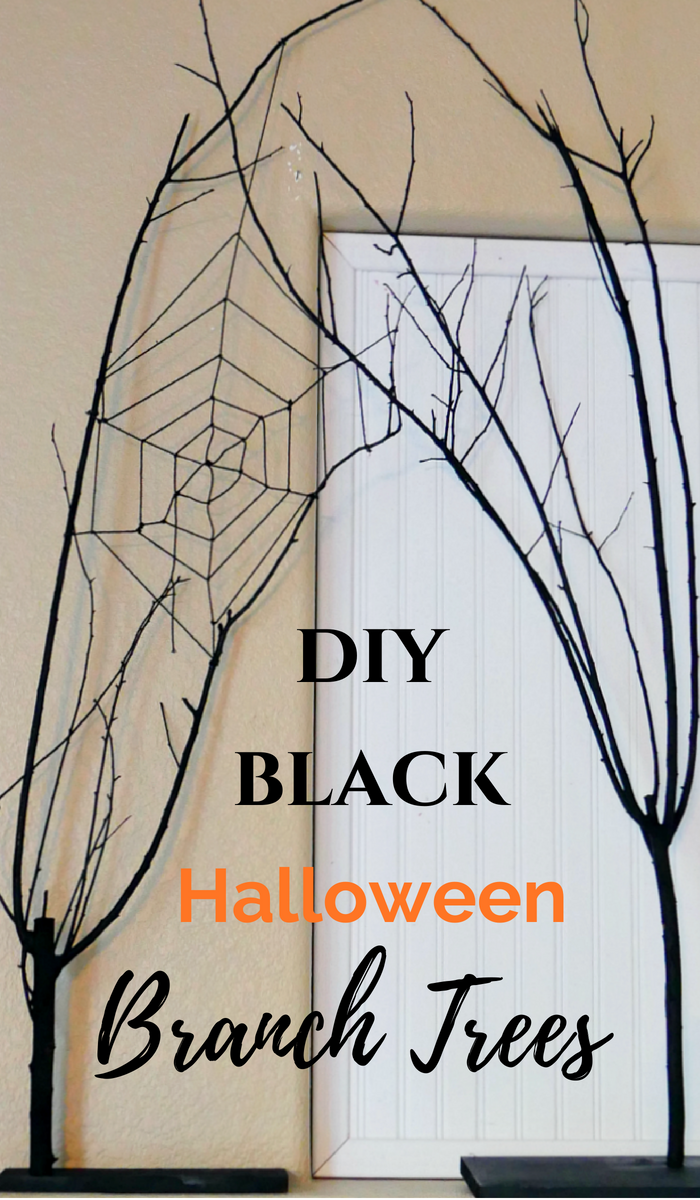
Create your own Halloween decorations with this DIY Black Halloween Branch Trees!

If you’re planning on handing out candy this Halloween, you know that it can get expensive! I mean, when did the price of candy skyrocket to 50+ dollars on a few bags?! Anyway, the cost of Halloween is going up each year and it doesn’t leave much to spend on decorations. And to me, Halloween decorations are must to put you in the Halloween mood. So today, I’ve got a really easy project that you can get done in a day with the majority of items you can get for free!
[click_to_tweet tweet=”Make your own spooky Halloween branch trees with cut branches and spare wood. #Halloweendecor #Halloween” quote=”Don’t throw out those cut tree branches! Use them to make your own Halloween Decorations!”]
DIY Black Halloween Branch Trees
Supplies:
- tree branches
- scrap wood for tree base
- wood screws – appropriate width/size for your tree branch
- drill/drill bit – use a drill bit just a bit smaller than the wood screws
- black spray paint
- large paper/cloth – to protect your surfaces from paint
If you don’t have some of these supplies (minus the black spray paint), you can ask your family, neighbors, or friends. I’m sure most will be happy to have you haul away their tree branches and scrap wood!
Directions:
Pick the branches ~

- Pick an appropriate size branch and wood base for your project. You can make your Halloween branch trees any height. For this project, I cut the branches to about 4’6″. It’s the perfect size to sit next to the fireplace and on top of the mantel.
Drilling base & branch ~
Just keep in mind, the larger the ‘tree’ height, the wider and larger the tree wood base needs to be if you are not weighing the base down. If this is going to be outside on your porch, you will NEED to weigh or anchor the base. I made mine for indoors, so my base is smaller than I would make it for outdoors.

- For my branch ‘trees’, I used a scrap 1″ thick board that measured about 7.25″ x 11.25″.
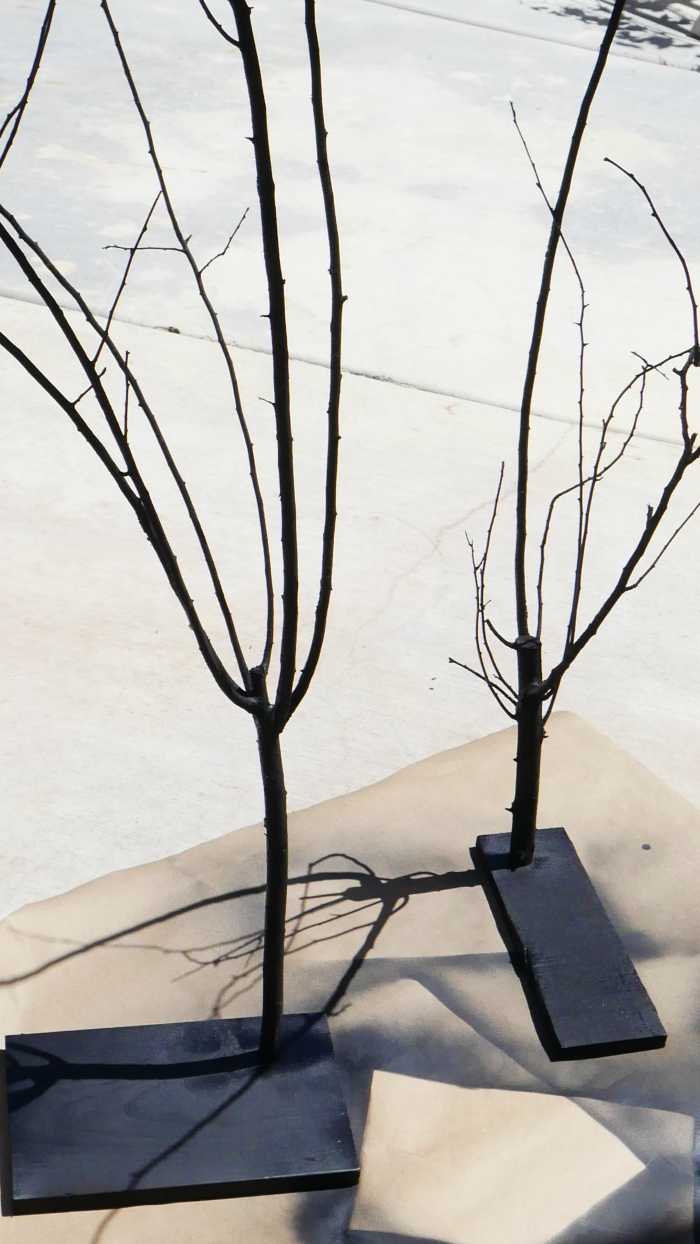
- Look at how your branch is leaning. If it’s straight, you can drill a pilot hole through the middle of the base. My branch was leaning, so I drilled my hole closer to one side of the base to balance the weight. Put one, two, or three branches on a board…use your imagination!
- At the ‘trunk’ end of the branch, drill a hole in the center.
- Screw through the bottom of the base and into the tree branch ‘trunk’ to secure both pieces together.
Paint
- Cover any surfaces with paper/cloth to protect it from over spray.
- Place the branch trees onto the paper/cloth and spray the branches. It may take several coats to get all the branch surfaces. Just make sure to let each coast dry before spraying a new coat on.
Note: Optional – If there are any major spaces in the branches, use string or store-bought webs to fill in open spaces in the branches.
Boo! Now, you’ve got a budget-friendly DIY Black Halloween Branch Trees to use next to your front door, entryway, tabletop, mantel, or anywhere else you need a bit of Halloween decorations!


I love myself a simple and quick DIY. These black branches fit perfectly into that description. Definitely pinning them. And hopefully recreating them!
I’m going to be making these. So spooky & cute just from tree branches. It’s perfect for our Nightmare Before Christmas Party!
Ok so I love these and need them in my life! Lol!
Kim