This shop has been compensated by Collective Bias, Inc. and The Coca-Cola Company. All opinions are mine alone.#StaterHolidaySnacks #CollectiveBias
Are you throwing a holiday party and need a way to keep your guests satisfied before the main meal? Today, I’m sharing a simple holiday snack bar and a few DIY chalkboard serving trays for an easy and beautiful party spread.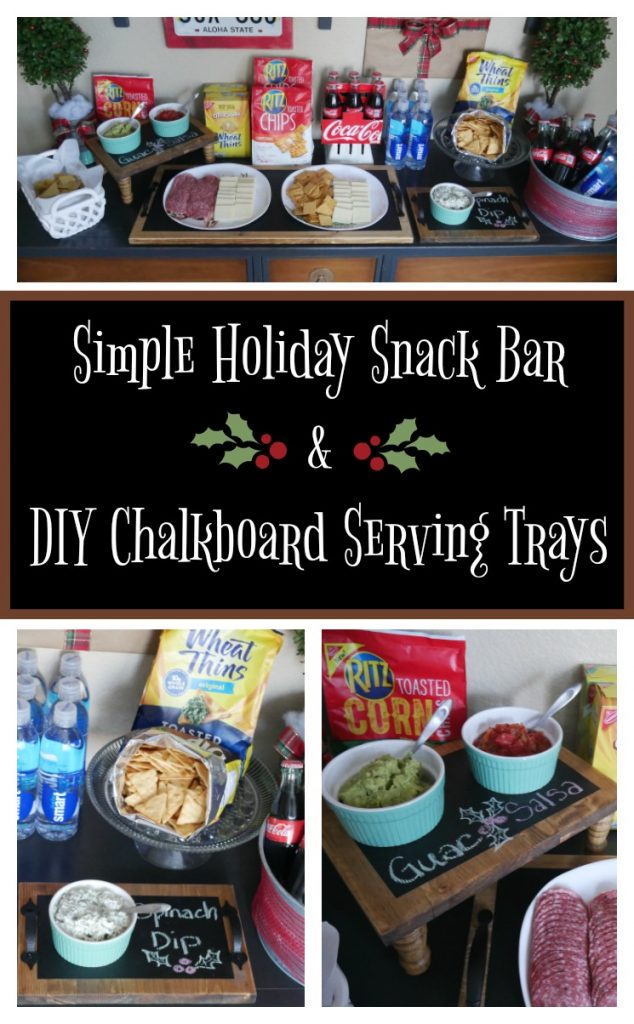 It’s that time of year for big family gatherings and holiday parties! It’s always nice to see the family, but my family is notorious for starting things late. I guess you could say that we live on Hawaiian time (a relaxed attitude for punctuality), so holiday guests and meals are sometimes a little late.

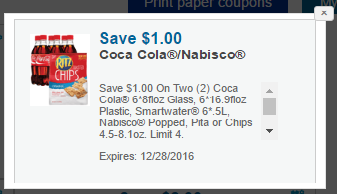
Since meals aren’t always on-time, a ‘no-cook’ simple holiday snack bar is a must for holiday gatherings. Thankfully, the Snack Racks at Stater Brothers helps make it easy for me to grab everything I need for any holiday party. I can easily find drinks and family snack favorites, like Ritz Toasted Chips, Wheat Thins, SmartWater, and Coca-Cola all in one area. Plus, right now, I can save a $1.00 off two participating Coca-Cola and Modelez products by downloading a digital deals coupon – score!
$1.00 off on Two (2) Coca-Cola and Nabisco participating products

It’s amazing what a well-stocked snack bar can do. Not only does it help fill our tummies until the main meal, it serves as THE gathering place for the party. It’s where we all end up snacking, hanging out, and catching up with each other’s lives. And since the holiday snack bar is a go-to spot for our family gatherings, I decided to pretty it up with a few DIY Chalkboard Serving Trays that can be done in a day!
DIY Chalkboard Serving Trays

Supplies
- 1 – 12in. x 4ft. pine board (width & length depends on how big you want your trays)
- black chalk paint
- 1″ painter’s tape
- Danish oil – dark walnut
- 2 foam brushes or rollers
- handles (2 per tray)
- felt pads (optional)
- screwdriver
- drill
- ruler
- pencil
- palm sander/sandpaper
- saw
- lint free cloth
- 4 – short wooden feet (optional for tray height)
Instructions:

Tray sizes will depend on how big you want your trays. For my trays, I used one 12″ x 4′ stain ready pine board that I cut into three sizes (see image above). After cutting, sand any rough edges and wipe or vacuum dust off.

Use a foam roller and apply the Danish oil (follow the can instructions) and let it dry. This oil serves as a sealer and stain.

Tape off the edges of each board. Apply chalk paint to the centers of each board and let dry for 20 – 30 minutes. Apply a second coat. Let dry for another 20 minutes and carefully remove the painter’s tape as the paint may be a little wet. Now, let the paint completely dry.

Mark where each tray handle needs to be positioned and screw it on. The handle for the larger tray required me to drill a hole through the bottom. I also added short feet on one tray to add height, but this is optional. To add feet, I just drilled a slightly smaller hole about half way through the back of the tray and screwed the feet on.
Tip – Add felt pads under the trays to prevent scratches on your table.

And that’s all there is to it! Three DIY Chalkboard Serving Trays to make a simple holiday snack bar a little more festive!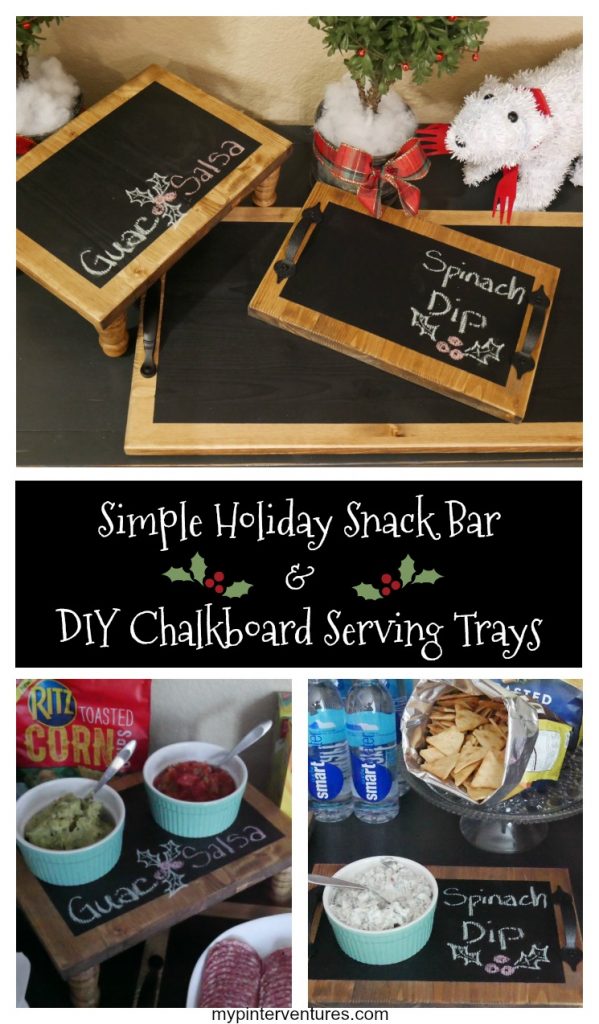


I love your trays so, so much! They are so beautiful (including your lettering) and I love the addition of legs to the one. That is super smart from a party-serving stand point! Thanks for the fantastic idea!
I’m going to borrow your idea for those chalk board serving trays! Love that, especially because they can be erased and used again and again. Nice snack bar too. This is a good idea for a Christmas movies day with our grandchildren.
These boards are so cute. I think it is always fun to create a buffet for friends and family. By doing this you can make sure everyone gets something they like.
Love the idea of a snack bar! This is a really simple way to make chalkboards, perfect for entertaining! My kids would have fun just drawing on these.