Spring Topiary with Bird Nests
Yes, the craft supply list is long, but this is a craft room destash challenge. I used a ton of stuff from my craft stash.
Supplies:
- Cone Topiary – my own home decor
- Twine
- Three bird nests with 5 eggs – two small and one large nest
- wire – I used 26 gauge
- light blue acrylic paint
- bronze acrylic paint
- old toothbrush
- paint brush
- wire cutter
- scissors
- hot glue gun/glue sticks
- moss
- pen
- 1 spray of yellow buds
- 1 spray of orange flowers
[clickToTweet tweet=”I shopped my craft room and made this Spring Topiary with Bird Nests! Challenge yourself and see what you can make for spring with your craft stash! #craftroomdestashchallenge #spring #topiary” quote=”I shopped my craft stash and made a Spring Topiary with Bird Nests without buying anything new!”]
How to:
Prep the Nests

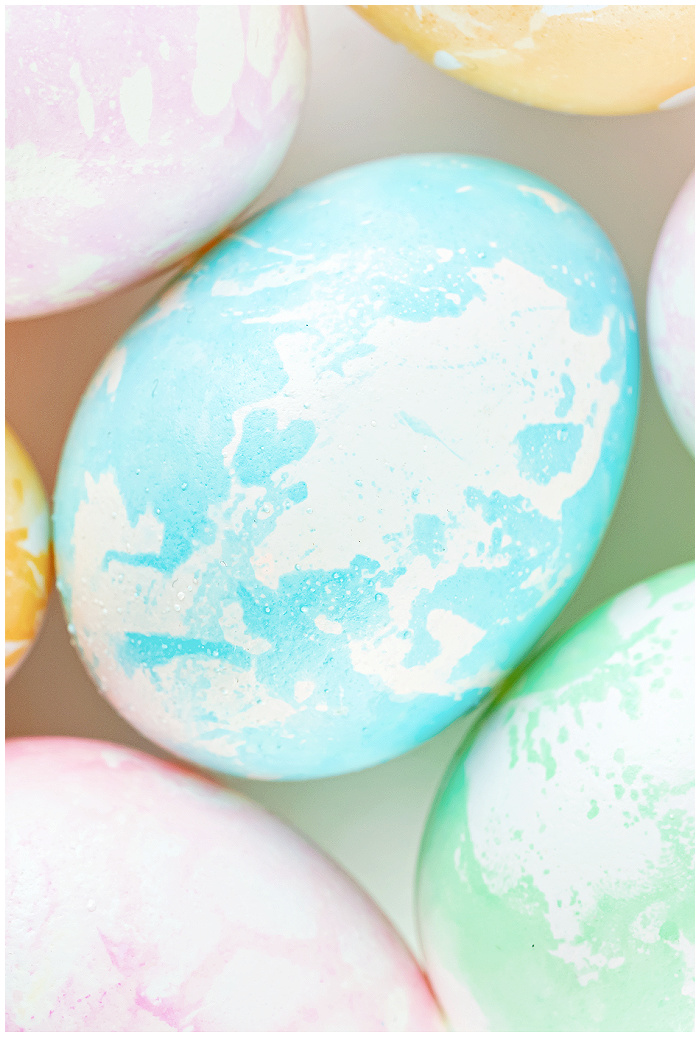
I bought these nests last year at a thrift store and they’ve been sitting in a bag ever since. So it’s about time they got a makeover! The best way to makeover just about anything is with paint and that’s what I did. I painted the eggs with two coasts of light blue acrylic paint, letting them dry between coats. To add a bit of shine, I used an old toothbrush dipped in bronze paint to flick on speckles.

To secure the nests to the topiary, I ran a wire through each nest and twisted the ends together. I made sure to leave ample wire to poke or wrap the nests onto the topiary Styrofoam.

Okay, here’s the bad part. I didn’t take pictures of the rest of the topiary assembly because it was all about putting things in and moving things around. However, I did start by placing the bird nests in the topiary in a zig-zag pattern. This gave me a starting point of where to place the other items.
Disclosure, I only decorated the front of the topiary since the back won’t be seen.

Then, I wrapped twine around the topiary. I also added bud and flower stems throughout the topiary and on the bottom nest. Finally, I glued the eggs in the nests and moss to cover the top of topiary pot.

Whew! And yes, all of these things were in my craft stash! I hope this project inspired you to create your own spring creation with your craft stash. Here is the transformation from a plain topiary to the new Spring Spring Topiary with Bird Nests.

Find more craft room destash inspiration by visiting the links below! And if you would like to join the craft room de-stash challenge, you can request to join our Facebook group here! #CraftRoomDestashChallenge


This is such a sweet spring decor idea! I love the pops of orange. They give your topiary a cheerful brightness. Awesome project!
Thanks Marie. I love orange and blues for spring.
Such a fun idea. It turned out really cute.
Such a cute craft. I am a bit amazed that you had all these supplies in your stash; makes me feel like I should be working on growing mine a little. Pinned.
What a sweet project! I love the little eggs and the way you’ve set the whole thing up. It’s whimsical!
What a fun idea I love it.
Perfect Spring decor at the right price. My bird watching daughter would love this. I’ll send her this project so she can make one!
I’m inspired to make one with a topiary I have at the studio. I can’t get enough Nests. I think it’s because mine is empty now :(.
Wow you did the Destash! The topiary is just perfect to usher in spring. It is so bright and cheery.
WOW… what an awesome DeStash project you came up with. I love that you had all this in your stash and used it so creatively!
This is a great spring decoration, so cute!
This turned out so cute! I have a few plants around the house that could be dressed up. Pinning for inspiration!
This is so adorable and so easy to change out each season if you like. I like the speckled eggs too. Thanks for sharing.
What a huge dent this project must have made in your supplies stash, lol. I am very proud of you to rock this project and use so many things. It is a lovely little spring tree.
Erlene, that is so DARLING! You did a great job on those speckled eggs and especially on the topiary as a whole. Glad to know how to do one from now on. Thanks for the clear tutorial.