Want to start a blog, but have no tech skills and not sure what to do or where to start? Well, today is the day to get off of the sidelines and jump into the blogosphere because I’m going to show you how to start a blog with a free guide for the new blogger!

How to Start a Blog – Free Guide for the Beginner Blogger
Step 1: Decide Your Niche

This is probably two of THE most important things to decide on before you begin. Decide what you want to write about and choose a niche for your blog. For example, are you going to start a lifestyle blog that focuses on all things home related or are you going to focus on one topic, like food or beauty? Whatever you choose, it should be something you love and want to share with others.
Step 2: Choose Your Blog Platform or Content Management System (CMS)
![]()
The great thing about starting a blog today is that you don’t have to have a lot of tech knowledge because almost all blog platforms do most of the work for you. There are many blog platforms and the one you choose will be what you write your blog content on. I started my blog on Blogger, but quickly moved to a self-hosted WordPress.org blog, which is the most popular blog platform and the one I recommend. Both platforms are FREE, but I prefer WordPress.org because I own my content (Blogger can shut your blog down if they feel you violated any of their rules), have access to wide array of plug-ins to customize my site, and there are lots of options to monetize.
Other content management systems:
- Wix
- Weebly
- Typepad
- Joomla
Step 3: Choose Blog/Domain Name
Once your niche is decided, choose a blog name. You can use your own name (name.com) or one that reflects what will be shared on your blog. Naming my blog is where I made my mistake. I chose ‘My Pinterventures’ because many of my craft projects and recipes were inspired by things I saw on Pinterest. But over time, my blog started to involve into my own ideas and not only those inspired by Pinterest, so it might have served me better to choose a name like ‘E’s Creative Corner’ or ‘Craft Cook Design’. Also, keep in mind that people like to put a name to a face. Therefore, if you eventually plan on doing ads, tv spots, or public speaking for your blog, use your name as your domain name.
Check to see if your name is free to register by going to GoDaddy.com and typing in the name you would like for your blog – i.e. blogname(dot)com. Since most sites end in a (dot)com, I suggest you use this for your site. When you find a name that you like and is available for your blog, you can register it with GoDaddy or register it with your host company in Step 4.
ENTER YOUR CHOSEN DOMAIN NAME HERE & CLICK ENTER TO SEE IF IT’S AVAILABLE.
Step 4: Choose Your Blog Host

There are a lot of strong opinions in the blog world about hosting. You’ll hear the good and bad about every hosting company available, so I’ll just give you my two cents and you can make your own decision.
When I decided to make the move to a self-hosted WordPress blog, I decided to choose Bluehost as my host company. Mainly because they have a good solid reputation and reasonable hosting fees. In addition, they have 24/7 customer service that is extremely helpful when you’re a new blogger and have no idea what you’re doing. I’ve used their customer service many times in the beginning of my blogging journey and I love that Bluehost can be reached anytime via online chat, telephone, or email. And if for any reason you are unhappy with your hosting, they offer a money back guarantee!
I’m currently with A2 Hosting because I wanted to try a new hosting company. They are a good company too and I rarely experience any ‘downtime’ for my blog, but I would not recommend them for a beginner blogger because their customer service will not hold your hand like Bluehost to troubleshoot blog issues. Trust me, Bluehost has AWESOME customer service techs and they will even help when it might not necessarily be a host issue. 
Okay, that’s my two cents. Now go ahead and choose your plan. If you’re just starting, go with the basic plan. You can always upgrade if you need to and this is a good place to start for a new blog.

If you haven’t registered your domain name, you can do so while signing up on Bluehost. If your name is taken, you’ll be give other options that are similar in nature or you can try again with a new name.
If you already have a domain name, enter it in the right box.

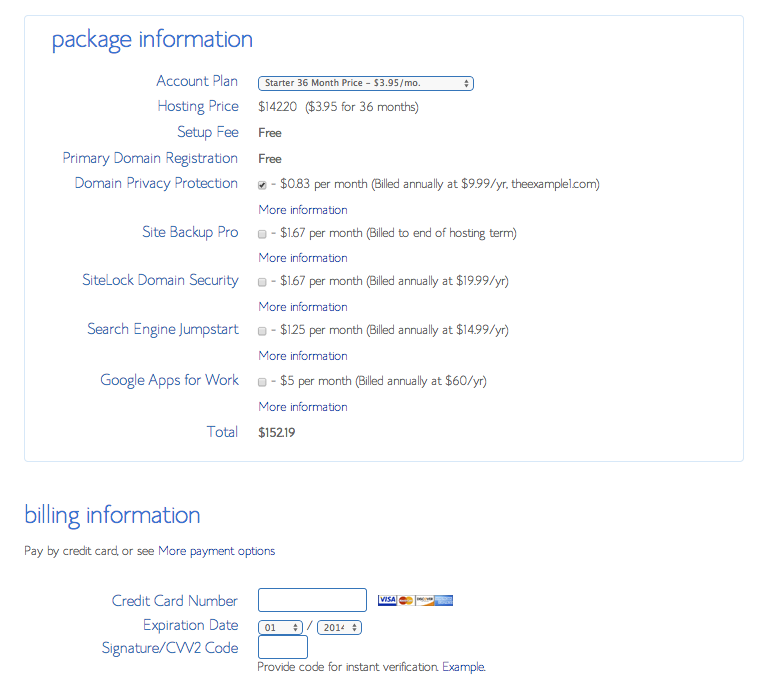
Create your account by filling in the account information section. Next, choose 12, 24, or 36 month host plans (the longer you commit, the less expensive the hosting cost). You can also chose other package items, but I did the very minimum and only checked the domain privacy protection.

Finally, enter your credit card info for payment. Once payment is successful, you will receive confirmation of your new account and will need to create a password for your account. Make sure you write down your password and card used to create the account because you will need this info to verify your identity when contacting customer support.
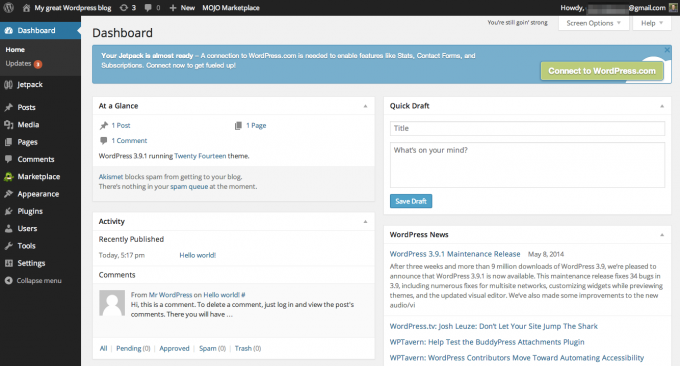
Step 5: Blog Host Set-up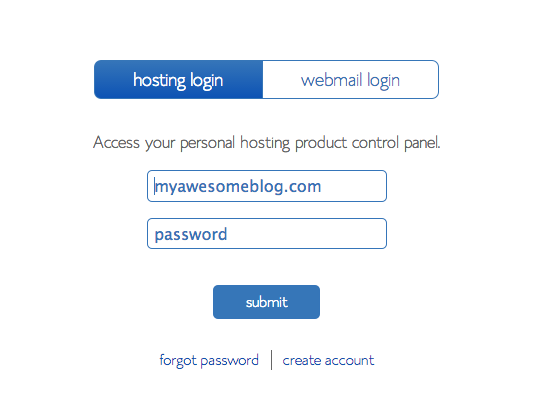
Time to set up your blog! Head to the main Bluehost page and log-in.

Step 6: Get Blogging!