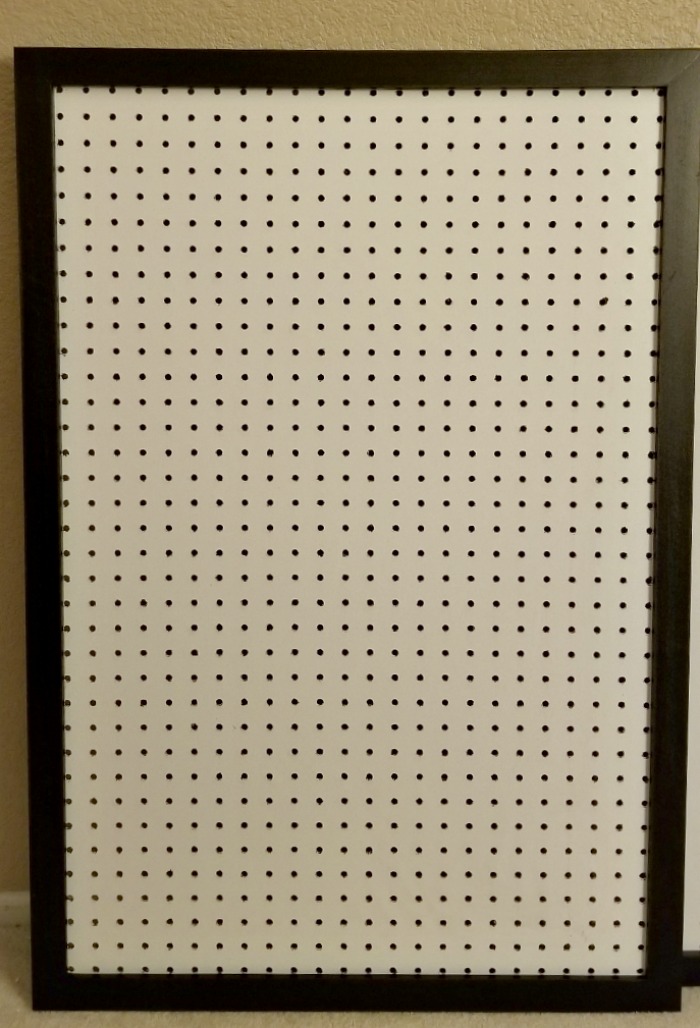
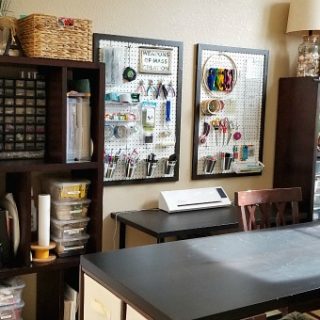
It’s time for the third installment of the Craft Room Challenge! Week one & Week two were all about cleaning our messy craft surfaces and purging things. This week is all about the beginning stages of putting our spaces together and organizing our craft goodies. And since space was one of my issues, I created a framed peg board for craft storage. Easy Framed Peg Board for Craft Supplies
For those that don’t want to do any heavy constuction, this easy framed peg board is a is a simple craft storage solution. Please keep in mind that this IS NOT for heavy storage and should only be used for light craft supplies. Things like scissors, tape, rulers, etc… If you want links to peg boards for heavy use, check out the links in last week’s post. Also, I have only tried this using the Studio Decor frame from Michaels, as it has enough clearance in the back to insert peg hooks without having to add anything to the back.
Supplies:
- 24″ x 36″ Studio Decor from Michaels
- Wood glue
- Peg board cut to size at lumber store
- D-ring picture hanger with screws
- drill/drill bit
- optional – spray paint (one for the frame and one for the peg board)
- optional – super fine sand paper
Painting the Frame

- Optional – Spray paint the peg board and let dry. I chose to leave mine as-is.
- Optional – If you don’t like the color of the frames available, remove the backing and cover from the frame. Then, lightly sand and paint the frame. Be light handed and sand in one direction as the Studio Decor frames are made of MDF and will show the sanding lines (I made that mistake of pressing too hard while sanding and you can see it in the image above). Spray with several coats of paint, letting the paint dry between coats.
Adding the Peg Board to the Frame

- Add a small amount of glue along the inside edge of the frame.
- Insert the peg board into the frame and push down the frame tabs.
- Turn the frame over and clean off any glue that seeped out with a damp cloth.
- Turn the frame back over and let dry.
- Add D-ring picture hangers to the back of each frame (2 per frame). Use a drill to make the appropriate pilot hole for each screw.
How to Hang the Peg Board
- Decide where you want to hang your framed peg board. It would be best to secure into wall studs. If you don’t have studs where you want to hang your peg board, watch this video to learn how to hang heavy items in your drywall. I didn’t have studs, so I used wall anchors that hold up to 75lbs (Update: It’s been 4 years and my pegboards are still up and I’ve had no issues).
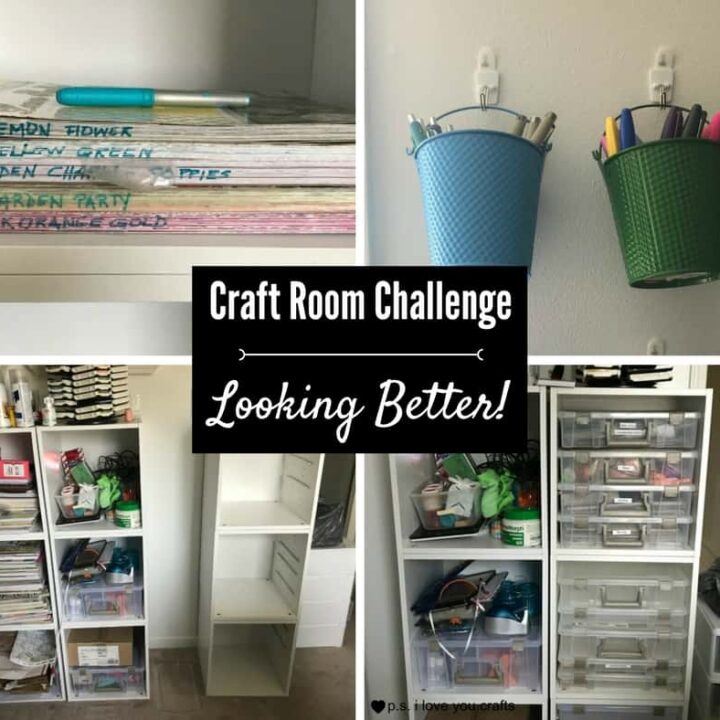
Here’s what happening the rest of the week…
- Add shelves for paint bottles (rethinking this idea)
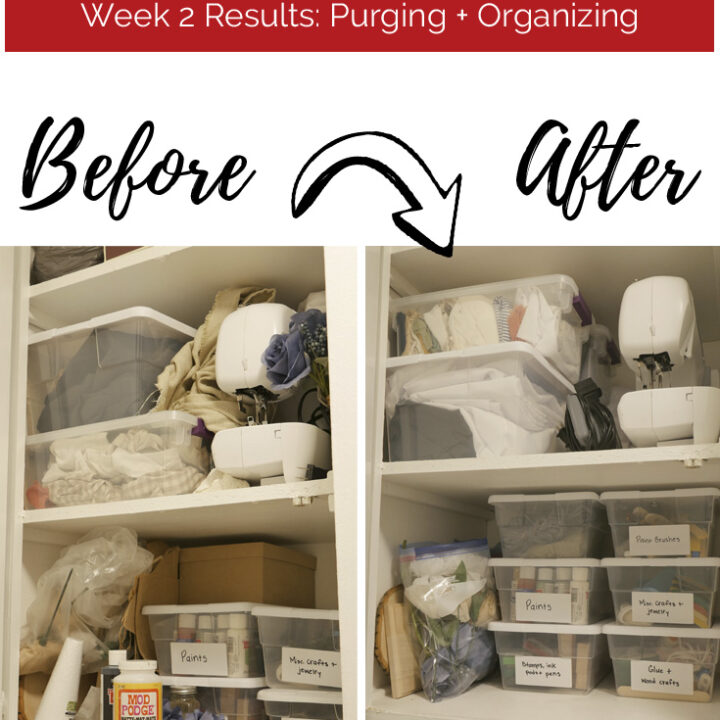
- Label craft containers (still haven’t done this!)
- Add lighting (I picked out this clip on one)
- Hang curtains
- Decorate
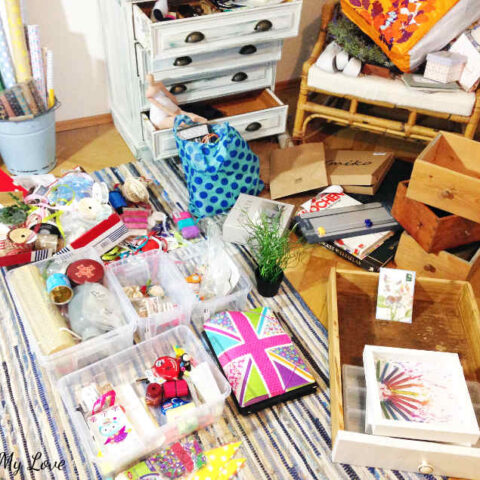
Here’s a look at where I started…
If you have a craft mess collection that you would like to tackle, we would love for you to join in and clean right alongside us. Follow us on social media by using #craftroomchallenge and #confessyourmess hashtags. Now let’s meet the rest of the messy craft room gang! Make sure you check out their spaces too! We all have different spaces and challenges, so you might find ideas/tips to fit your area!
Week 3 images of all of our messy craft areas:
Week 3 Craft Room Challenge - Purging and Organizing
Welcome to the Craft Room Challenge! This week we were sorting and purging unneeded craft supplies. Check out the host participants during the decluttering process.


I’ve been thinking about adding a pegboard to my craft room. I love all of the organizing space you gain from one!
It’s such a great addition! I can’t believe I waited this long to make one. I love being able to see all the things I use daily all in one place. I plan on making more…lol.
Wow I never thought of framing a pegboard, it looks great like this!
Super easy when using a premade frame 🙂
congratulation for this project! I would like to ask you about how long did it take to complete this project?
About a day to complete.
Congratulations! Your post was my feature pick at #ThursdayFavoriteThings this week. Visit me at marilynstreats on thursday morning to see your feature! All hosts choose their own features from the comments left on their blog so be sure to return to my blog to see your feature. I invite you to leave more links to be shared and commented upon. Please don’t forget to add your link numbers or post title so we can be sure to visit!
I love peg boards for organization and these are so great for craft supplies! Enjoying the challenge.
This is a very good idea for things of daily use. Thank you so much for sharing.
Thanks. It definitely makes it easier for me to grab things I need instead of digging through my mess for it.
Great minds think alike. A peg board is going to be fabulous for craft room organizing! Love this especially how easy it is.