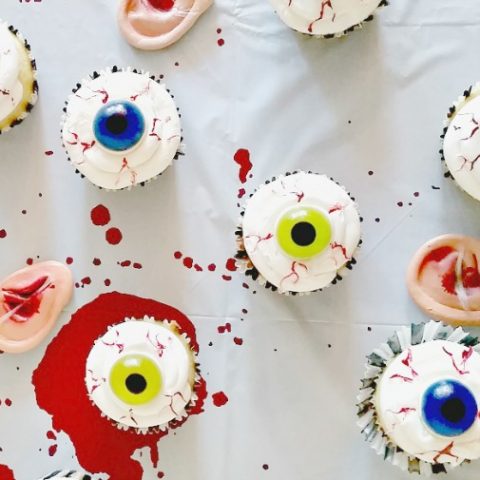
Ready for a gory Halloween treat? Make these bloody fondant brain cupcakes!


In keeping with my Walking Dead Terminus cannibal theme, I’m sharing a How to Make Bloody Fondant Brain Cupcakes. Sure, I could have used frosting to mimic brains, but I really wanted to try making marshmallow fondant. So…bloody fondant brain cupcakes were born!
Bloody Fondant Brain Cupcakes
Cupcake Ingredients
- 1 box red velvet cake mix for the cupcakes or substitute with your own cupcake recipe.
Marshmallow Fondant Ingredients
The marshmallow fondant needs to be refrigerated for a minimum of 12 hours to firm up. I refrigerated mine for 24 hours.
- 1 bag of marshmallows
- 2 – 4 T. water
- 8 cups powdered sugar (more may be needed)
- oil or shortening
- red food gel
These ingredients are for the Wilton Marshmallow Fondant Recipe. This is one of the easiest marshmallow fondant recipes on the web and there is a how-to video in the recipe card below ⇓.
Tips for making marshmallow fondant:
- Make sure to grease up your hands AND counters really well – this stuff is super sticky! I didn’t initially use enough grease and the fondant stuck to everything!
- Have extra powdered sugar as the humidity in your area can affect the moisture level in the fondant.
- Adding food coloring adds moisture, so have extra powdered sugar on hand. Also, wear food safe gloves if you don’t want food color on your hands.
- Fondant should be refrigerated for at least 12 hours to make it easier to work with.
- Unused fondant can be wrapped and kept in the refrigerator for up to a month. Place in the freezer if storing longer. Reheat in the microwave with a few drops of water if it is too hard.
Once the fondant and cupcakes are made, move on to the fun part…creating the brains!
Bloody Fondant Brain Cupcakes
Bloody Fondant Brain Cupcake Supplies
- round cookie cutter or cup that is the same size as the tops of the cupcake
- rolling pin
- silpat or non-stick surface to work on
- red food coloring gel
- red icing gel (thinned out strawberry jam could be used)
- optional – food safe gloves
- optional – candy butcher knives
How to Make Bloody Fondant Brain Cupcakes

Step 1. Follow marshmallow fondant recipe a day ahead of cupcake assembly. Optional – Add food coloring to the marshmallow fondant to make it slightly pink. Leave it out if you don’t want to add it.
Step 2. Roll out the fondant to about 1/8″ thick on a greased surface. Use a round cookie cutter or cup to cut out circles to cover the top of the cupcakes. Place the fondant circles on top of each cupcake.

Step 3. Squeeze a small portion of red icing gel onto each circle. Spread it on to lightly coat it. This will help the ‘brain’ fondant pieces stick to it. Strawberry jam can be used too.
Step 4. Take small pieces of fondant and roll out to thin 1/8″ logs and place a strip down the center of each cupcake to divide it into two brain sections.
Step 5. Add the remaining folled fondant in squiggly lines onto each side of the ‘brain’.

Step 6. Spread more red icing gel onto the ‘brain’. Use a fine brush or light spread with your finger. The red icing gel gives the tops a sleek wet look. Optional – add a candy butcher knife and red icing gel around the knife.
Note: you can add red food coloring to the red icing gel for a deep red color.
Completed Bloody Fondant Brain Cupcakes

Here are the finished bloody fondant brain cupcakes. The top one has no red coloring on the fondant, the bottom left has some coloring (this is my favorite), and the bottom right has the most coloring.

I even had enough fondant to make a few bloody cut fingers too! On a side note, I did have to leave some of the cupcakes plain because my youngest teenage son refused to eat the bloody brain cupcakes or the finger cupcakes. He said it was so gross looking, which means I did a pretty good job 🙂


Marshmallow Fondant
How to make marshmallow fondant. Use to decorate cakes, cupcakes, or other desserts. I used it to create fun Halloween Bloody Fondant Brain Cupcakes.
Ingredients
- 1 bag (16 oz.) of mini marshmallows
- 2 – 4 T. water
- 8 cups powdered sugar (more may be needed), sifted
- oil or shortening
- Optional - food gel coloring
Instructions
- Place marshmallows and 2 T. of water in a microwave safe bowl. Microwave on high for 30 seconds and mix. Continue microwaving in 30 seconds increments until marshmallows are melted.
- Place about 3/4 of the powdered sugar into the marshmallows and fold into it.
- Add 1/4 cup shortening or oil to a bowl. You will need this to help grease your hands and work surface and to prevent marshmallow fondant from sticking. Dump out fondant onto your work surface and knead. Continue to knead, adding powdered sugar to the fondant. If the fondant is too dry, add 1/2 T. of water at a time. Continue to knead and add powdered sugar until you get a manageable fondant ball (see video at 2:56 for consistency)
- If adding color, add a few drops now and knead into fondant. Fondant can be divided to make several colors if needed.
- Roll fondant into blocks or balls. Apply a very thin layer of shortening/oil on the outside of the fondant. Wrap with plastic wrap and place in an airtight bag, squeezing out any air. Place in the fridge and let rest for at least 24 hours.
Notes
For my bloody fondant brain cupcakes, I used red food gel.
TIPS
- Make sure to grease up your hands AND counters really well – this stuff is super sticky! I didn’t initially use enough grease and the fondant stuck to everything!
- Have extra powdered sugar as the humidity in your area can affect the moisture level in the fondant.
- Adding food coloring adds moisture, so have extra powdered sugar on hand. Also, wear food safe gloves if you don’t want food color on your hands.
- Fondant should be refrigerated for at least 12 hours to make it easier to work with.
- Unused fondant can be wrapped and kept in the refrigerator for up to a month. Place in the freezer if storing longer. Reheat in the microwave with a few drops of water if it is too hard.
Recommended Products
As an Amazon Associate and member of other affiliate programs, I earn from qualifying purchases at no additional cost to you. Thank you for your support.
-
 Lovesome Powdered Sugar, 2 Pound
 -
 Gel Food Coloring 10x10ml Colors Set - Wayin Gel Based Vibrant Food Color Dye Flavorless Edible Icing Color Concentrated Neon Baking Color for Kids Cake Easter Egg Decorating Macaron Fondant Cookie
 -
 Good Cook 3-Piece Mixing Spoons Set
 -
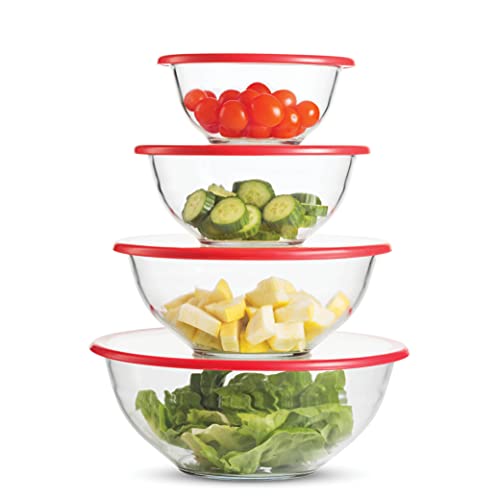 Superior Glass Mixing Bowls with Lids - 8 Piece Mixing Bowl Set with BPA- Free lids, Space Saving Nesting Bowls
 -
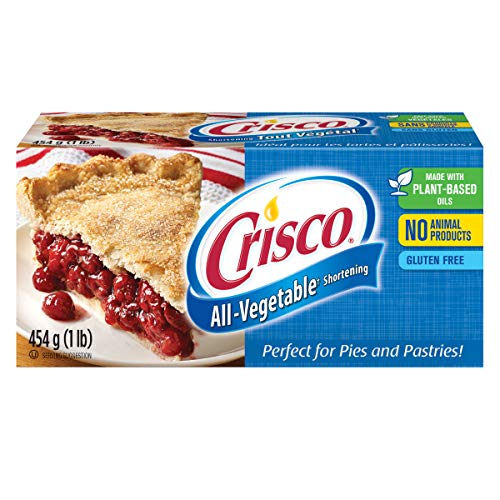 Crisco All-Vegetable Shortening, 454g/1lb.
 -
 Marshmallow Mini White 1# Bag
More Halloween Food Ideas ...

Halloween Candy Popcorn - September Pin Challenge
How to make Halloween candy popcorn. A sweet and salty popcorn treat.

Blood Clot Halloween Jello
How to make blood clot Halloween Jello. Easy and no special equipment needed.


These actually look like something I can do! I’m so not great at cupcakes! Shared everywhere! #MM
Kim
These were really fun to make. I’m now a fondant lover and want to use it on everything…lol.